How to Integrate Zapier with Xero using SaasAnt Transactions
September 4, 2025
The struggle to manually upload your accounting files from cloud systems like Google Drive to Xero can be tedious. This process can be simplified with one automation tool — SaasAnt Transactions Online.
As a business owner, all you need to do is integrate Zapier with SaasAnt Transactions, and once the trigger and action are set up, the rest is fully automated. Follow the steps below to get started.
Prerequisites
A SaasAnt Transactions for Xero account with an Automation Plan
A Zapier account
Your Xero company connected with SaasAnt.
Integrate Zapier with Xero
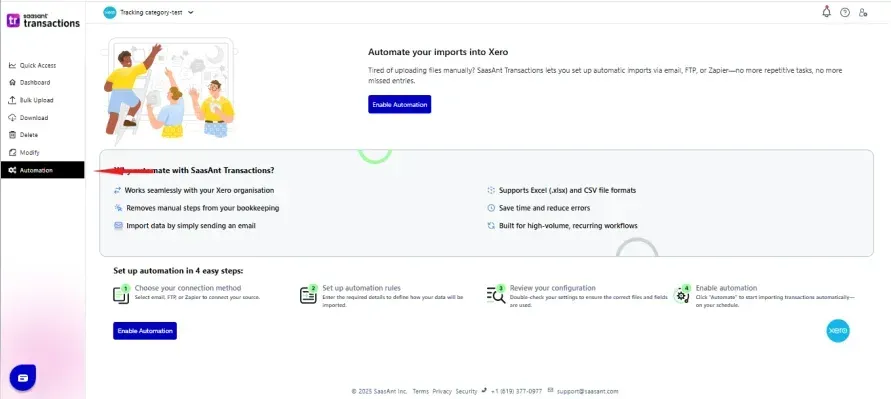
Step 1: Set Up Automation in SaasAnt Transactions
Log in to Xero and connect it with your SaasAnt Transactions account.
Navigate to the Automation section.
Choose the Source as Zapier.
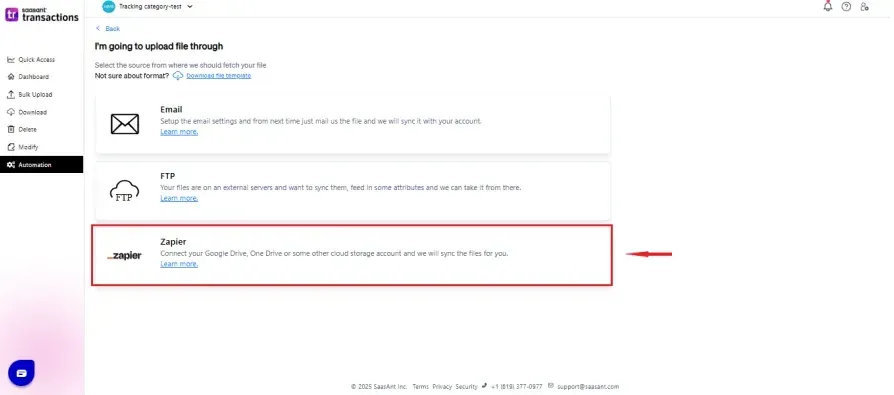
Select the Transaction Type, then choose the Zapier integration method as Email or Google Drive.
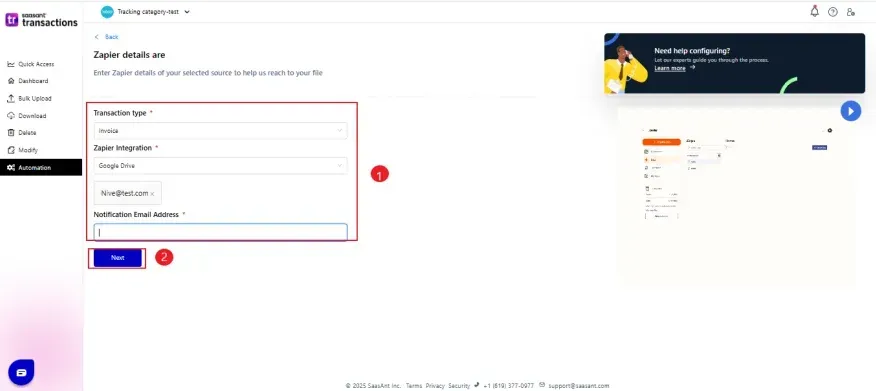
Upload the Excel/CSV file and configure the columns to match the Xero header using the dropdown mapping options in SaasAnt.
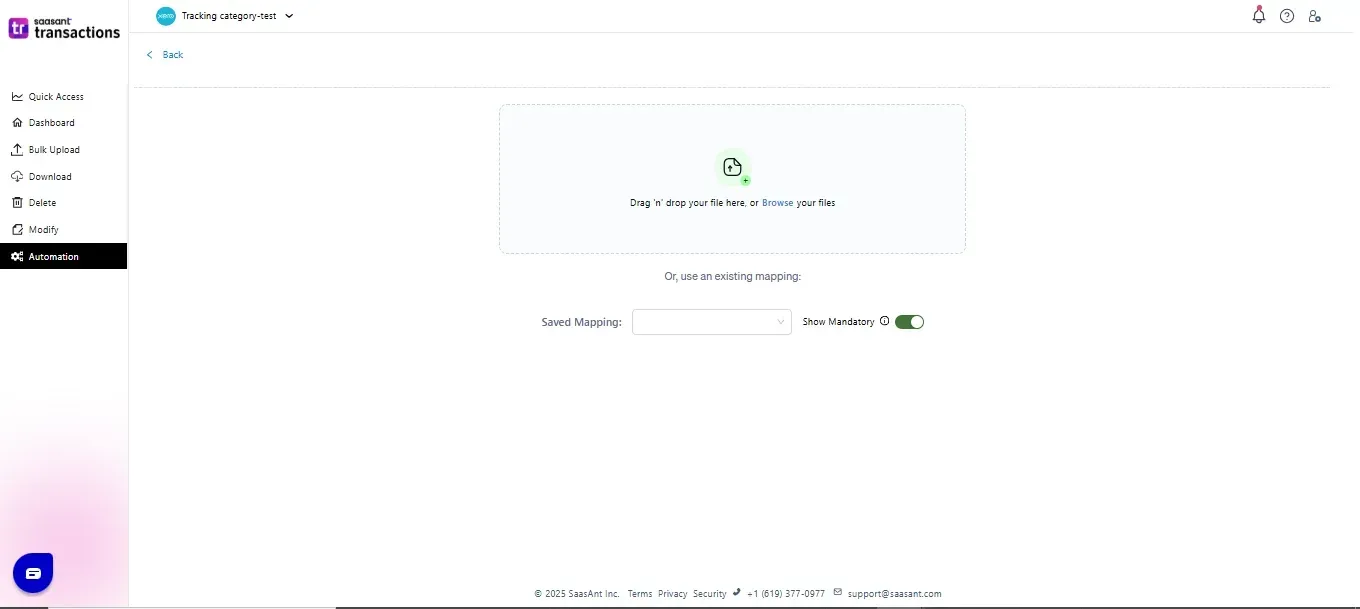
Review the automation setup and click Create Automation to complete.
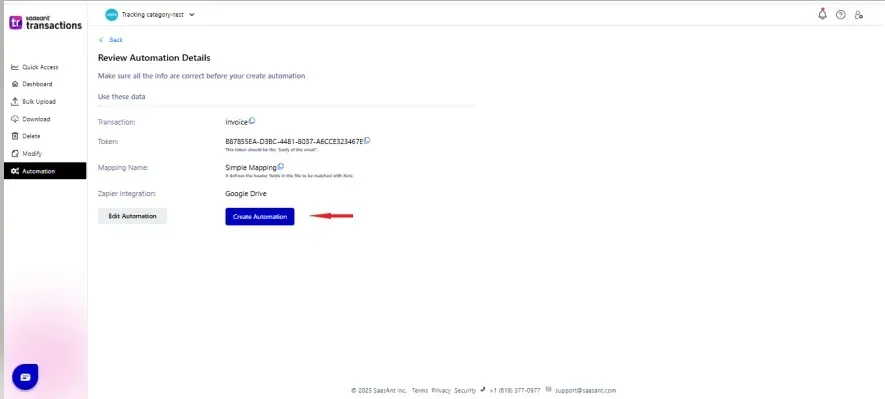
A Secret Token ID will be displayed for secure processing. Make a note of this token — it will be used later in the Zapier authentication step.
Note: The source email address will be used for notification emails.
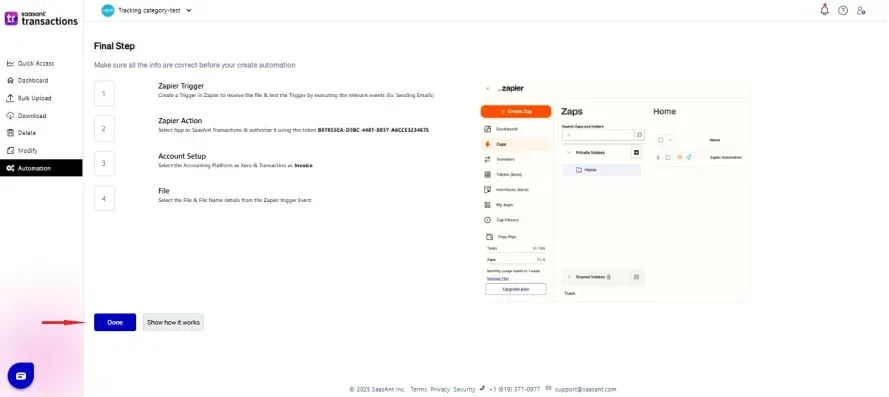
Connect Zapier with SaasAnt by Configuring a Trigger and Action
Trigger Setup:
Log in to your Zapier account and click Create a Zap.
Choose Email by Zapier from the App & Event section.
Select New Inbound Email as the trigger.
Set up the trigger by entering a customized Zapier email address.
Note: This email address will be used to forward files from your source email to trigger the automation.
Test the trigger:
Send a sample email from your source address to the Zapier email.
Use the file type in the subject and token ID in the body of the email.
Once the test email is received, Zapier will list it in the Zapier Mailbox.
Action Setup:
In the Action step, select SaasAnt Transactions from the Apps & Events section.
Choose Create Transactions as the action.
Sign in to SaasAnt Transactions.
Enter the Token ID in the Zapier authentication screen to connect.
Choose the accounting platform as Xero.
Select the transaction type.
Choose the file (this will be the same attachment that was emailed).
Test the action — Zapier will send the file to SaasAnt.
Once successful, Publish the Zap.
Note: Zapier will deliver the file to SaasAnt, and SaasAnt will automatically import it into Xero.
How to Track Your Automation History
You can track the success or failure of the imported file through the following:
A) Email Notifications
Confirmation Email: Sent to the source email once the file is received.
Error Notification Email: Lists any errors during processing along with suggestions.
Import Summary Email: Provides an overview of successes and errors for the submitted file.
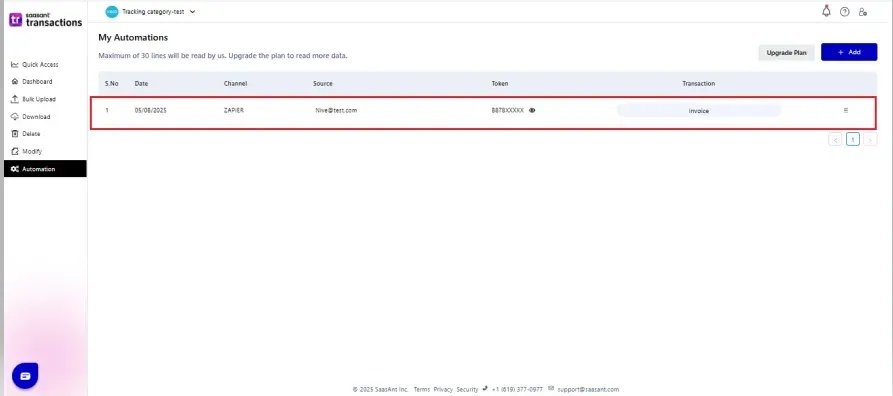
B) Automation History
Go to the Automation tab and select View Jobs in the "My Automation" section.
Click the History icon in the top-right corner to see a detailed analysis including:
Success records
Failure records
Overall import status
Tips & Troubleshooting
Invalid Token ID Error
Occurs when the Token ID entered during Zapier setup doesn't match the original Token ID from SaasAnt. Make sure to enter it accurately.
Email Address Configuration Error
If the email is sent from an address that doesn't match the configured source email in SaasAnt, it will result in an error. Always use the exact configured source email ID.
Processing Error
If you receive a "processing error" with blank success/error counts, it likely means the uploaded file is empty. Recheck the data sheet before uploading.
Need Help?
If you need any assistance while setting up Zapier automation with SaasAnt Transactions for Xero, feel free to reach out to our support team at:
📧 support@saasant.com