How to Import Data into QuickBooks Using Local Folder Automation with SaasAnt Transactions Online
January 1, 2025
SaasAnt Transactions Online offers a powerful Local Folder Automation feature that simplifies data import. You can automate file transfer directly into QuickBooks by configuring a local folder on your computer as a source. This feature eliminates the need for manual uploads and saves valuable time. SaasAnt also eliminates the cost of purchasing an FTP folder, as It provides this feature free with your automation subscription.
Benefits of Local Folder Automation
Boost Efficiency
Accountants can automate the daily import of client bank statements into QuickBooks, eliminating manual uploads and freeing time for more critical tasks.Maximize Time
Bookkeepers can streamline transaction data imports, saving weekly hours and dedicating more time to critical tasks such as payroll and financial reporting.Reduce Errors
Small businesses can ensure accurate financial records by automating the import of invoices from their POS systems directly into QuickBooks, reducing human error from manual data entry.Streamline Workflow Integration
Bookkeepers can automate data imports from various software platforms into QuickBooks, creating a seamless workflow across multiple client accounts without disruption.Flexible for Different Users
Accountants can set up automated imports for multiple clients, bookkeepers can streamline processes for several businesses, and small business owners can easily import sales data, improving efficiency and accuracy across all financial operations.
Step-by-Step Guide to Configuring Local Folder Automation in SaasAnt Transactions Online
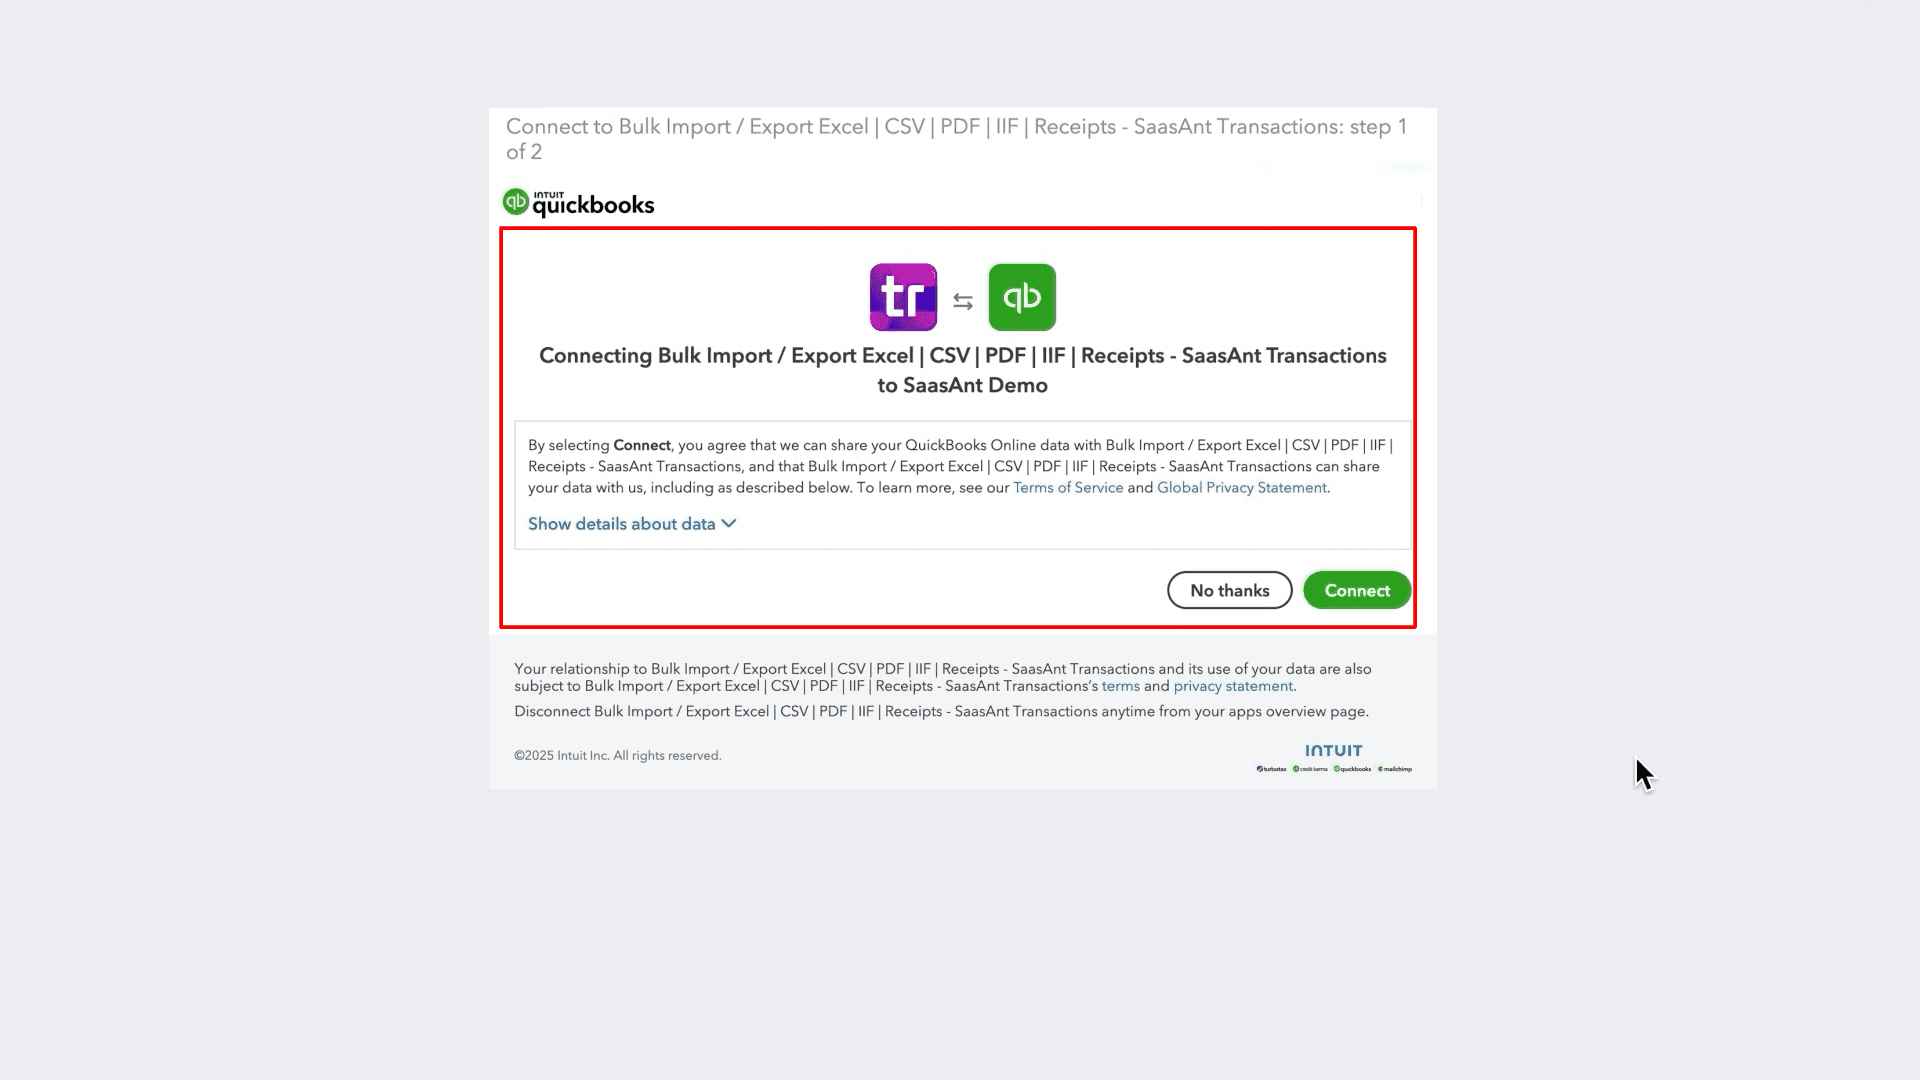
Log in to SaasAnt Transactions Online and connect with QuickBooks Online Account.
Navigate to the Automation tab.
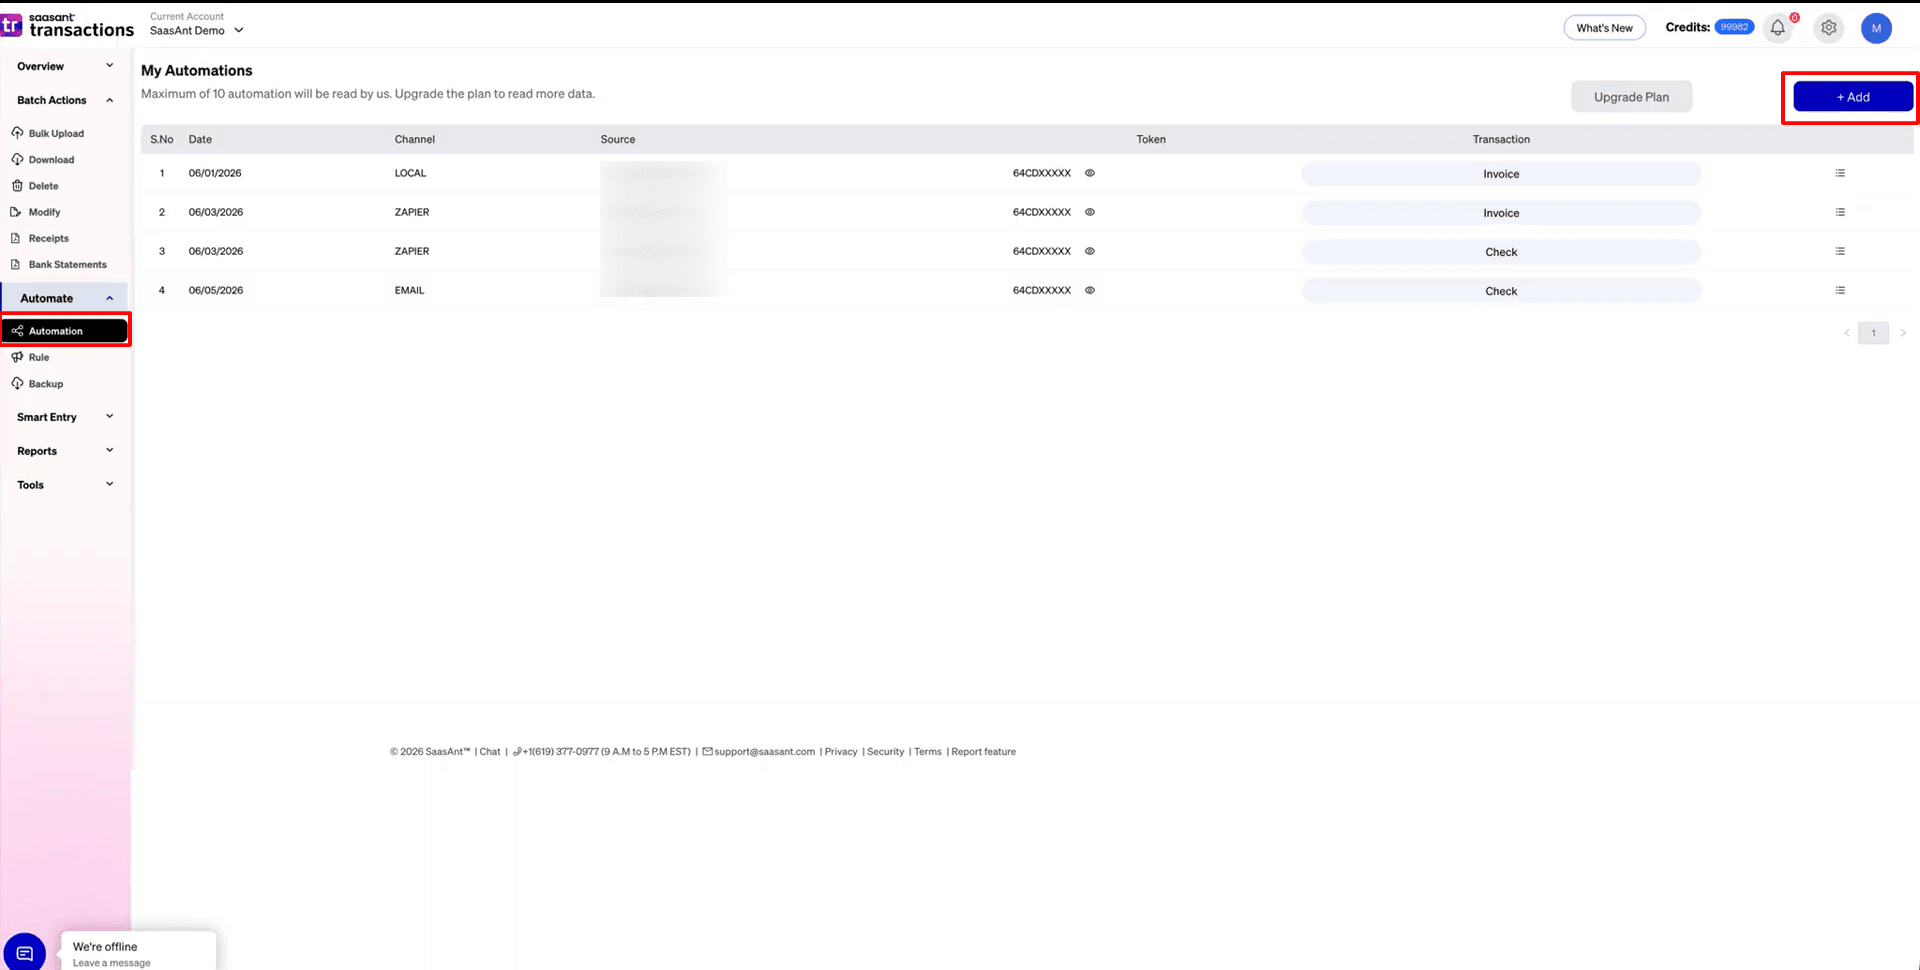
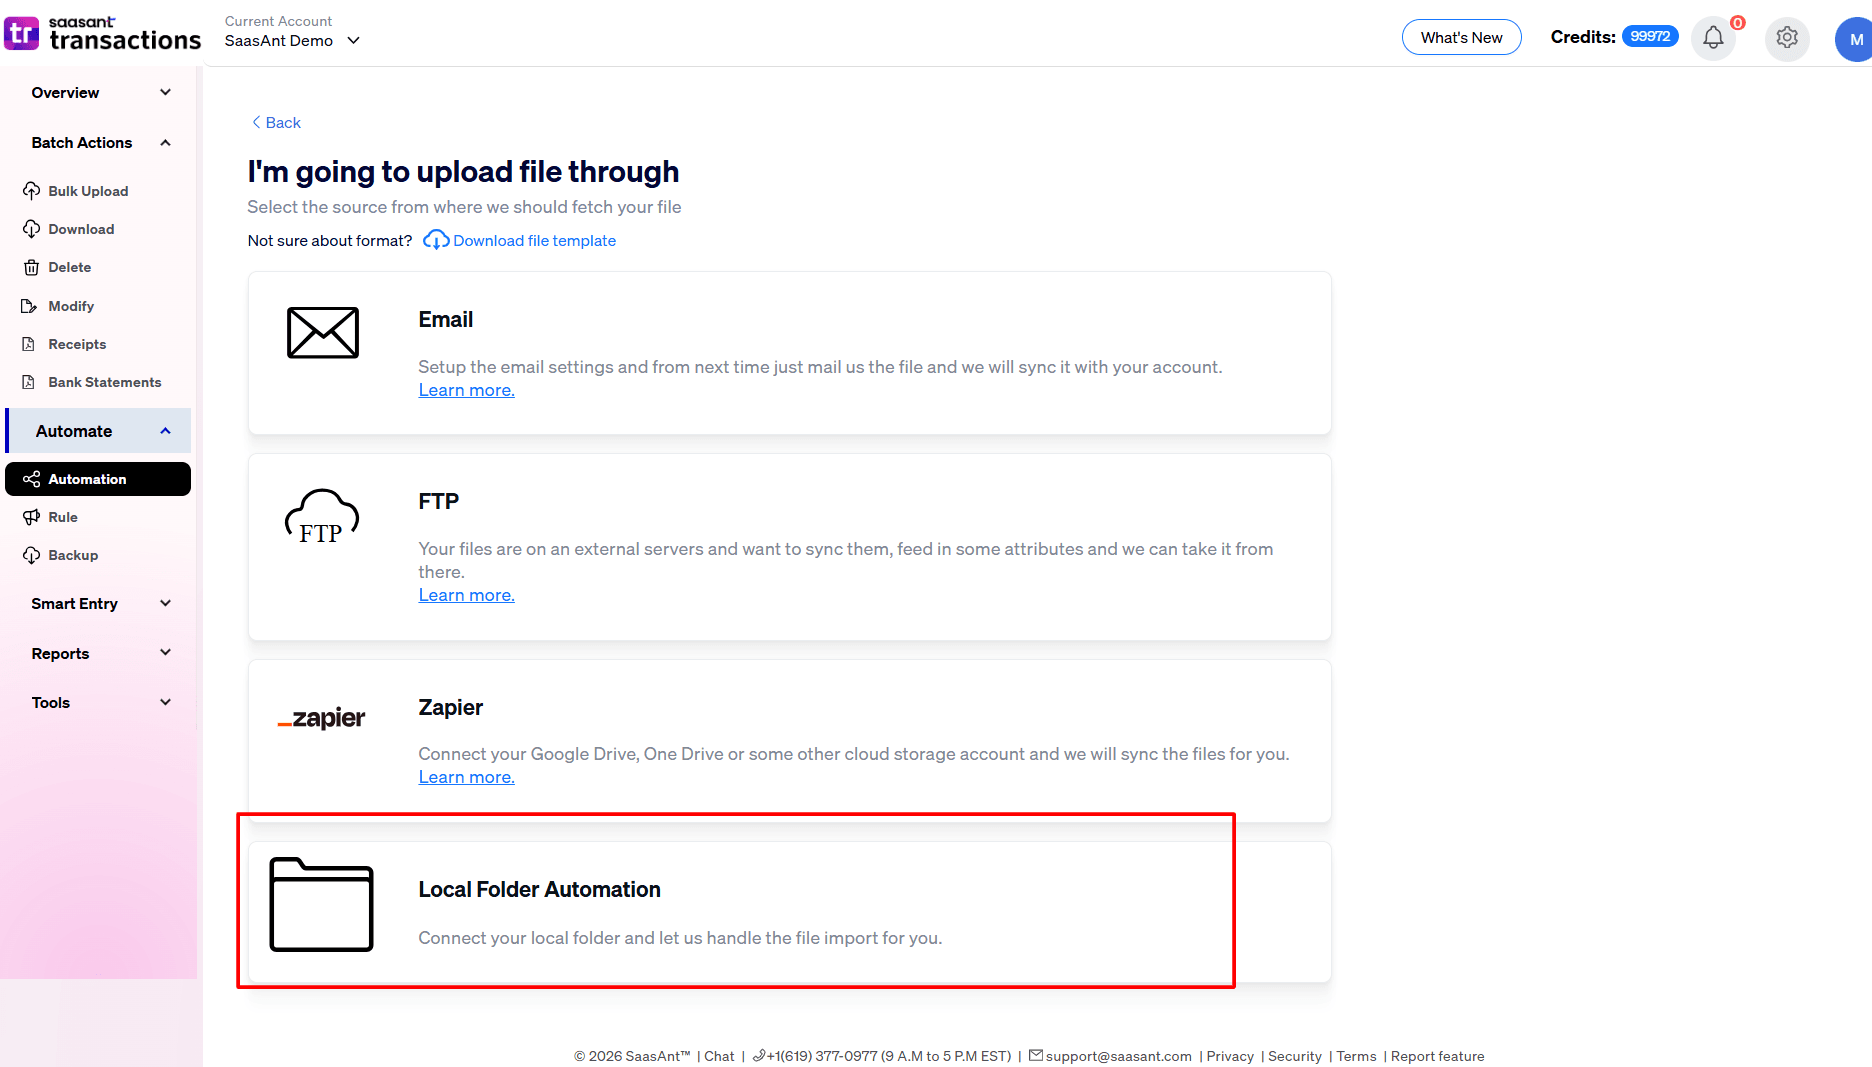
Select Local Folder Automation as your source.
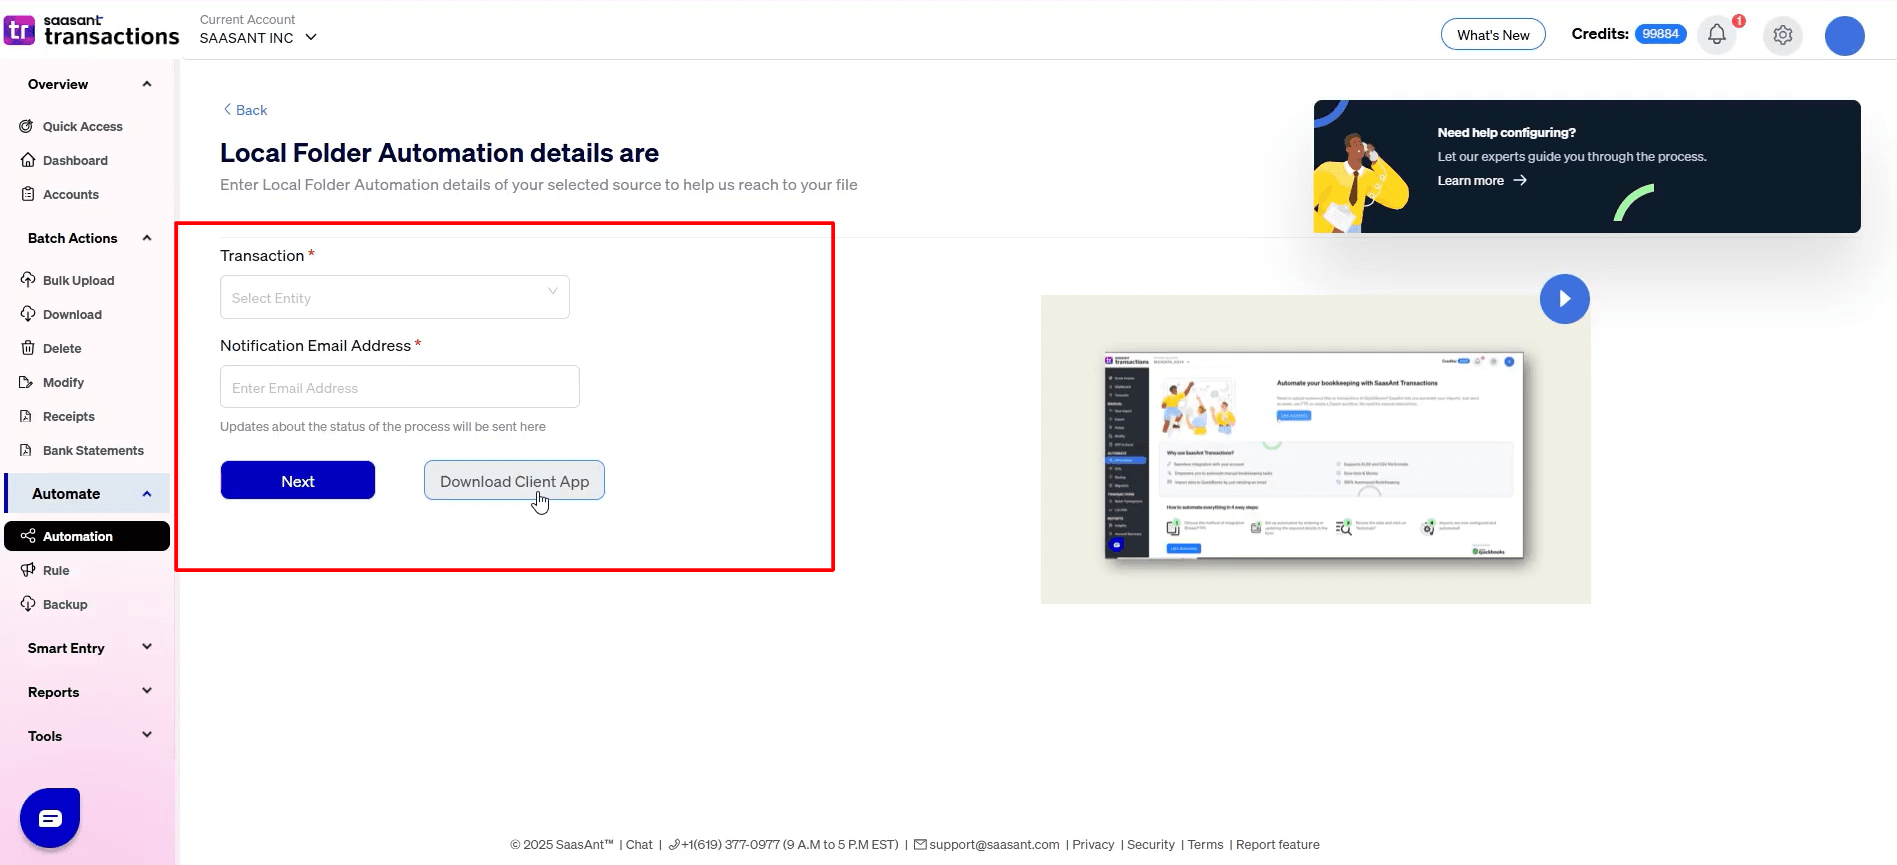
Choose the transaction type and enter the email address.
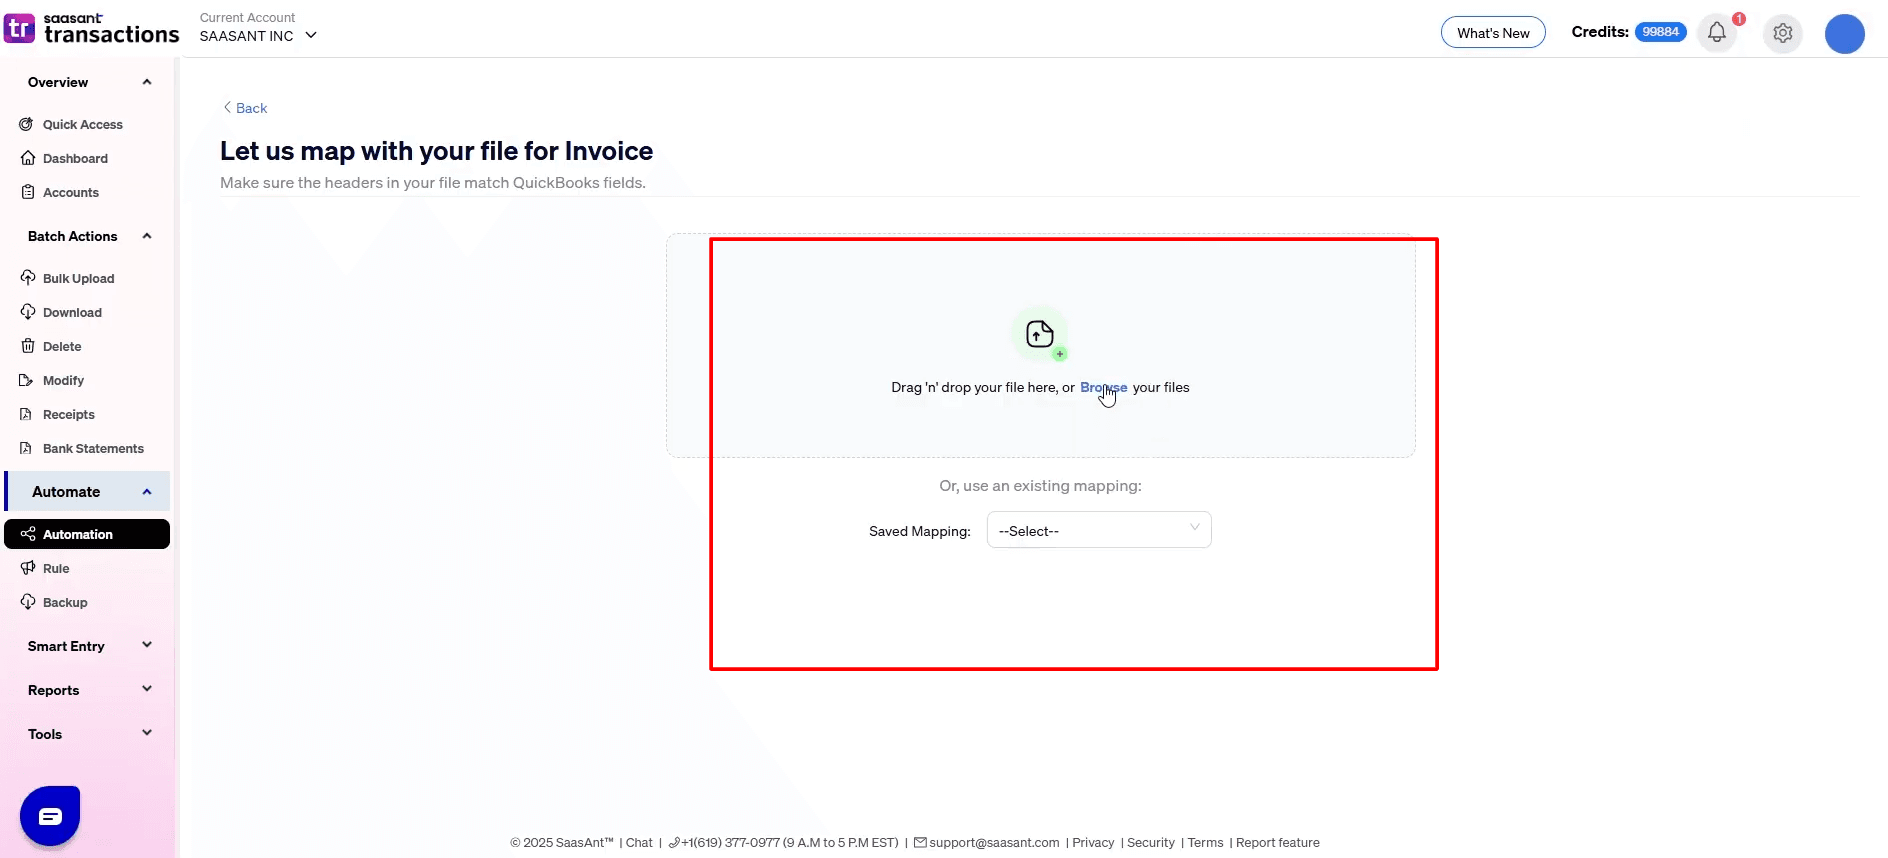
Browse and upload your file from the local folder, then click Open to create the mapping.
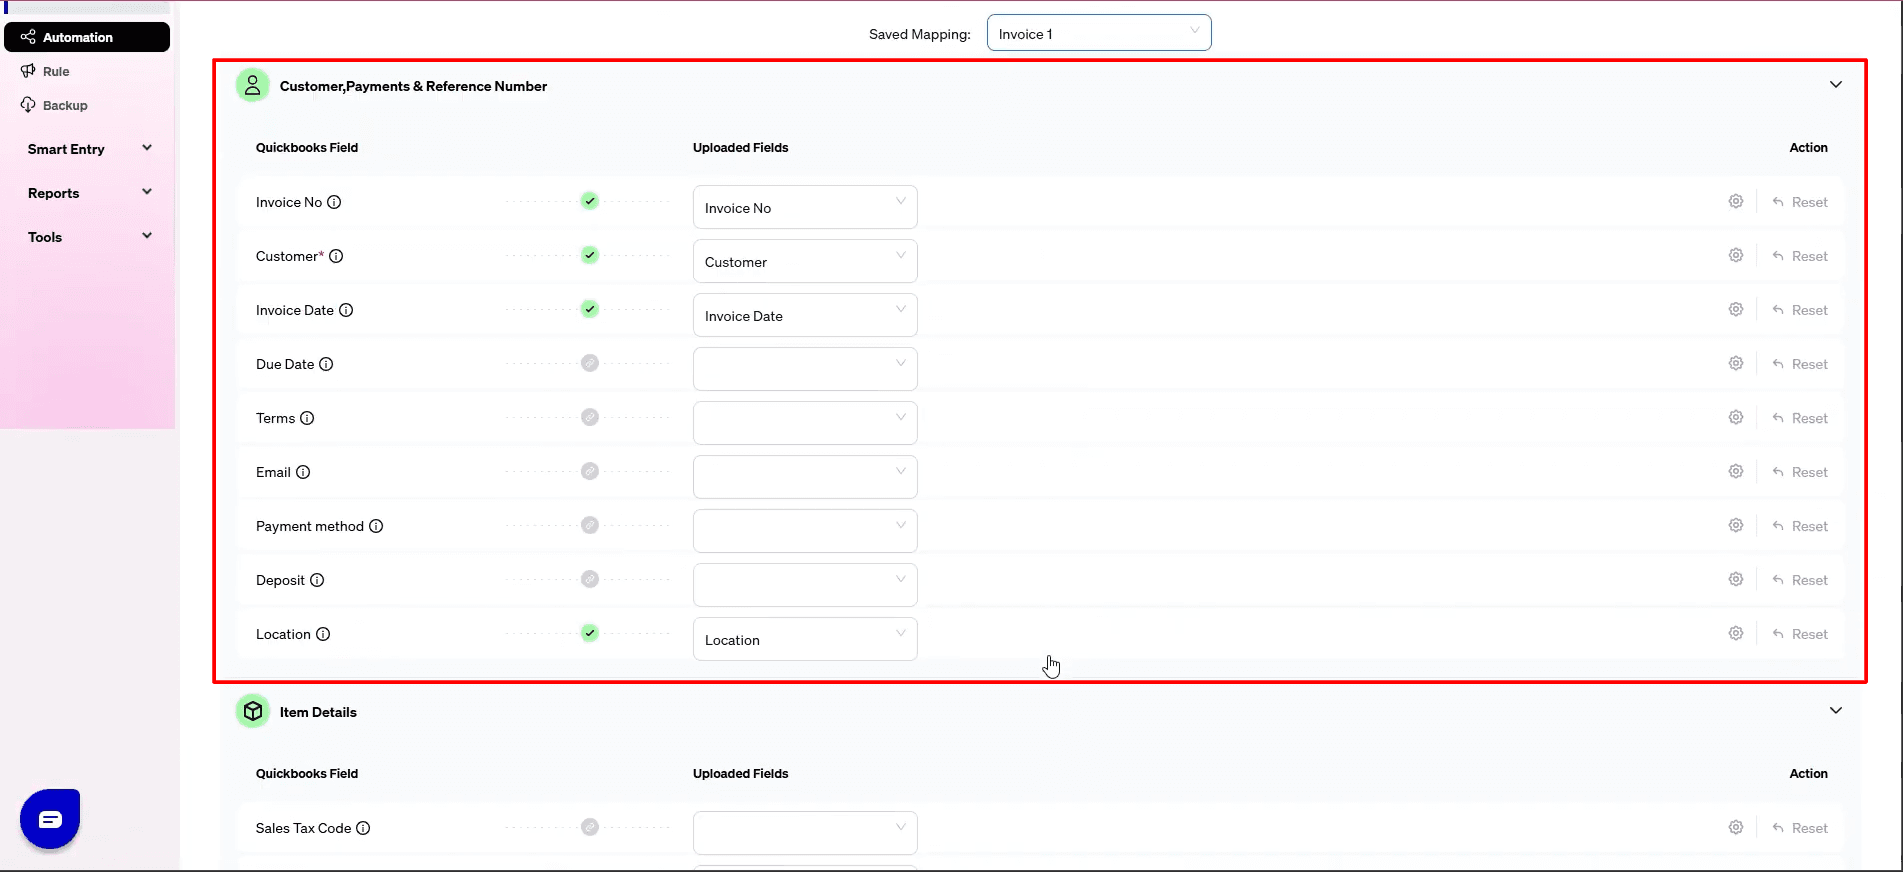
6 ) Configure the file to match the header fields with your SaasAnt Transaction data using the drop-down options.
 7) Review your automation setup and complete the process.
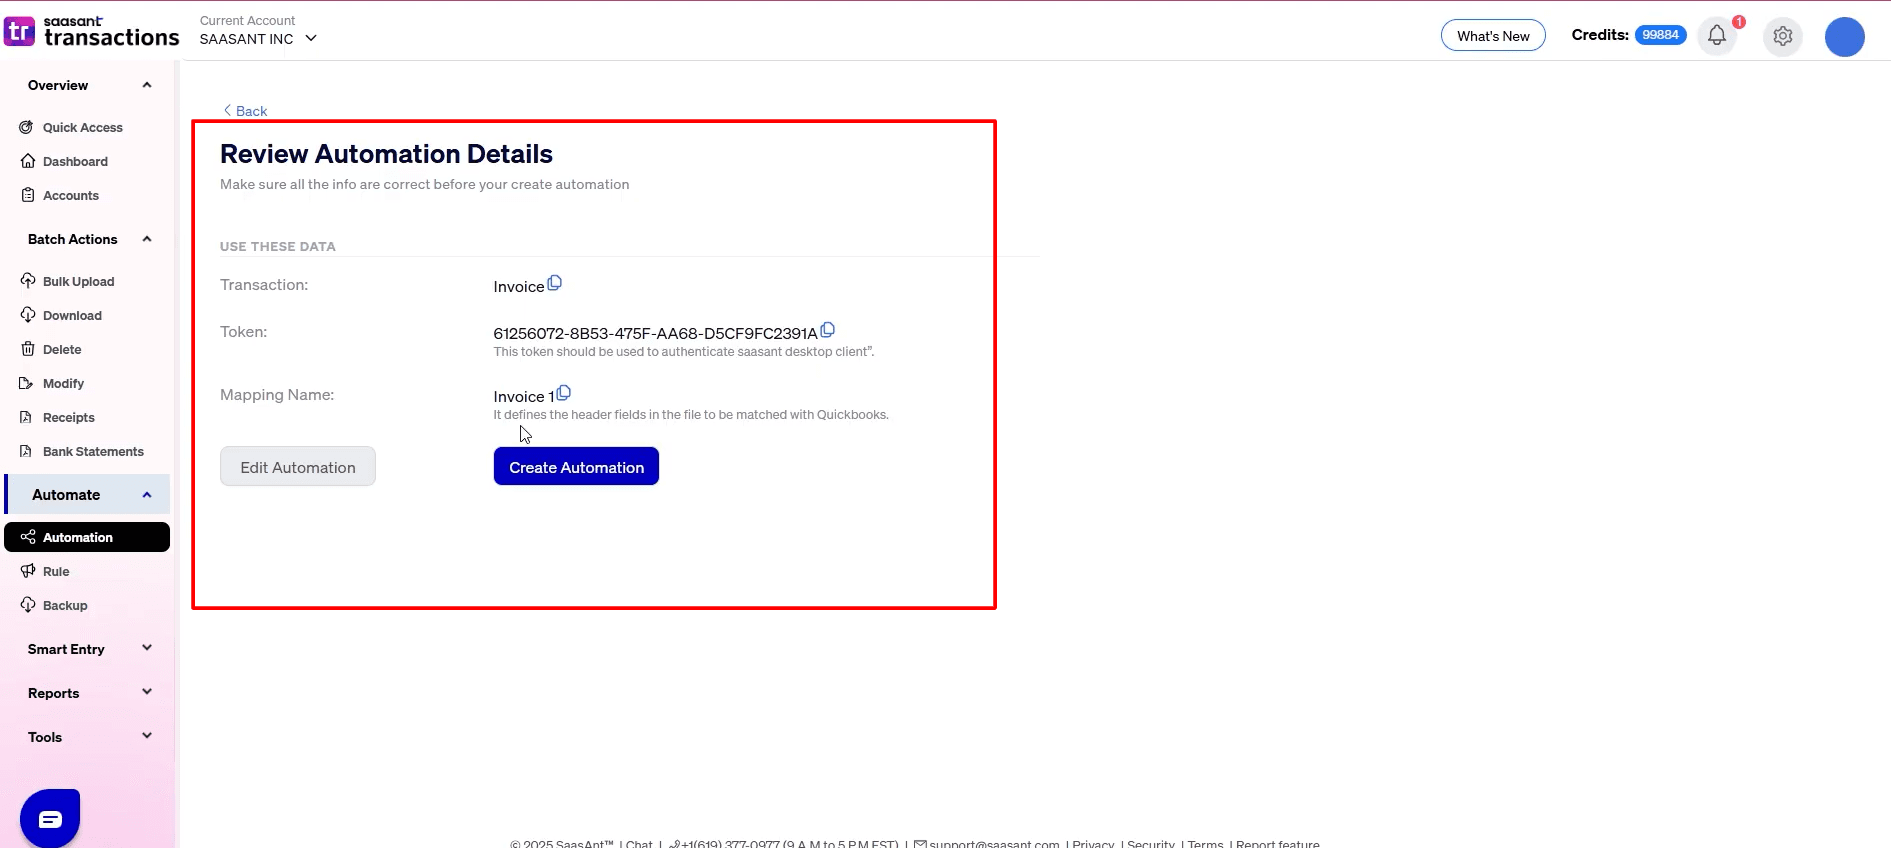
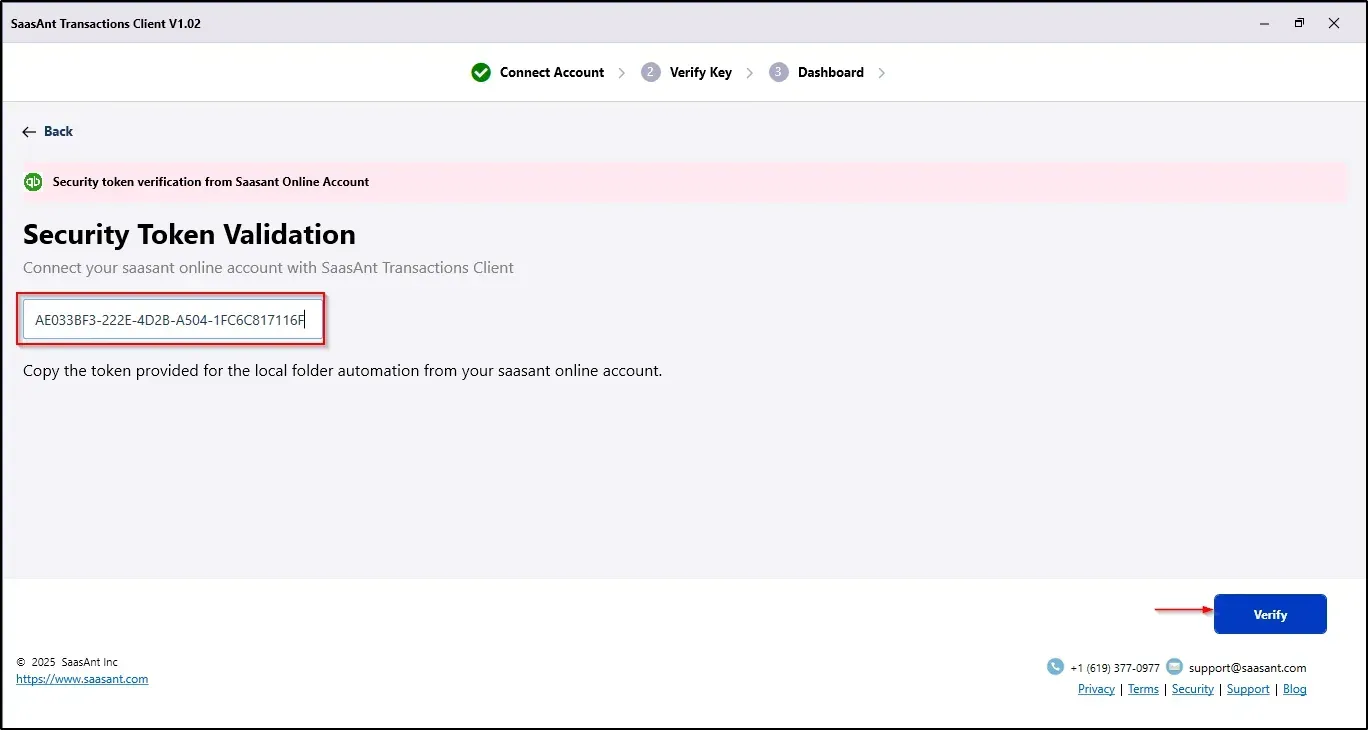
Important Note: A secret Token ID is displayed for secure file processing. Ensure you note down this Token ID and store it securely.
Token ID: This secret key (a combination of unique numbers and letters) authenticates your account. Without it, the system cannot import your files into QuickBooks.
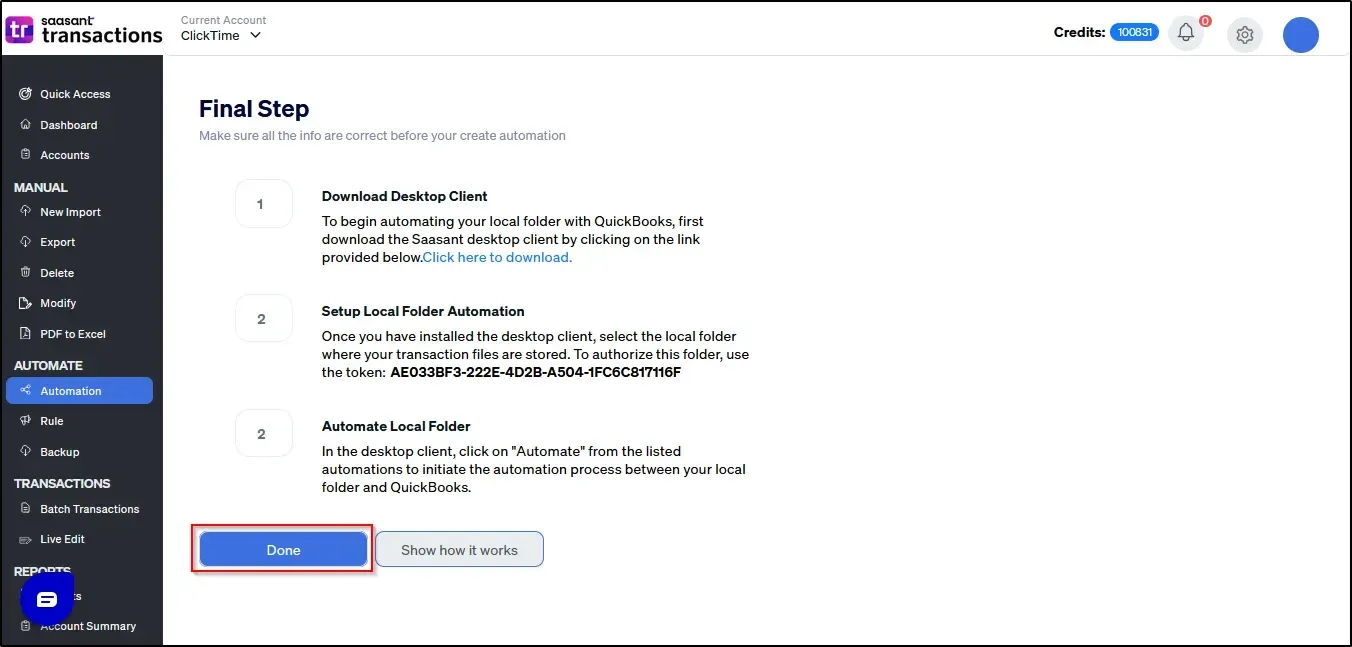
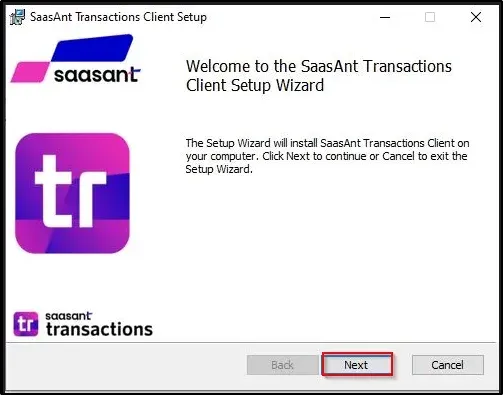
Installing the SaasAnt Transactions Client
1 Download the Client App: Click here to download the SaasAnt desktop client.
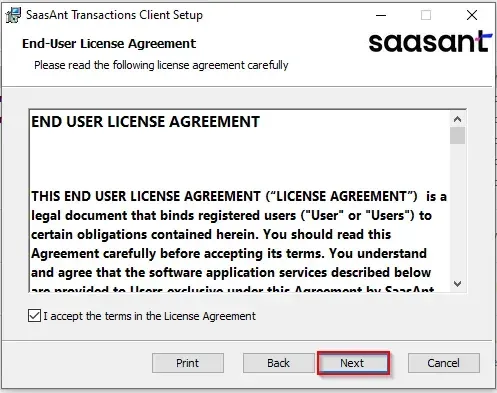
2) Run the MSI file (e.g., SaasAntTransactions-Client_V1.0.2.7).
 3) Agree to the End User License Agreement and click Next.
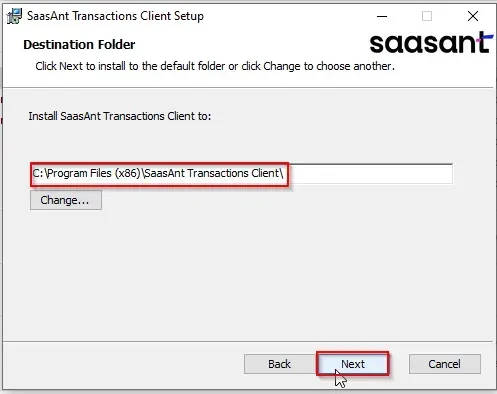
4) Select the installation path for the SaasAnt Transactions Client.
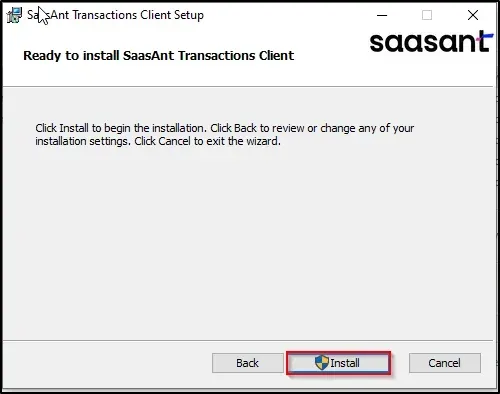
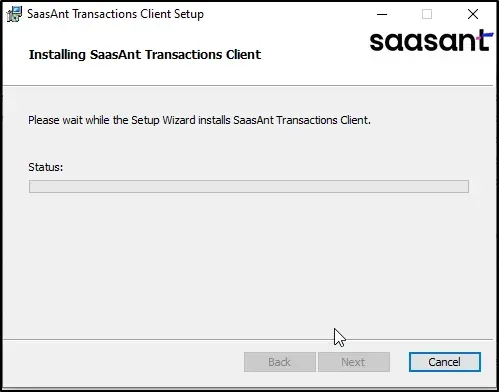
5) Click Install and wait for the installation to complete.
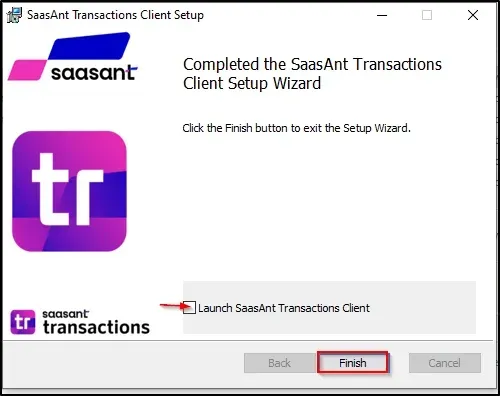
Click Finish to launch the application.
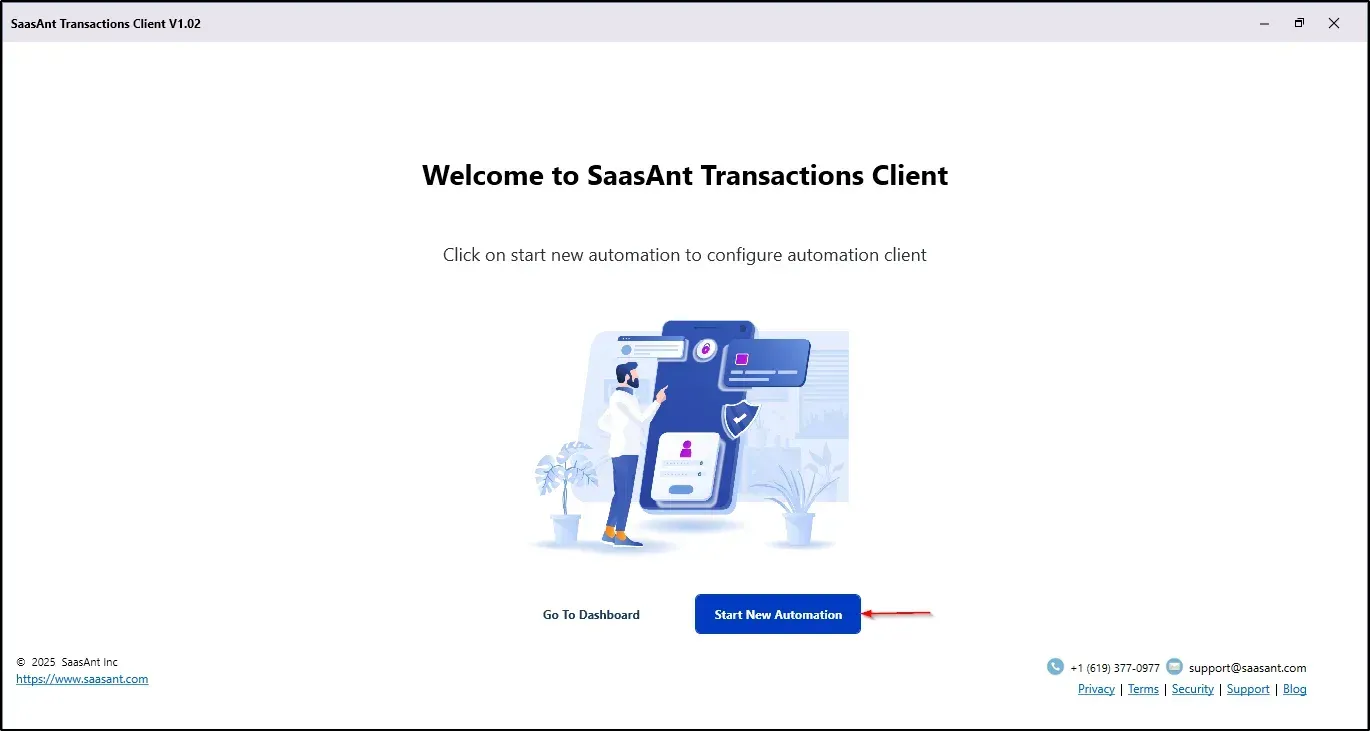
Setting Up Automation
Click on Start New Automation.
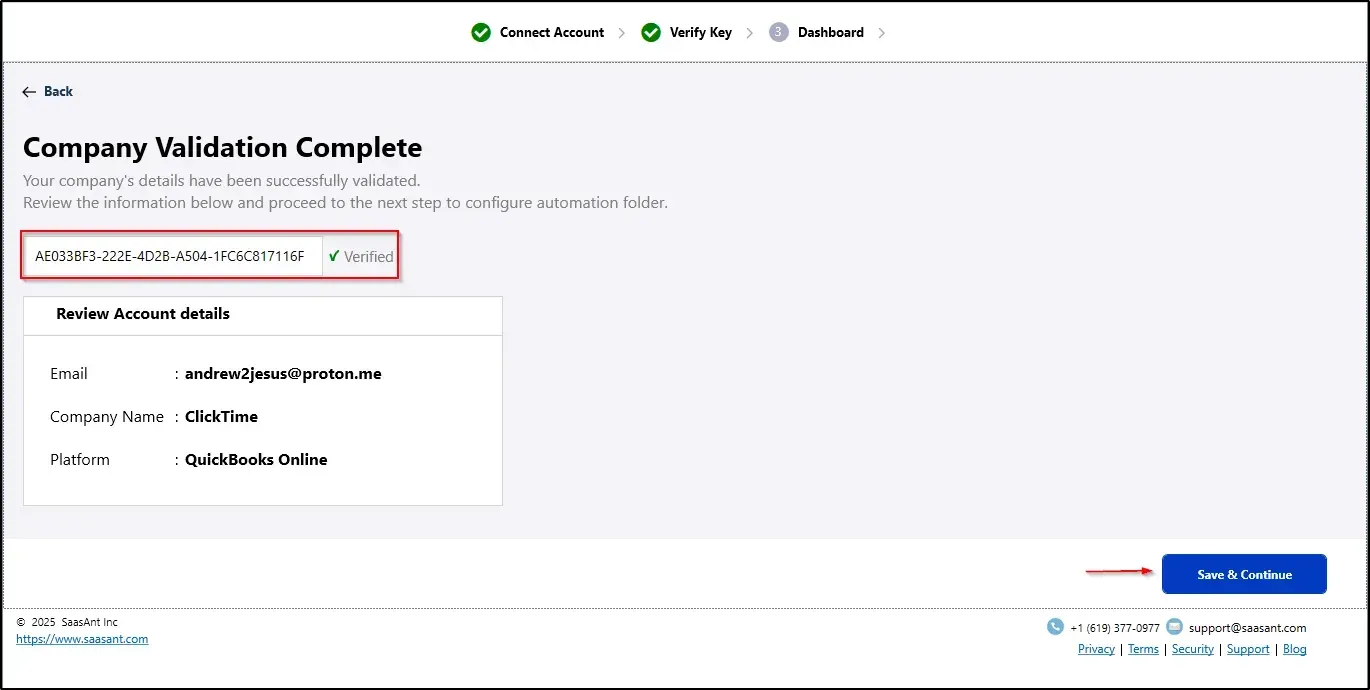
Enter the security Token ID in the validation dialog box.
Once the company validation is complete, click Save & Continue.
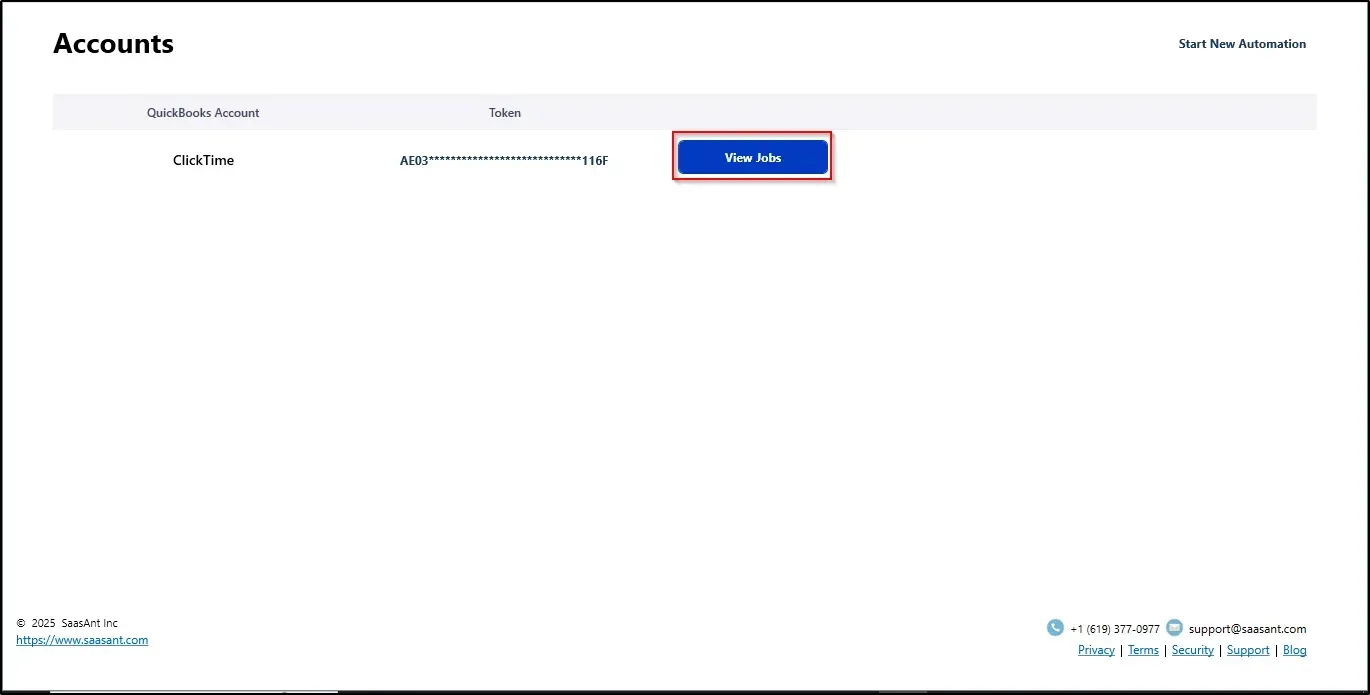
Navigate to View Jobs
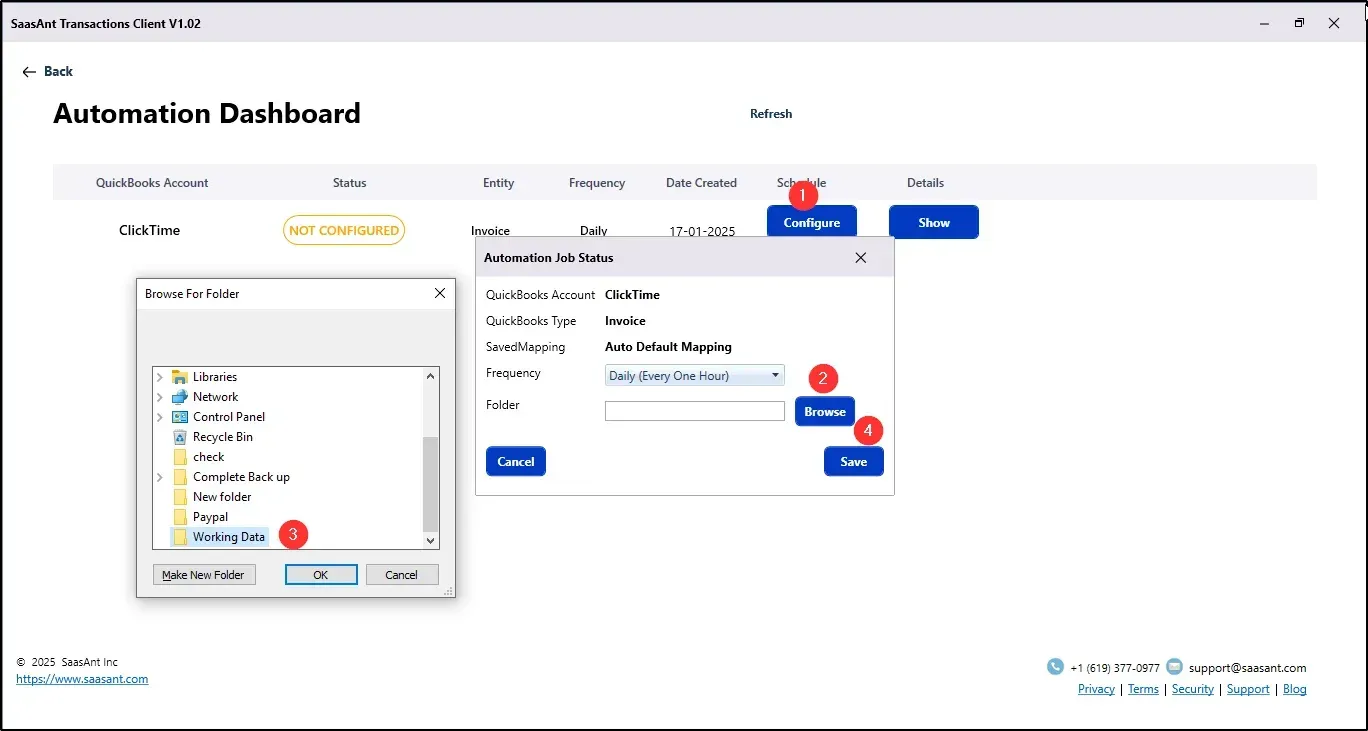
Click Configure to set up the automation process.
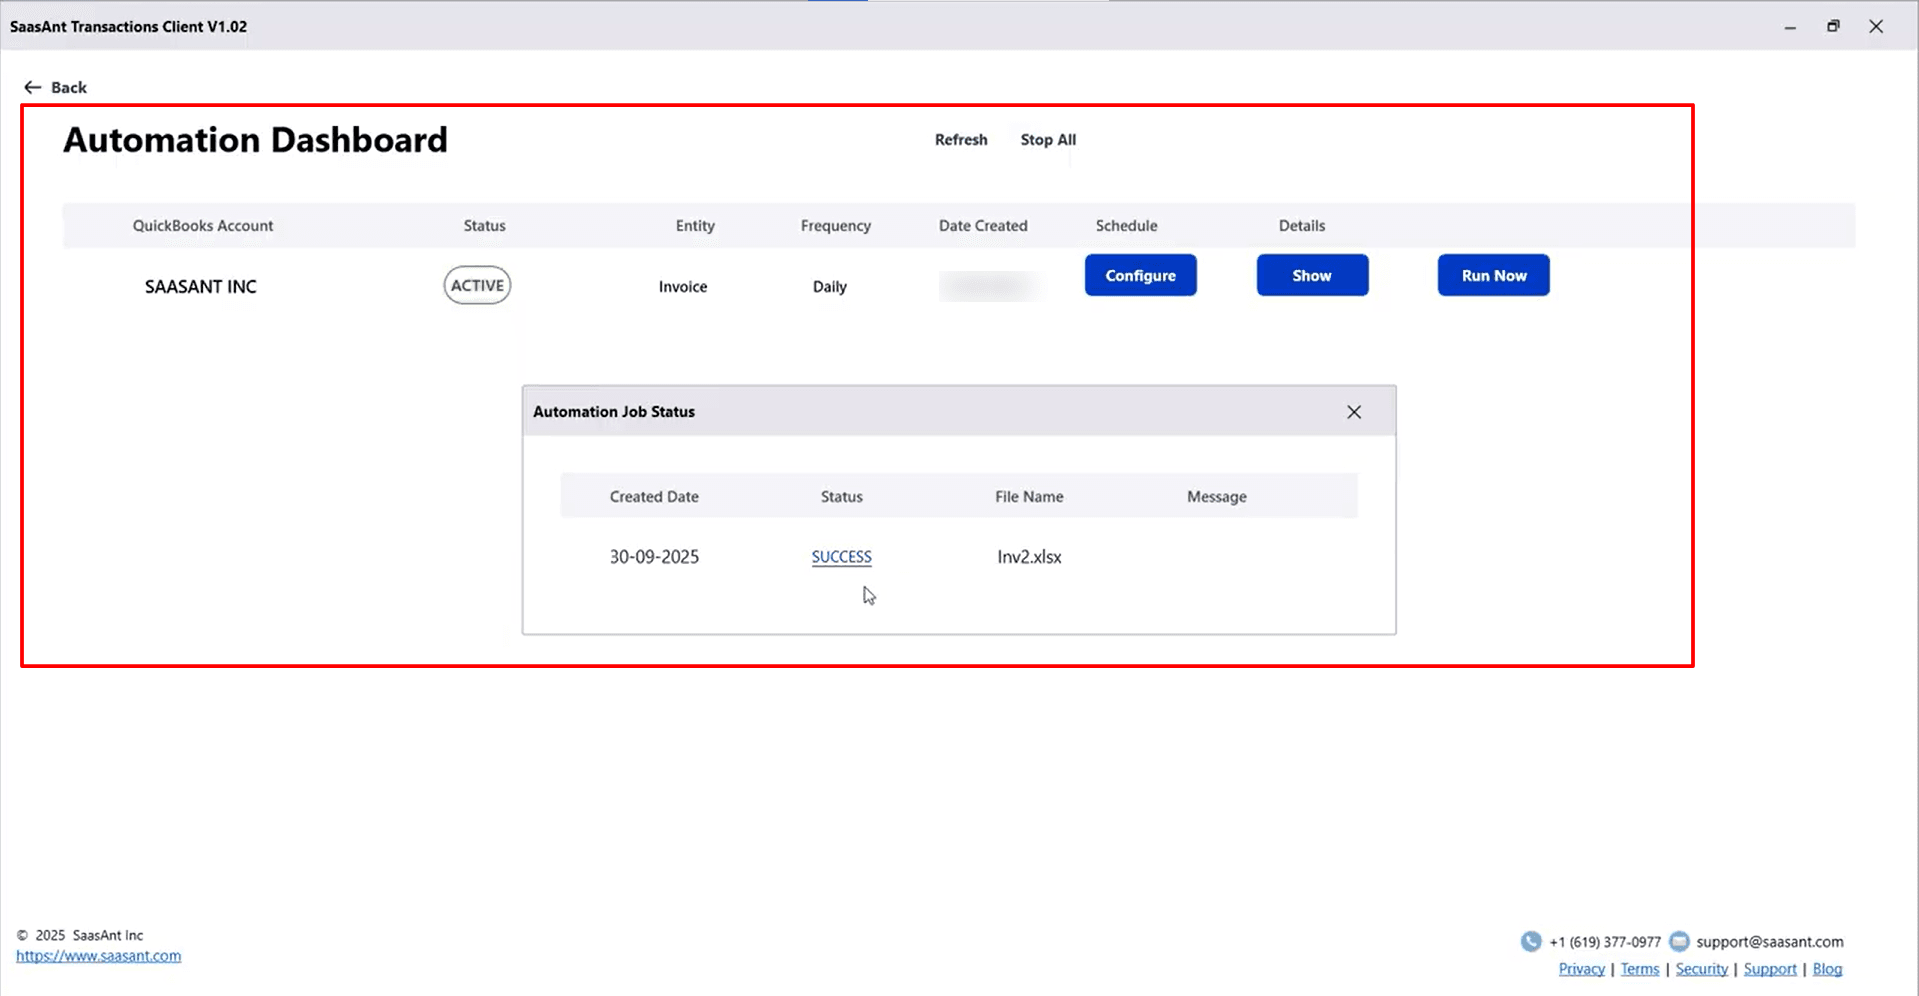
How to track your automation history
Finding errors and the causes of process errors can be rectified by tracking your file.
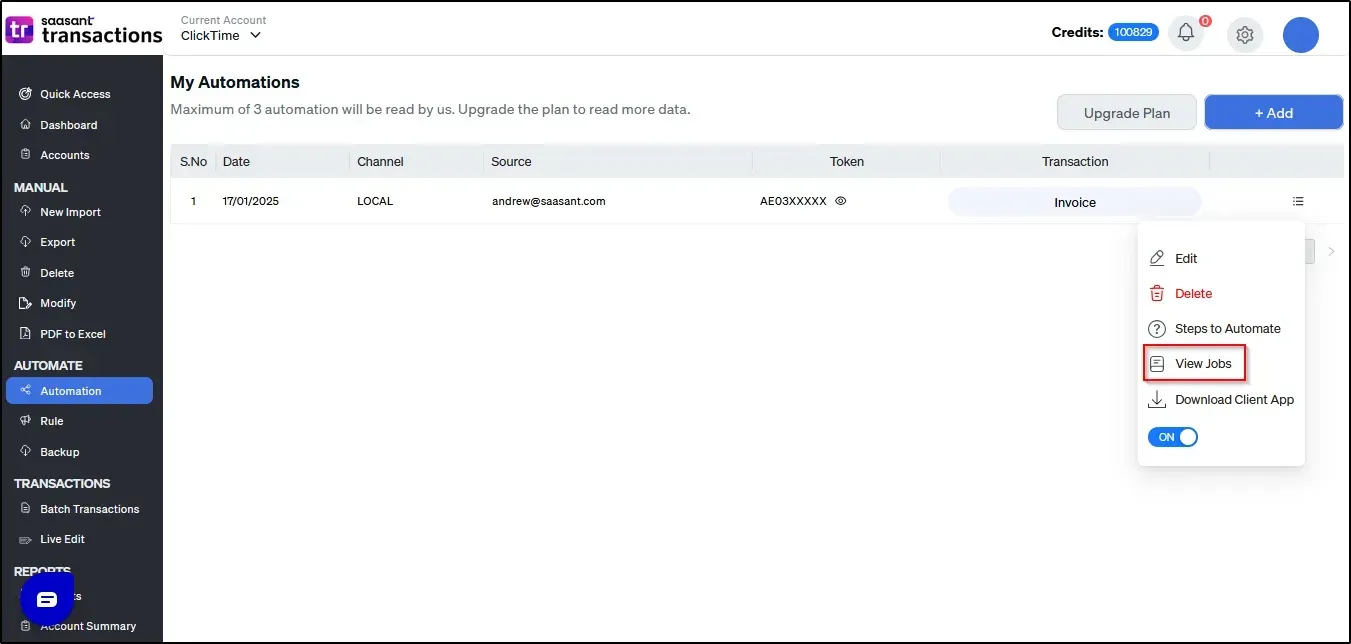
To track and find out the import success status of your file, choose automation and then view jobs on the "my automation" page.
FAQs
Can I import different transaction types from a shared folder?
Yes. You can define configurations for various transaction types using the Import Automation feature.How can I modify automation settings?
Go to My Automation from the menu, click Edit, and update the settings.Can I pause or disable Import Automation?
Yes. Use the Import Automation feature in the My Automation menu to enable or disable automation as needed.How do I verify if Import Automation was successful?
Access the Audit Logs under the Import Automation feature to review the status of imported data.Can I instantly run Import Automation?
Yes. Go to Import Automation under the Automation menu and click Run Now to process files instantly.How frequently are files processed?
SaasAnt checks the configured folder every hour and processes each file individually.
If you have any questions or need assistance, please contact us at support@saasant.com.