How to Upload Receipts in Quickbooks Using Saasant Transaction Online
February 21, 2025
Easily Manage Receipts with SaasAnt Transaction Online
Handling receipts is often a significant challenge for businesses of all sizes, as lost paperwork, manual entry, and categorization errors can slow down bookkeeping. SaasAnt Transactions Online's AI technology automatically extracts and matches key details, such as vendor names, dates, tax, and amounts, directly into QuickBooks, allowing businesses to upload and manage receipts in bulk quickly. This automation not only saves hours of repetitive work but also ensures accurate records, real-time financial visibility, and smoother reconciliations.
Let’s explore how to upload receipts in SaasAnt Transaction Online, step by step process:
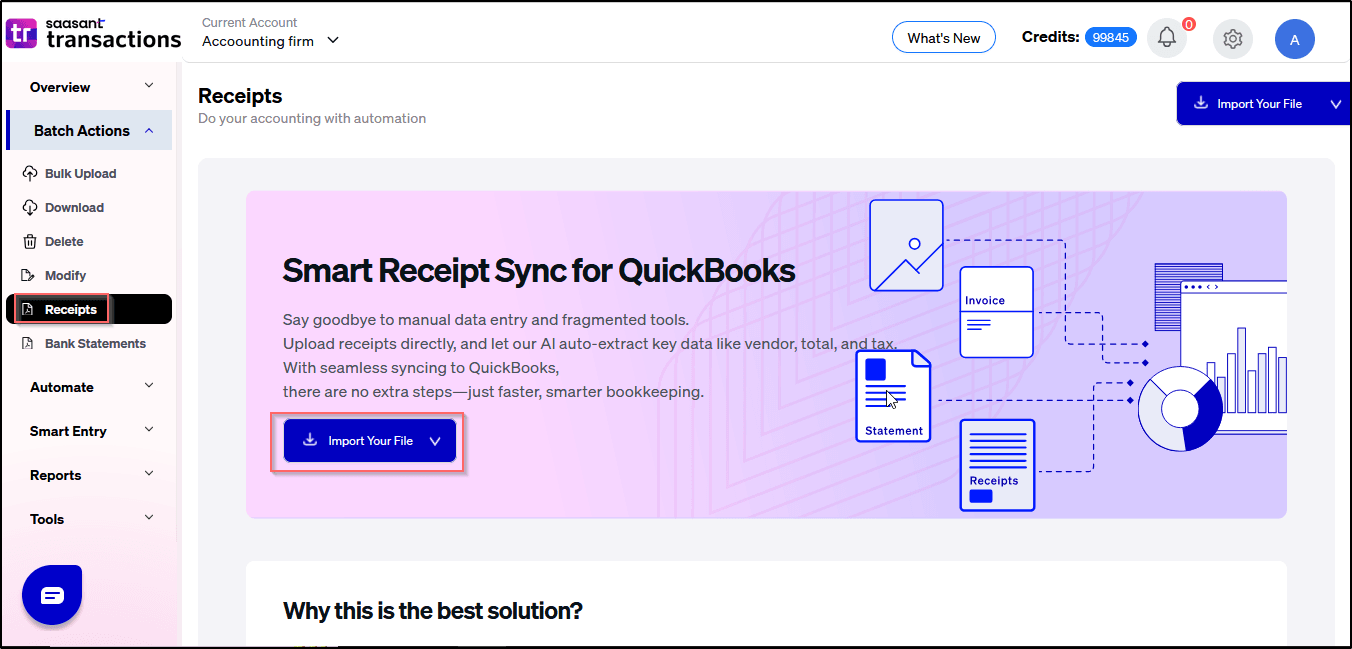
1) Login into SaasAnt Transaction Online
2) Select Receipts.
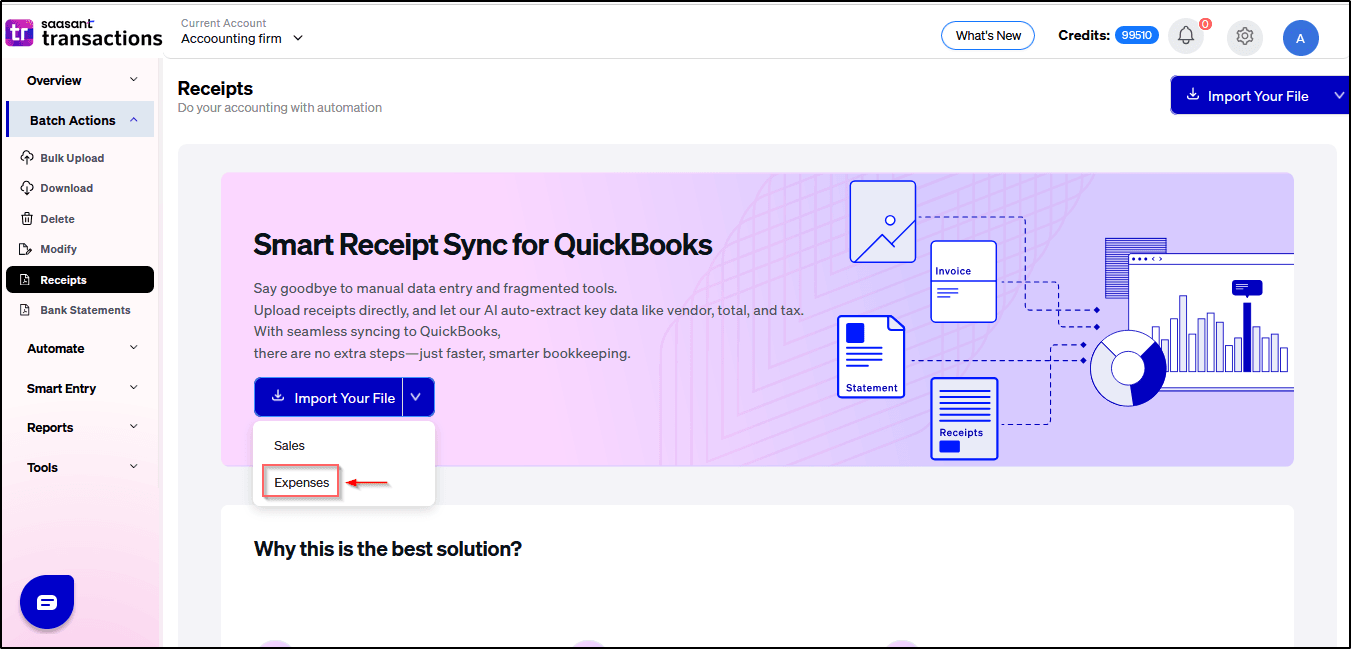
3) Select Sales or Expenses depending on the type of receipt
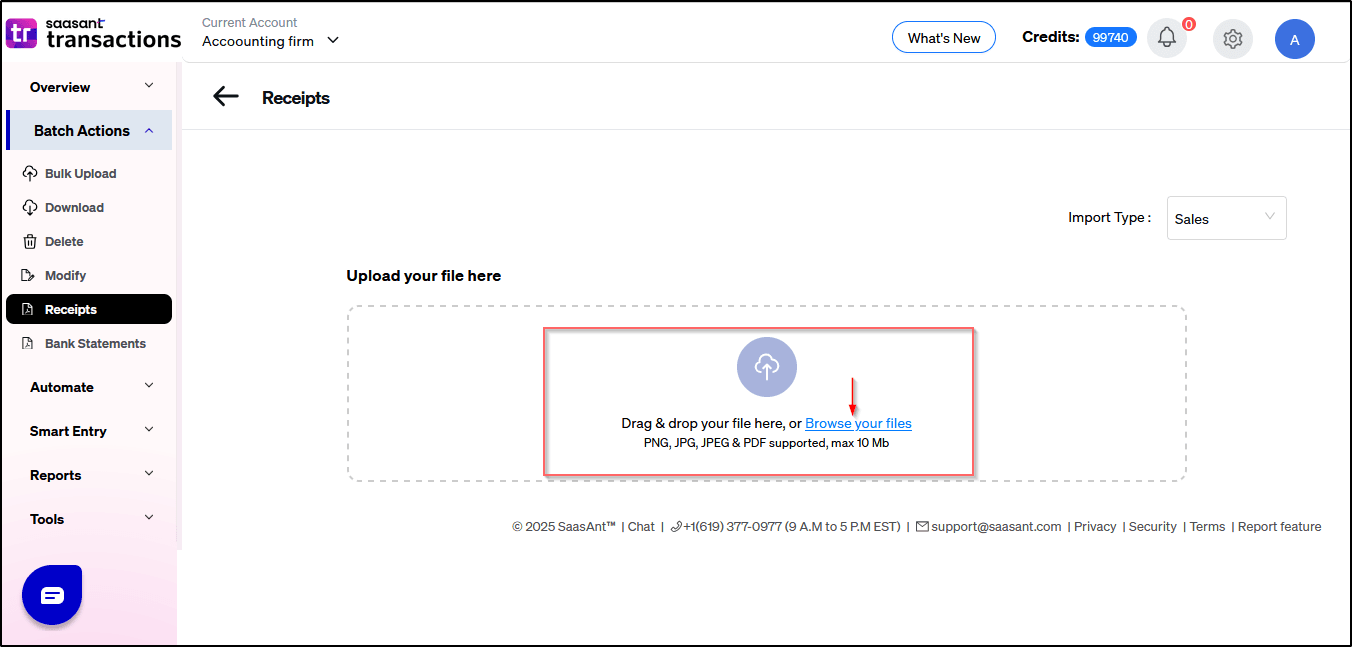
4) Choose the file you want to upload from your system.
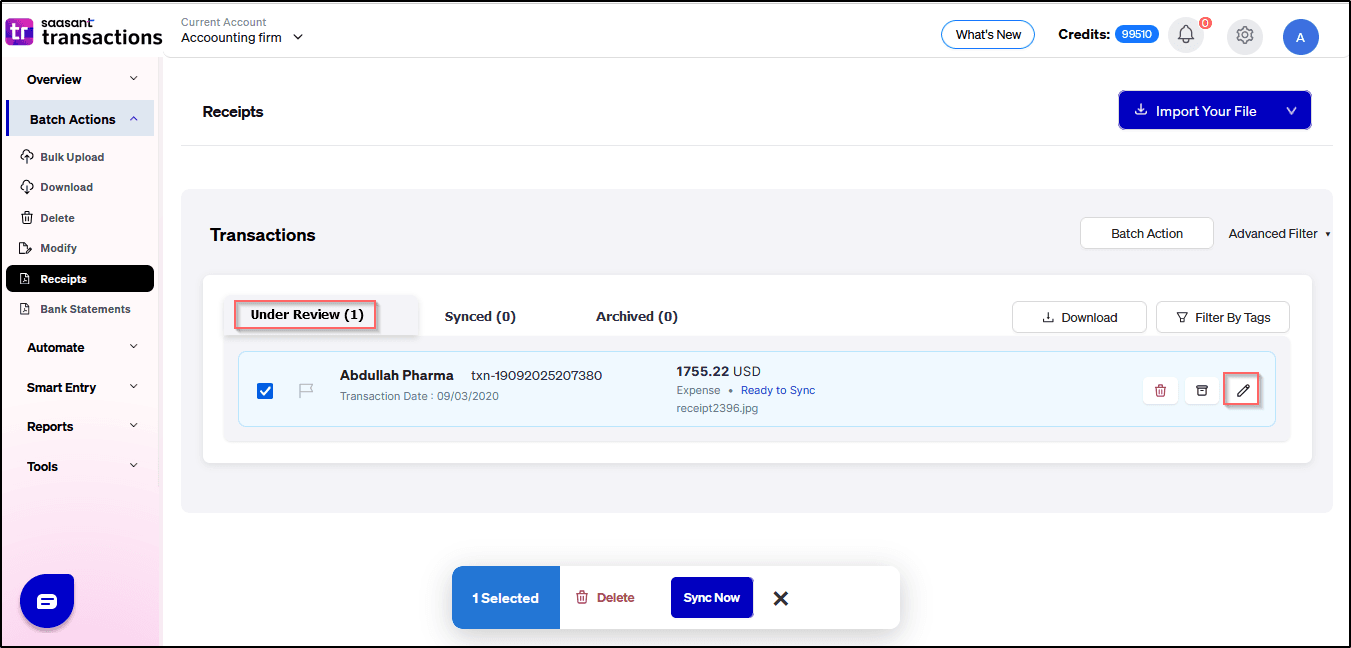
5) The transaction file will be automatically analyzed.

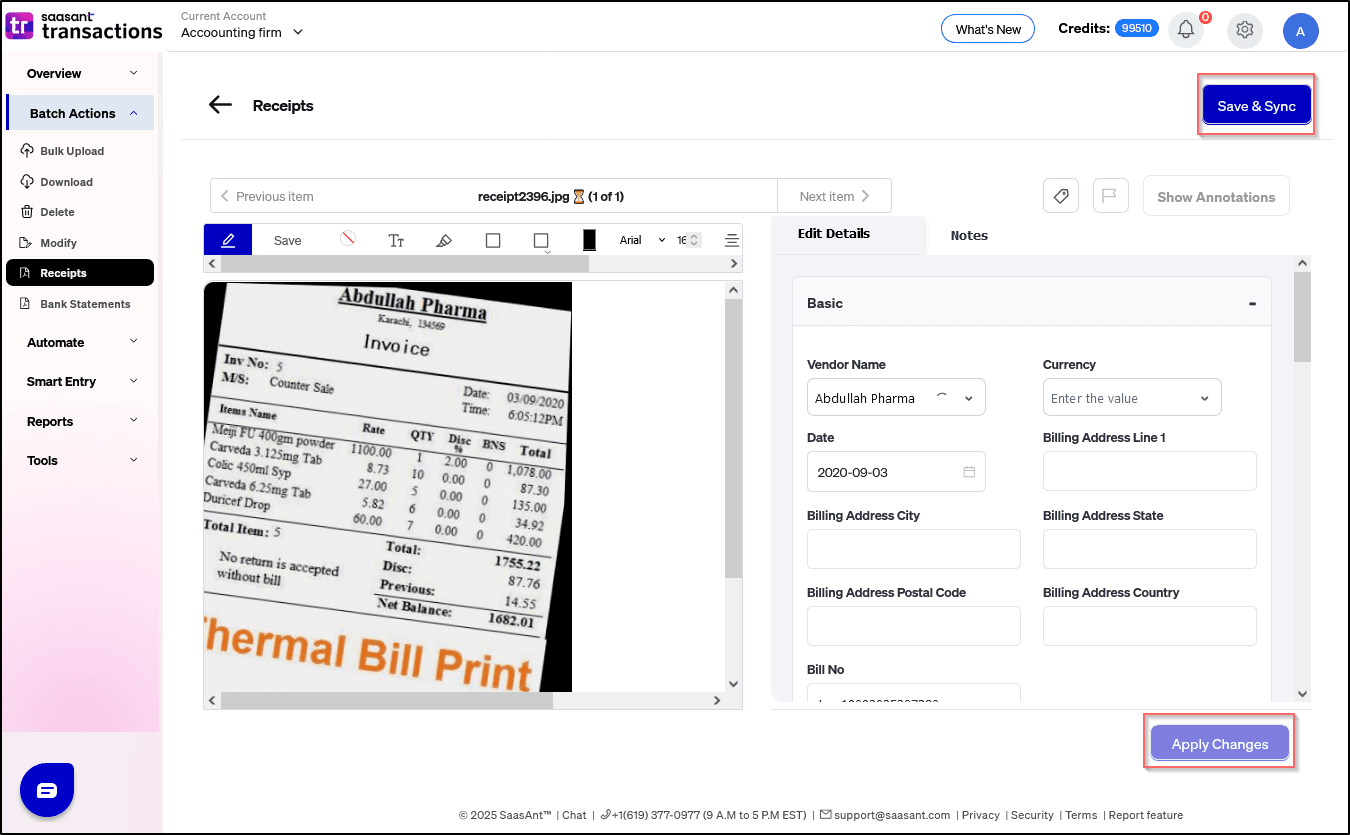
6) Under the Review tab, click the pencil icon to edit the details if needed.
7) Make the necessary changes in the Edit Details section, then click “Apply Changes/Save & Sync”
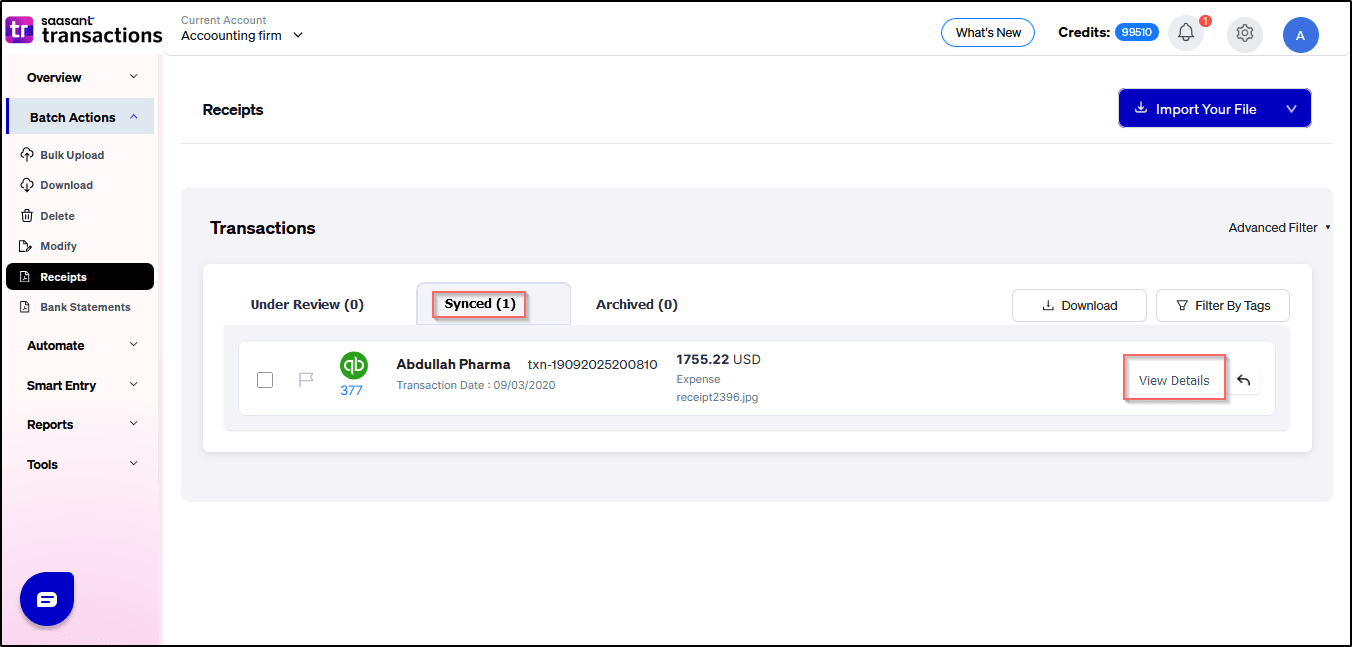
8) Select transactions from the review tab and click on Sync to upload the transaction in bulk.

9) Once completed, your transaction will be successfully synced in to QBO
Frequently Asked Questions (FAQs)
1. What types of transactions are supported for receipt upload?
Ans: SaasAnt Transaction Online supports the following transactions for receipt upload:
Sales
Expenses
2. Does this feature support PDF invoice/receipt uploads?
Ans: Yes, SaasAnt Transaction Online supports receipts/invoice images and PDF uploads.
3. Is this feature available for both Single Company and Multi-Company Plans?
Ans: Yes, the feature is available for both Single Company and Multi-Company plans.
4. Is this feature available during the trial period?
Ans: yes we have this feature in the trial period.
If you have further questions or need assistance, please email us at support@saasant.com. Our team is happy to help you streamline your financial management.