How to Delete Location in QuickBooks Online using SaasAnt Transactions Online
February 26, 2026
This article explains how to delete locations in QuickBooks Online with SaasAnt Transactions Online. It includes steps for checking dependencies, cleaning up, and making sure that no linked transactions are present, allowing company records to stay clean and precise.
Why use SaasAnt for deleting Location?
SaasAnt Transactions Online lets you search with filters, review matching locations, take a backup, and delete multiple locations in just a few clicks.
What should you have before you start?
You need:
SaasAnt Transactions Online installed from the QuickBooks App Store (30-day trial available).
A QuickBooks Online company connected to SaasAnt Transactions Online.

How do you bulk delete locations using SaasAnt?
Step 1: How do you open SaasAnt Transactions Online?
Open the QuickBooks App Store.
Install SaasAnt Transactions Online and connect your QuickBooks Online company.
Launch SaasAnt Transactions Online.
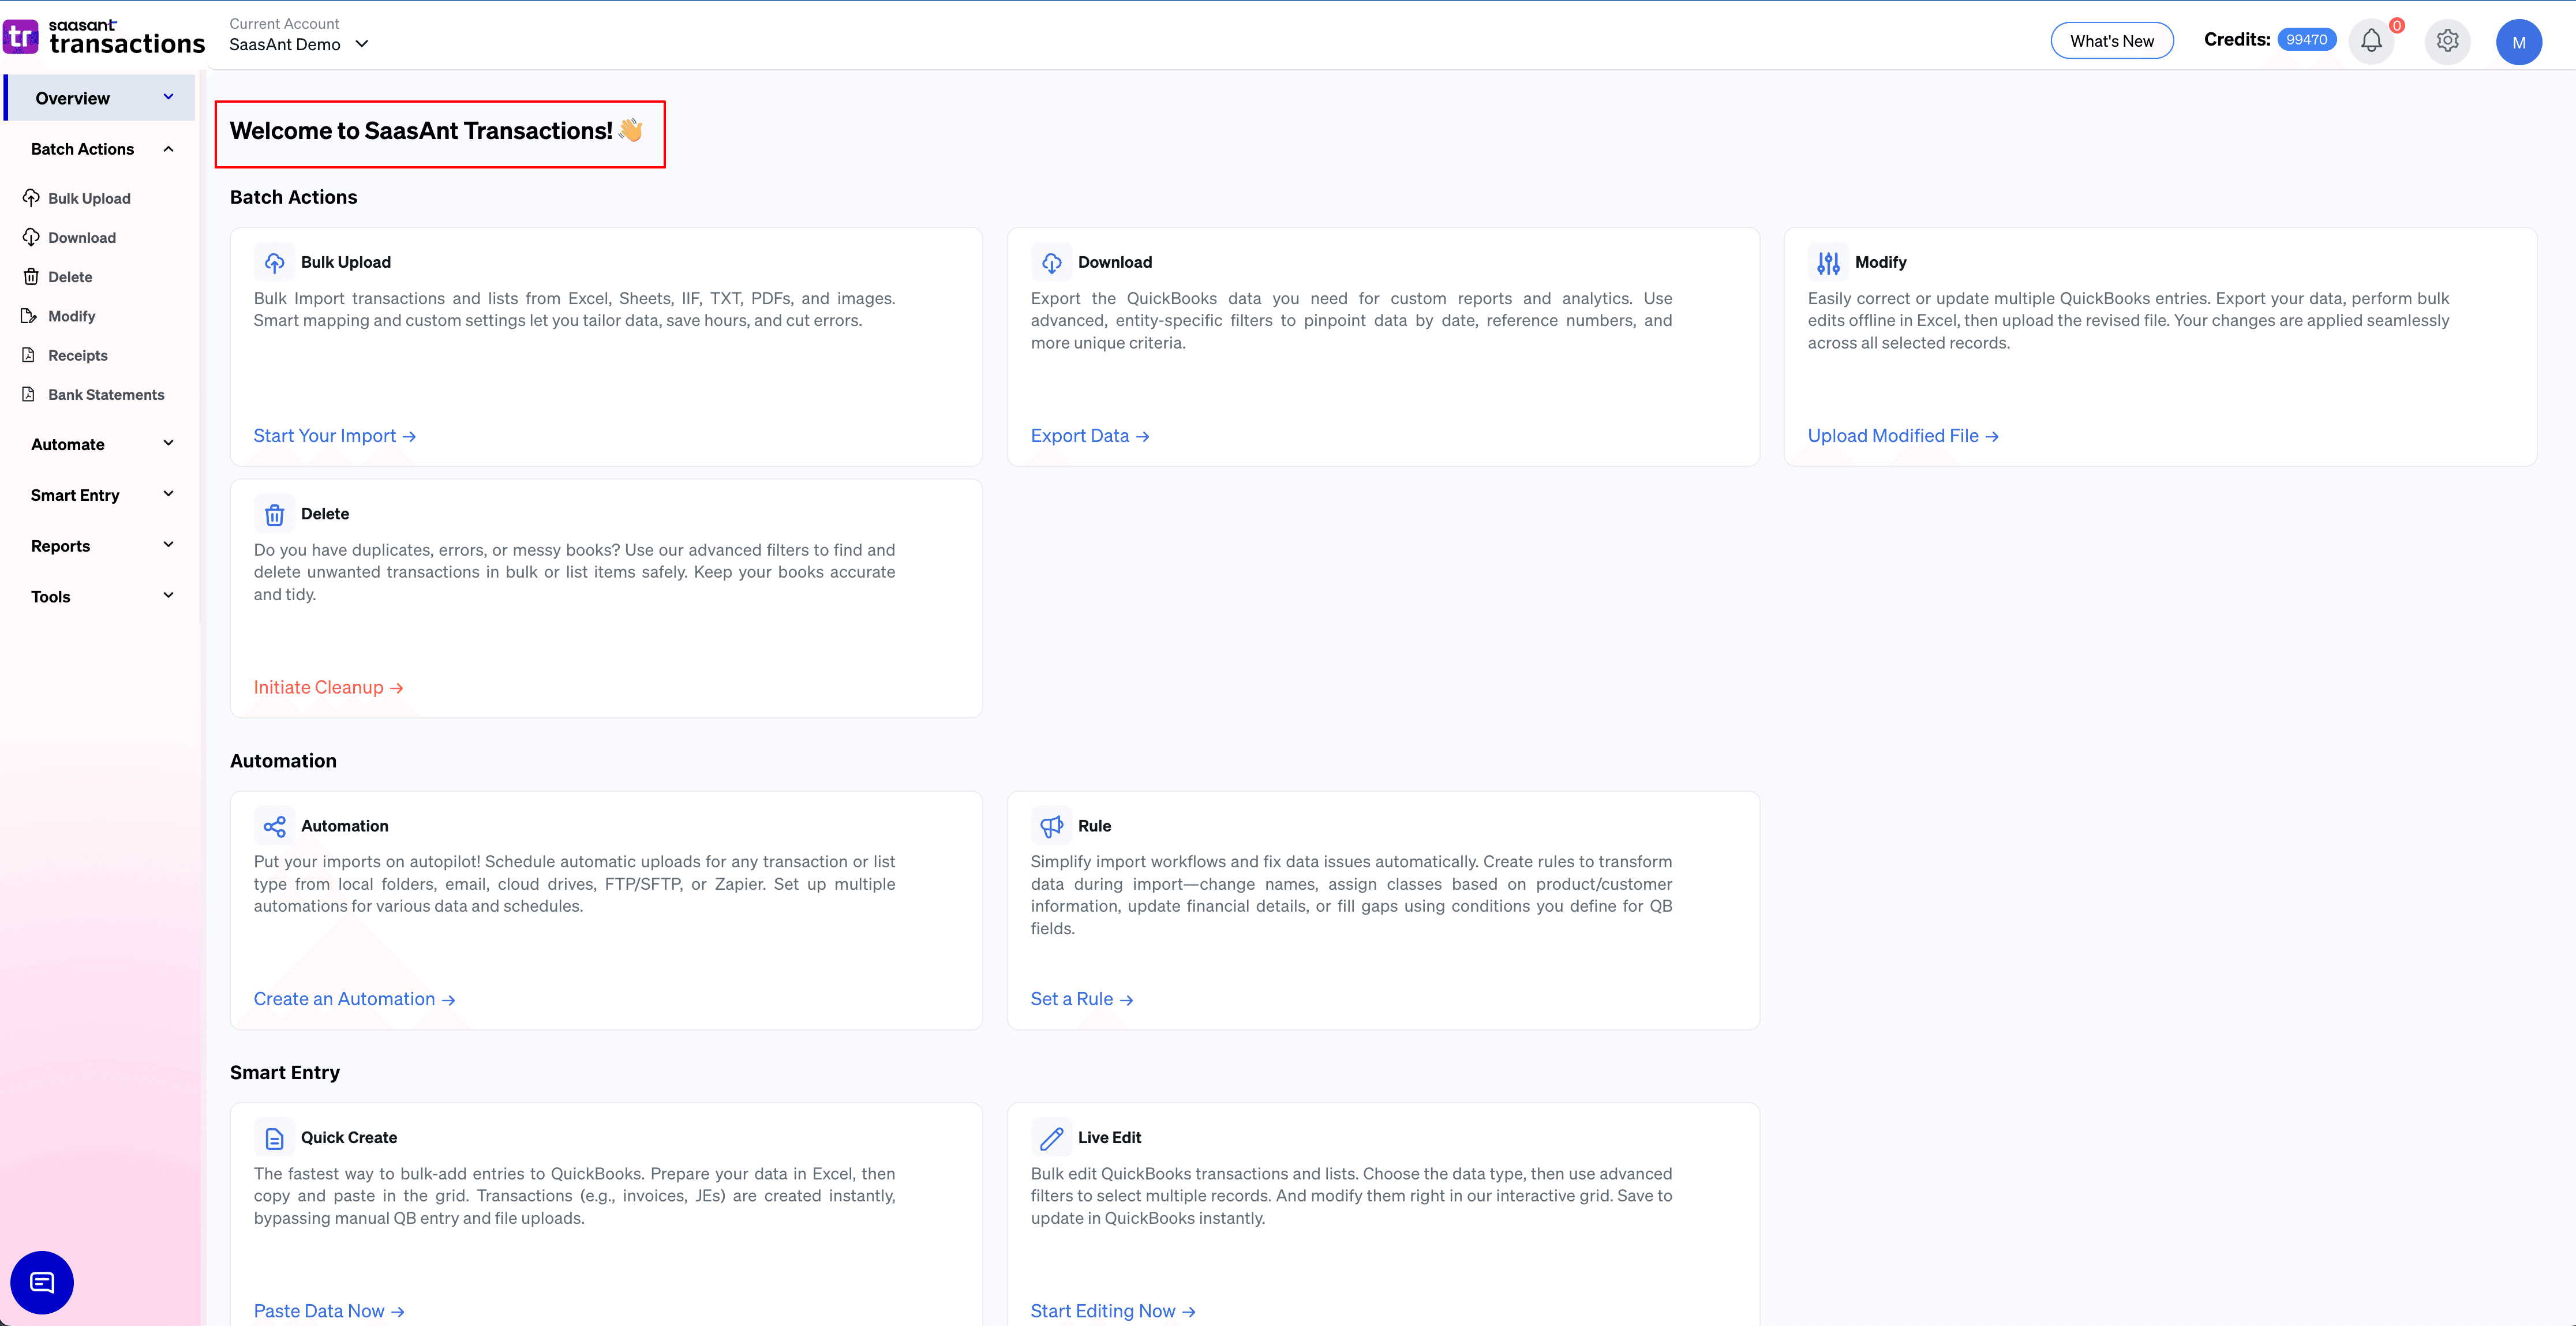
Step 2: Where do you start the delete flow?
From the SaasAnt dashboard, select Delete.
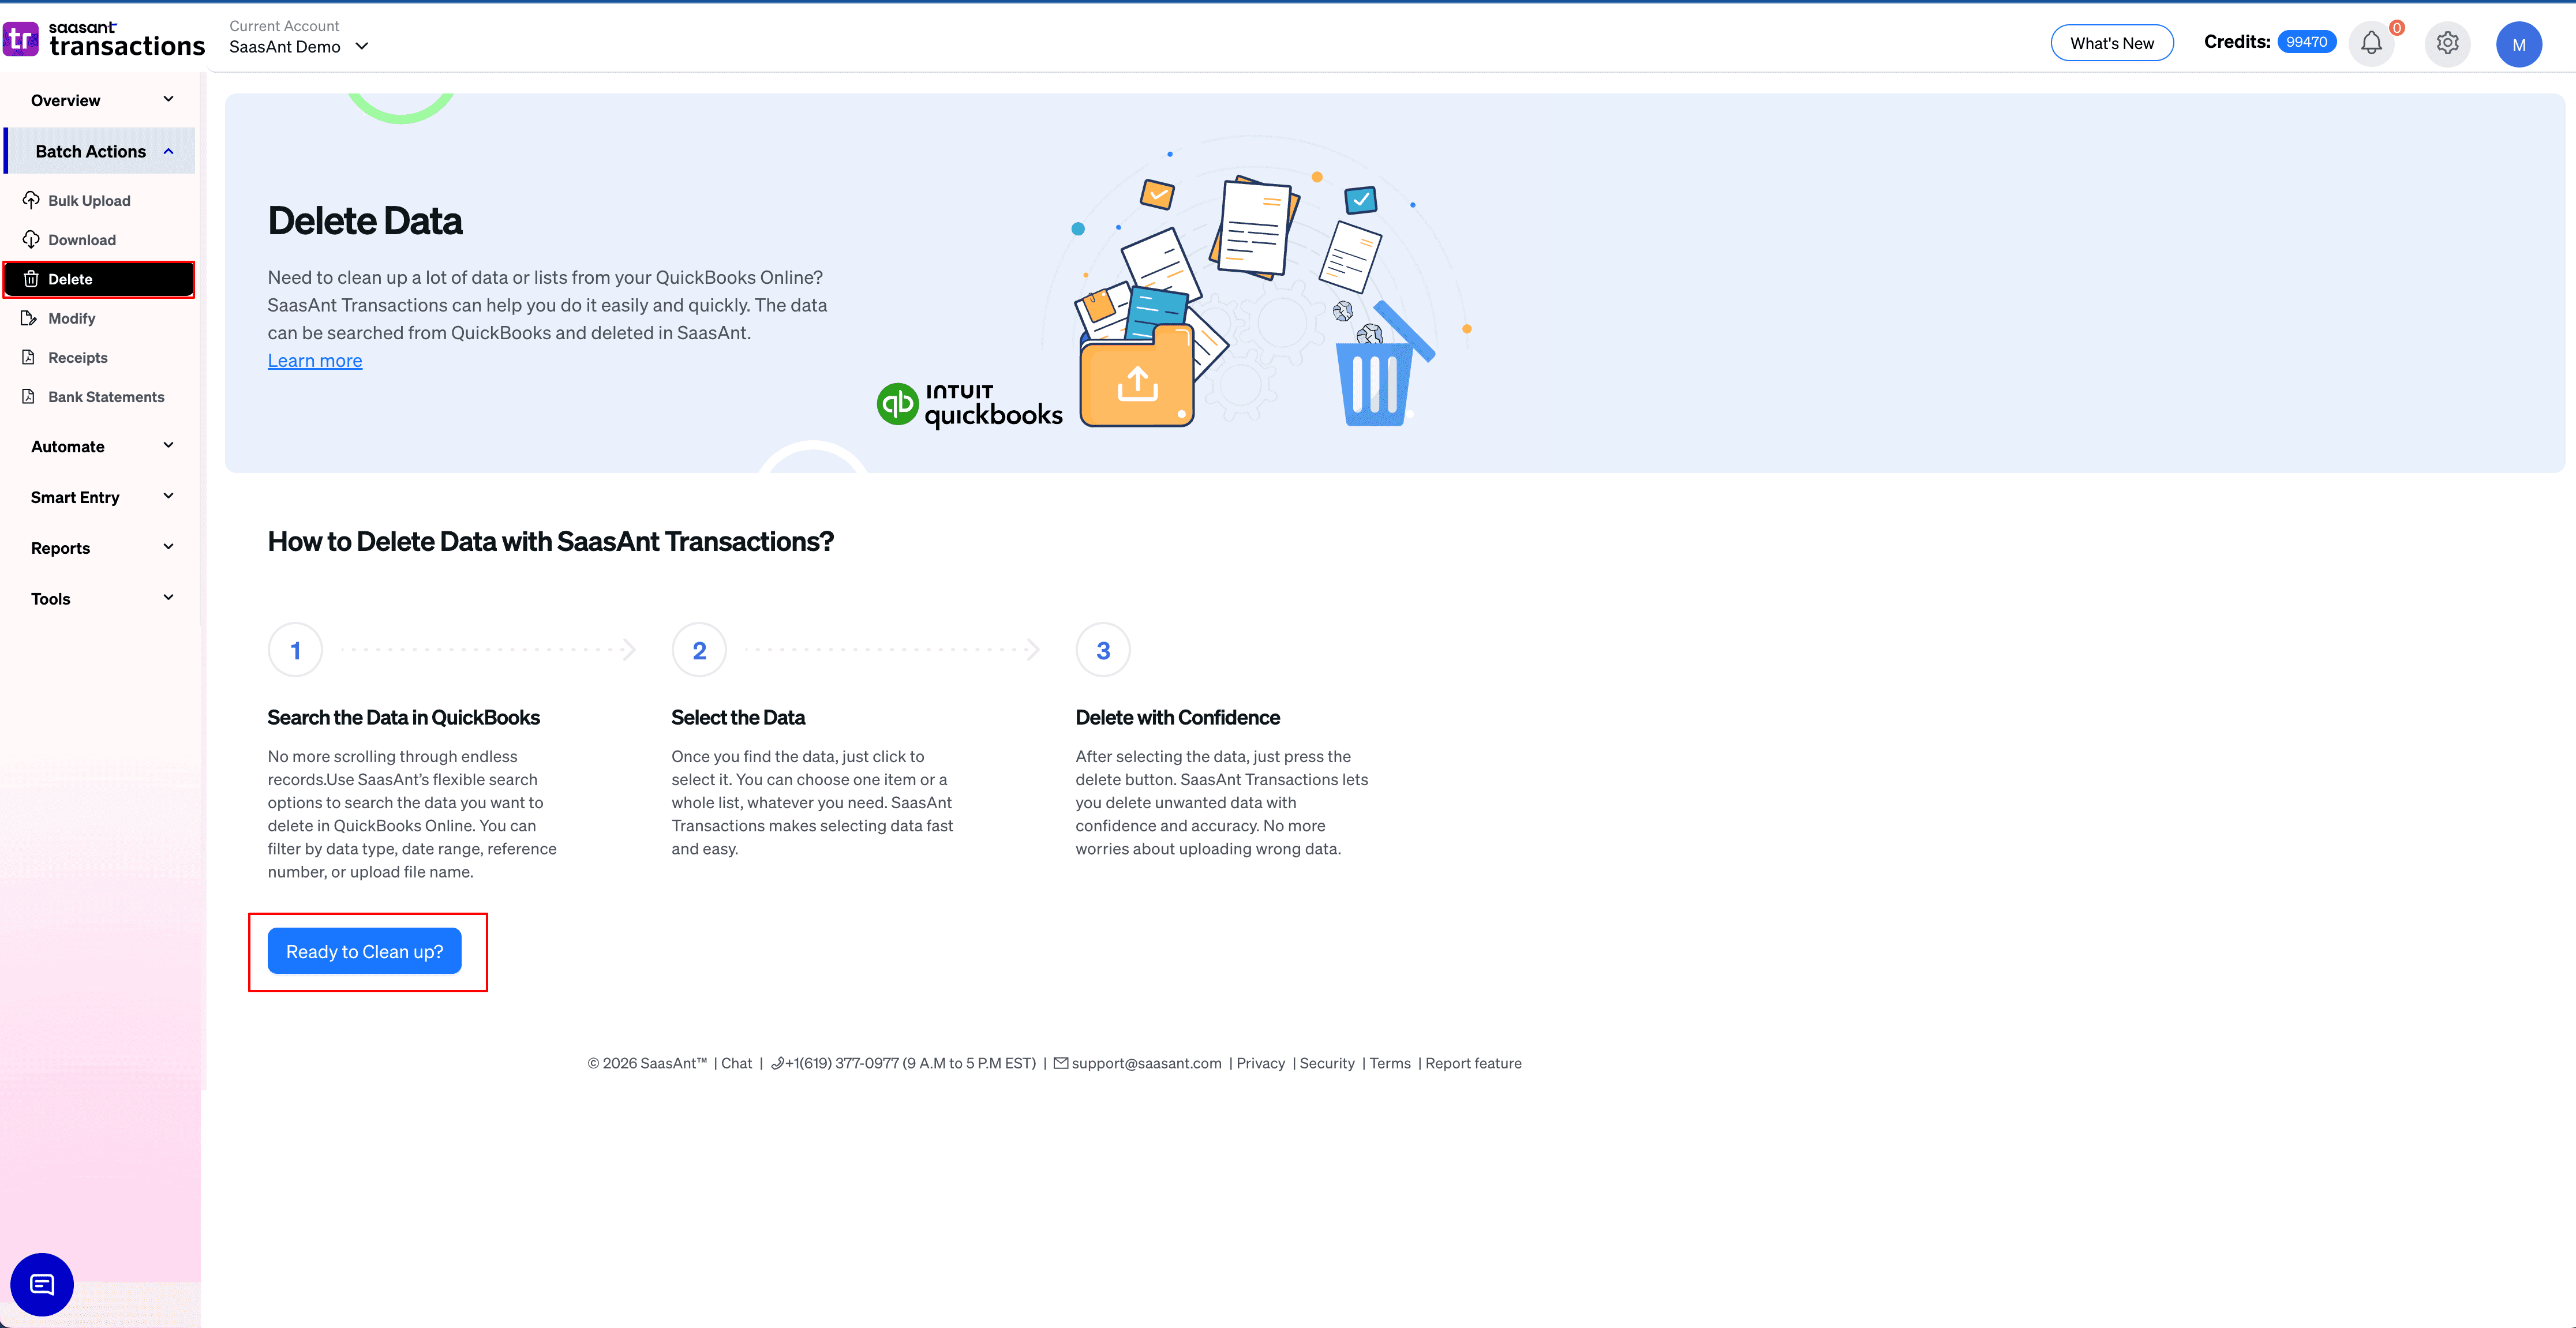
On the setup screen, select Ready to clean up.
Step 3: Which delete method should you choose?
Choose one:
Delete by Reference: Use this when you already know the exact Location Name you want to delete.
Delete by Searching: Use this when you want to find a location using filters (example: finding duplicates or specific creation dates).
Select your method, then select Next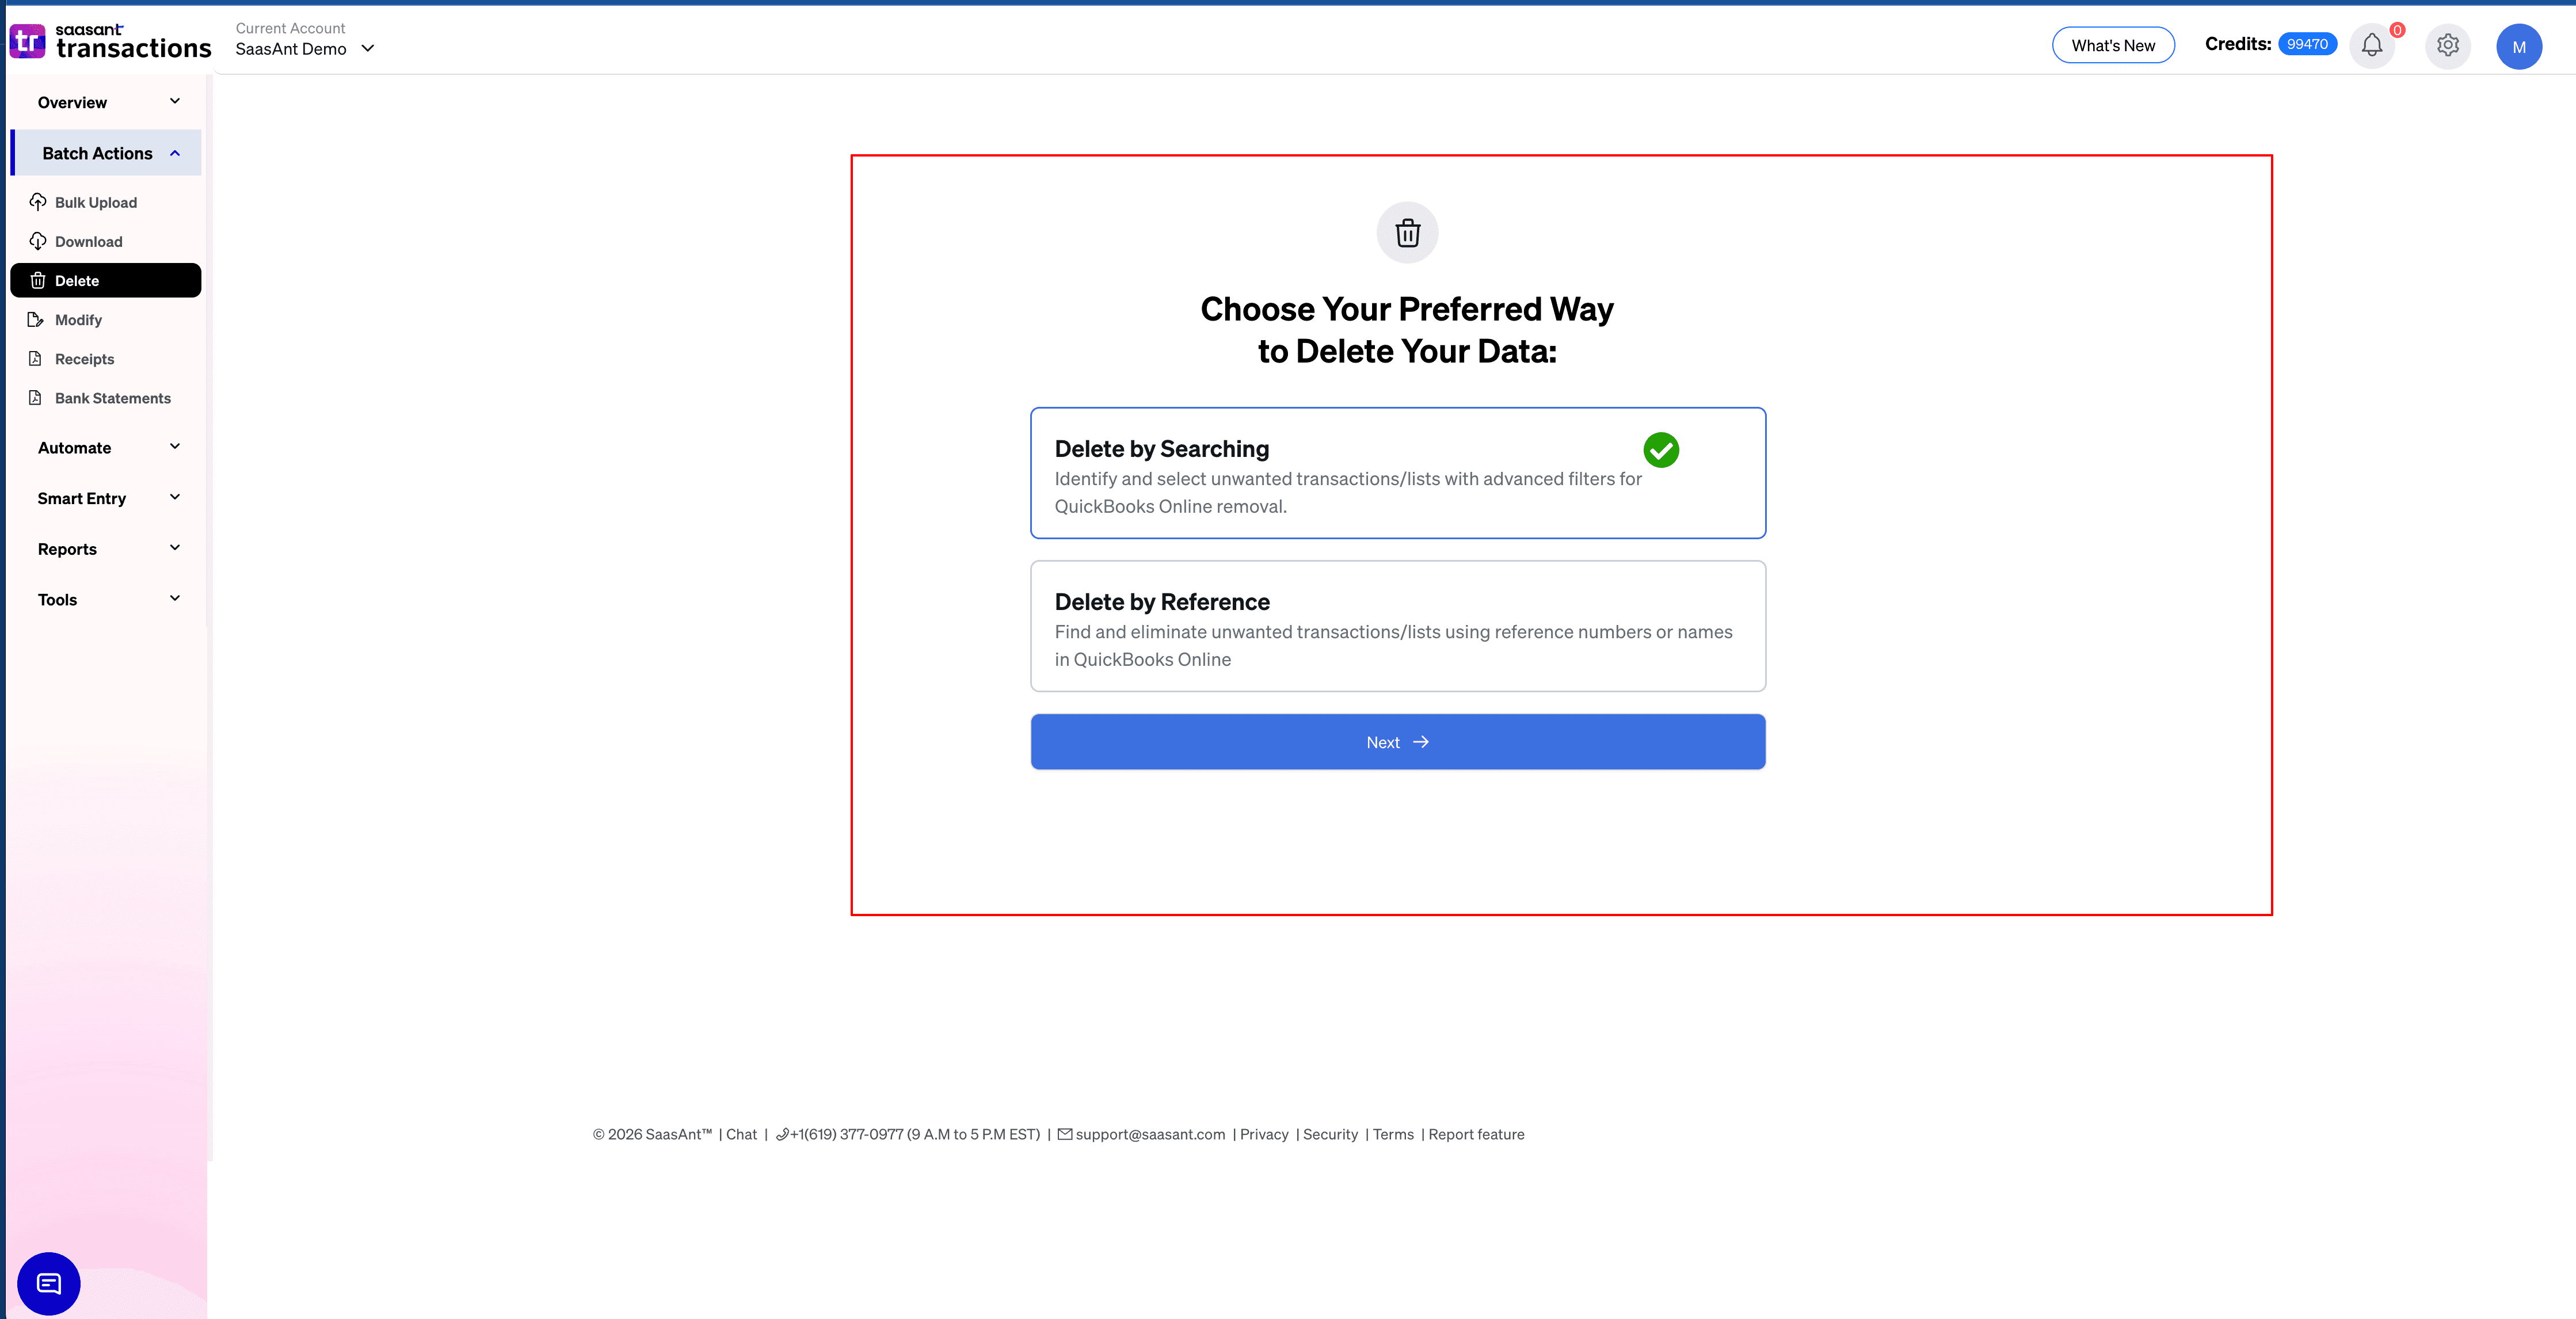
.
Step 4: How do you set location type and date filters?
Set Transaction/Entity Type to Location.
Choose the Date Type you want to filter by:
Created Date: When the location was first created in QuickBooks.
Last Updated Date: When the location was last edited in QuickBooks.
Enter the Date Range.
Step 5: How do you narrow results using filters?
Select Customize.
Apply the filters you need, such as:
Show Records From (Start At): To skip a specific number of records.
Select Search to load the matching locations.
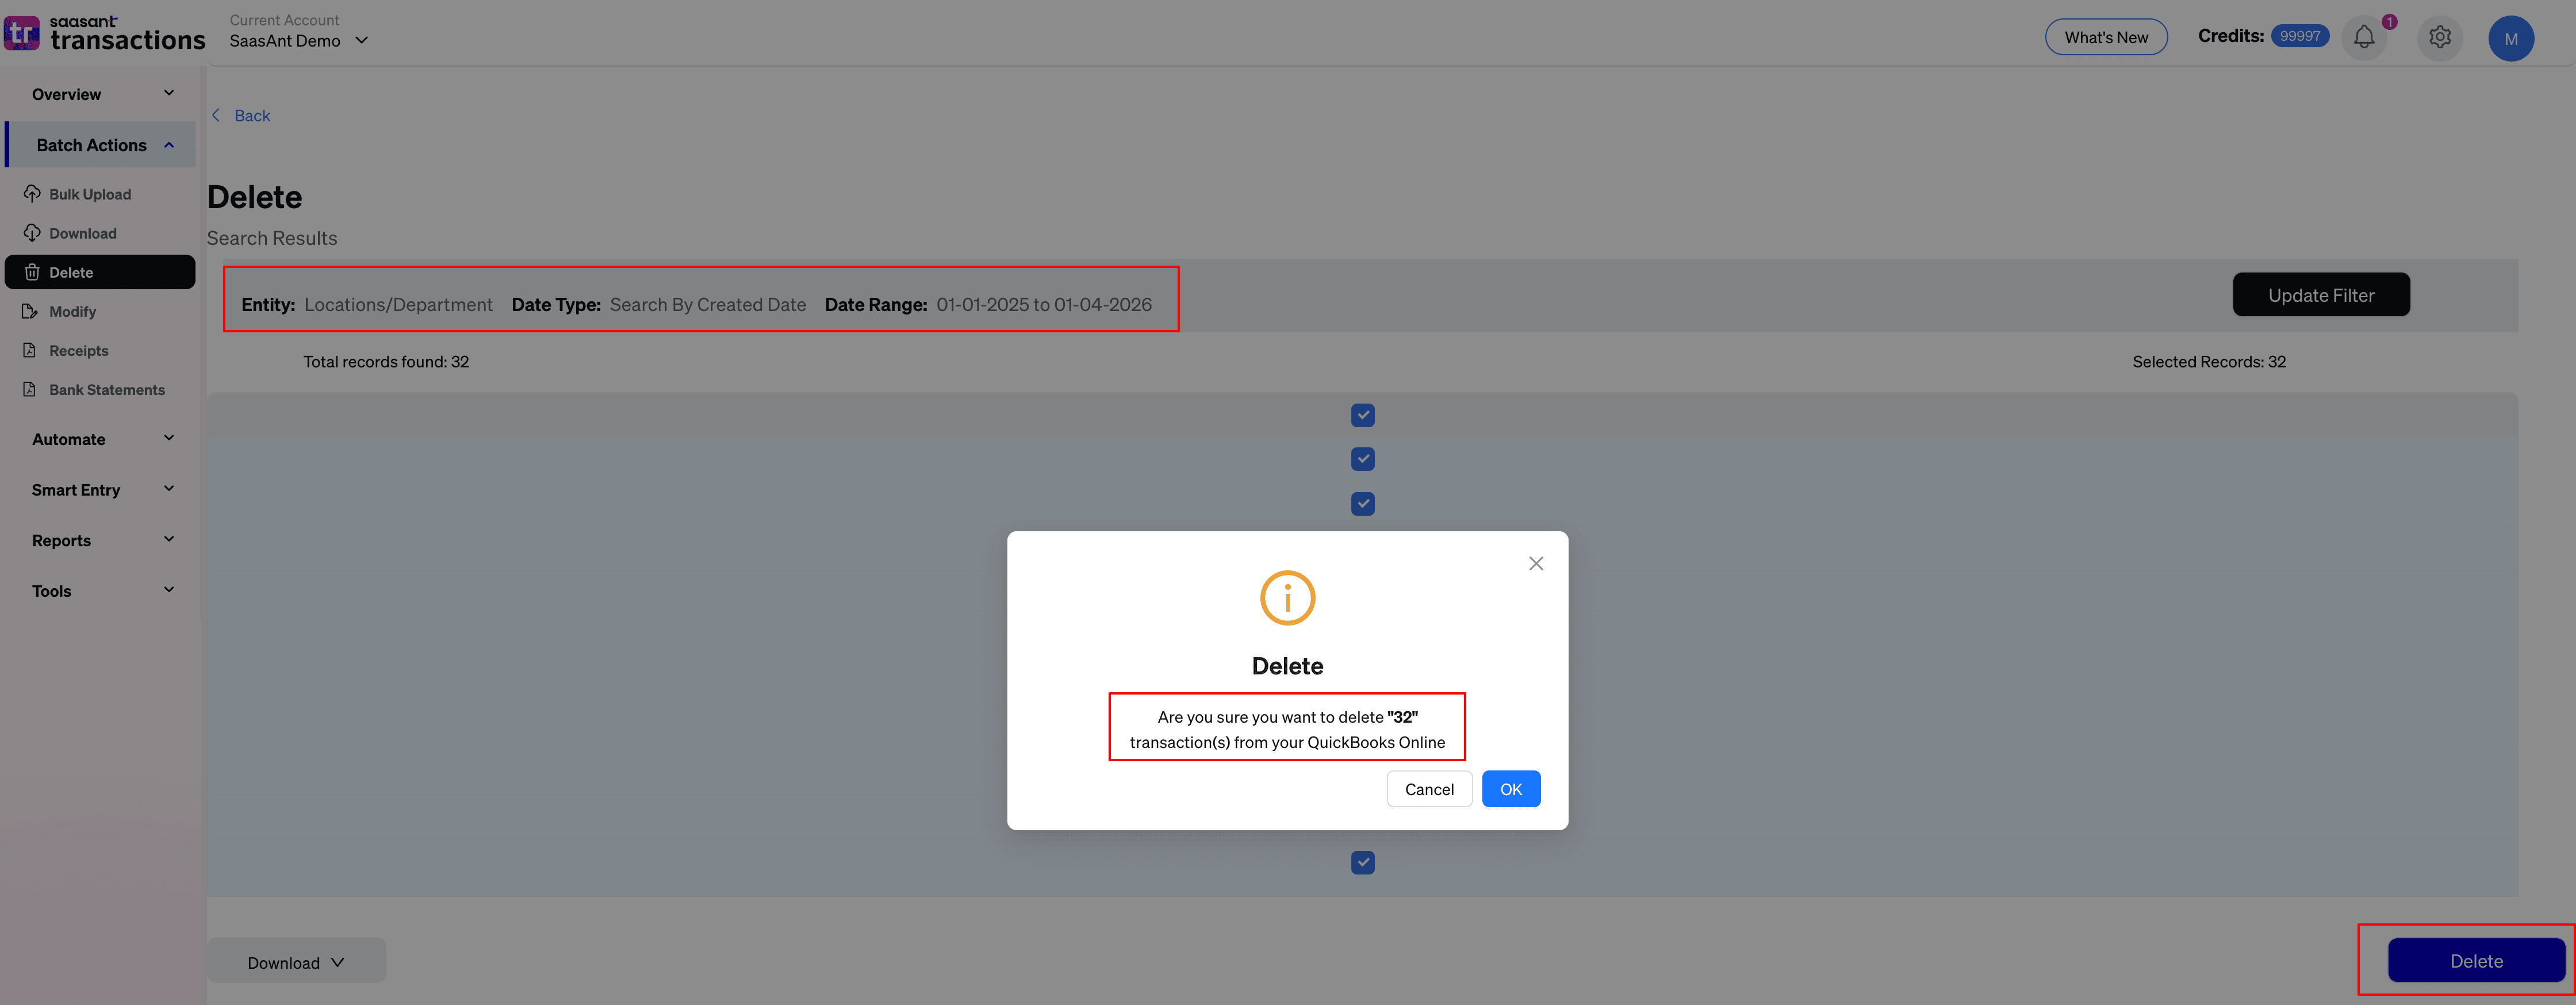
Step 6: How do you review, backup, and delete?
Review the search results carefully.
Select the locations you want to delete.
Download a backup (CSV or Excel) before deleting.
Select Delete.
Confirm the deletion in the pop-up.
Important: Deleting is not reversible. Always take the backup first, and delete in smaller batches if you are removing a large volume.
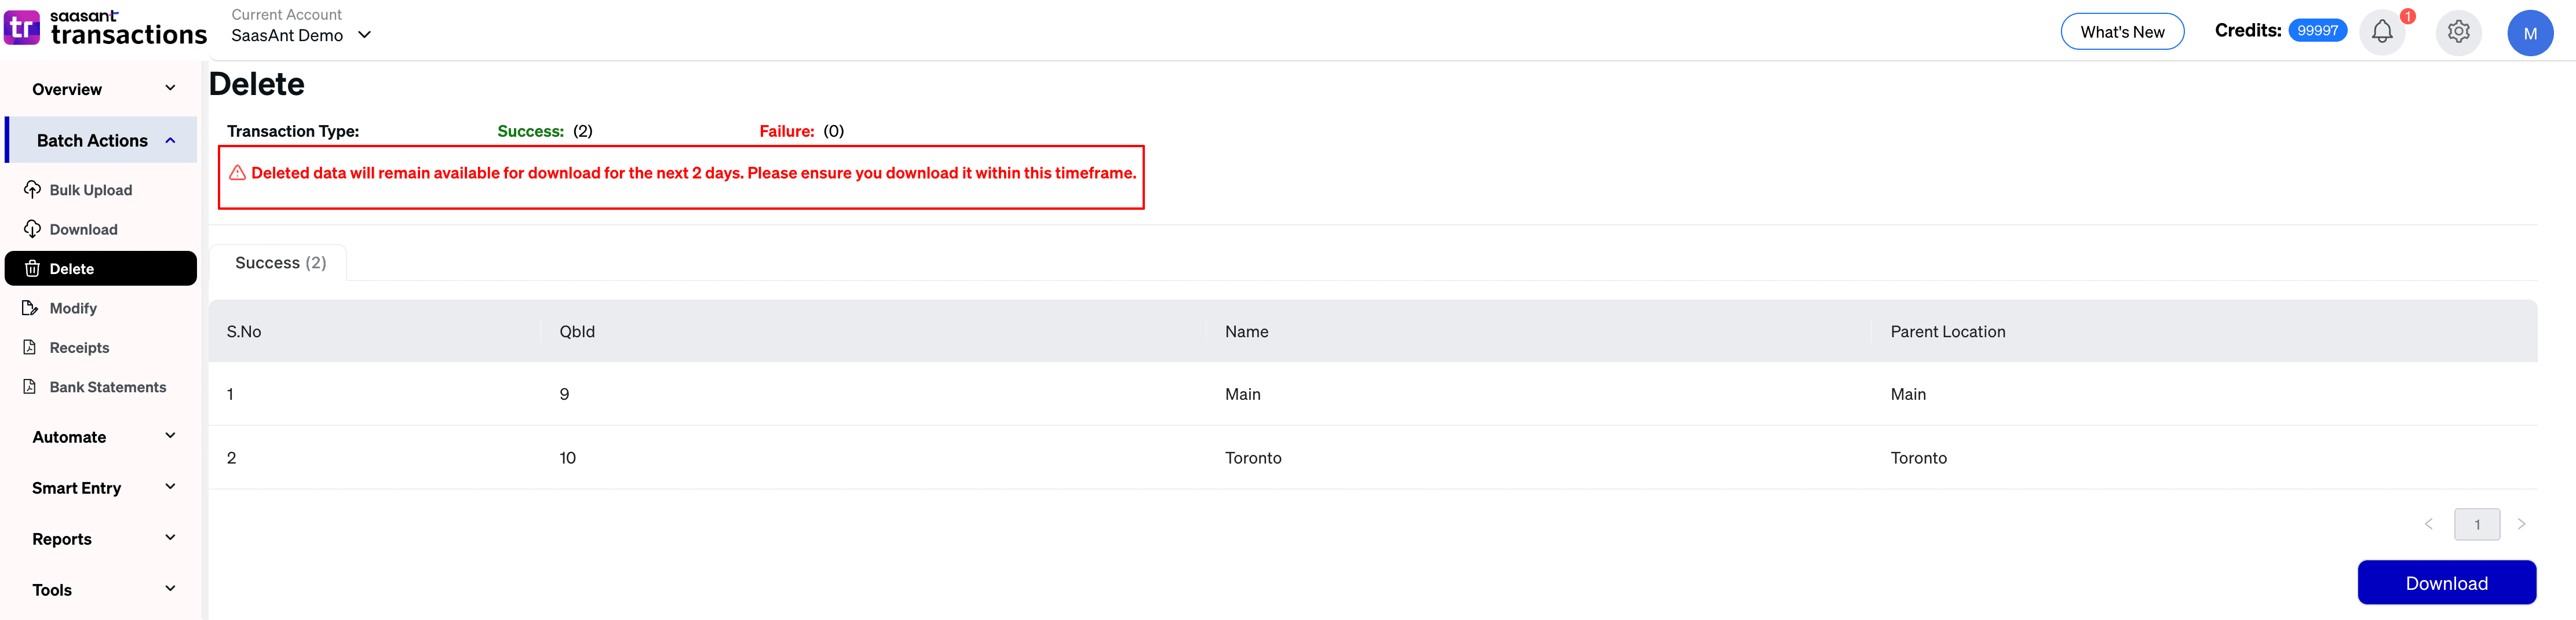
Step 7: Where do you see the deletion summary?
After deletion, SaasAnt shows a Deletion Summary. This summary is available to download for up to 2 days and can be used for records and audit tracking.
Troubleshooting
What if no Locations show up after the search?
Check these:
Confirm the Date Type and Date Range match when the location was created or edited.
Remove filters one by one (Location Name, Reference No) to broaden the search.
What if the delete fails for some location?
Common reasons:
Some locations may be restricted by QuickBooks because they are linked to existing transactions (like invoices or bills).
Try deleting a smaller selection to identify which specific locations are failing, then review those locations inside QuickBooks Online.
What if you deleted the wrong location?
You cannot undo a delete in QuickBooks Online (though you can usually reactivate an "Inactive" location). Use your SaasAnt backup file to re-create the location if needed, or restore using your own backup process if available.