How to Delete Classes in QuickBooks Online using SaasAnt Transactions Online
May 5, 2026
What does this article help you do?
This guide shows how to bulk remove Classes from active use in QuickBooks Online using SaasAnt Transactions Online.
You can use this process when you have duplicate classes, incorrectly created classes, outdated departments or categories, or classes that you no longer want users to select when recording transactions.
Important: Classes are QuickBooks list records. QuickBooks does not permanently delete these list records through this process. When you use the Delete workflow for Classes, the affected Classes are made inactive.
Video Tutorial on How to Delete Data in QuickBooks Online using SaasAnt Transactions Online:
Why use SaasAnt for removing Classes?
SaasAnt Transactions Online lets you search for Classes, review the matching records, download a backup, and make multiple Classes inactive without opening and changing each Class individually in QuickBooks Online.
What should you have before you start?
You need:
SaasAnt Transactions Online installed from the QuickBooks App Store (30-day trial available)
A QuickBooks Online company connected to SaasAnt Transactions Online
Classes enabled in the QuickBooks company
How do you bulk-delete Classes using SaasAnt?
Step 1: How do you open SaasAnt Transactions Online?
Open the QuickBooks App Store.
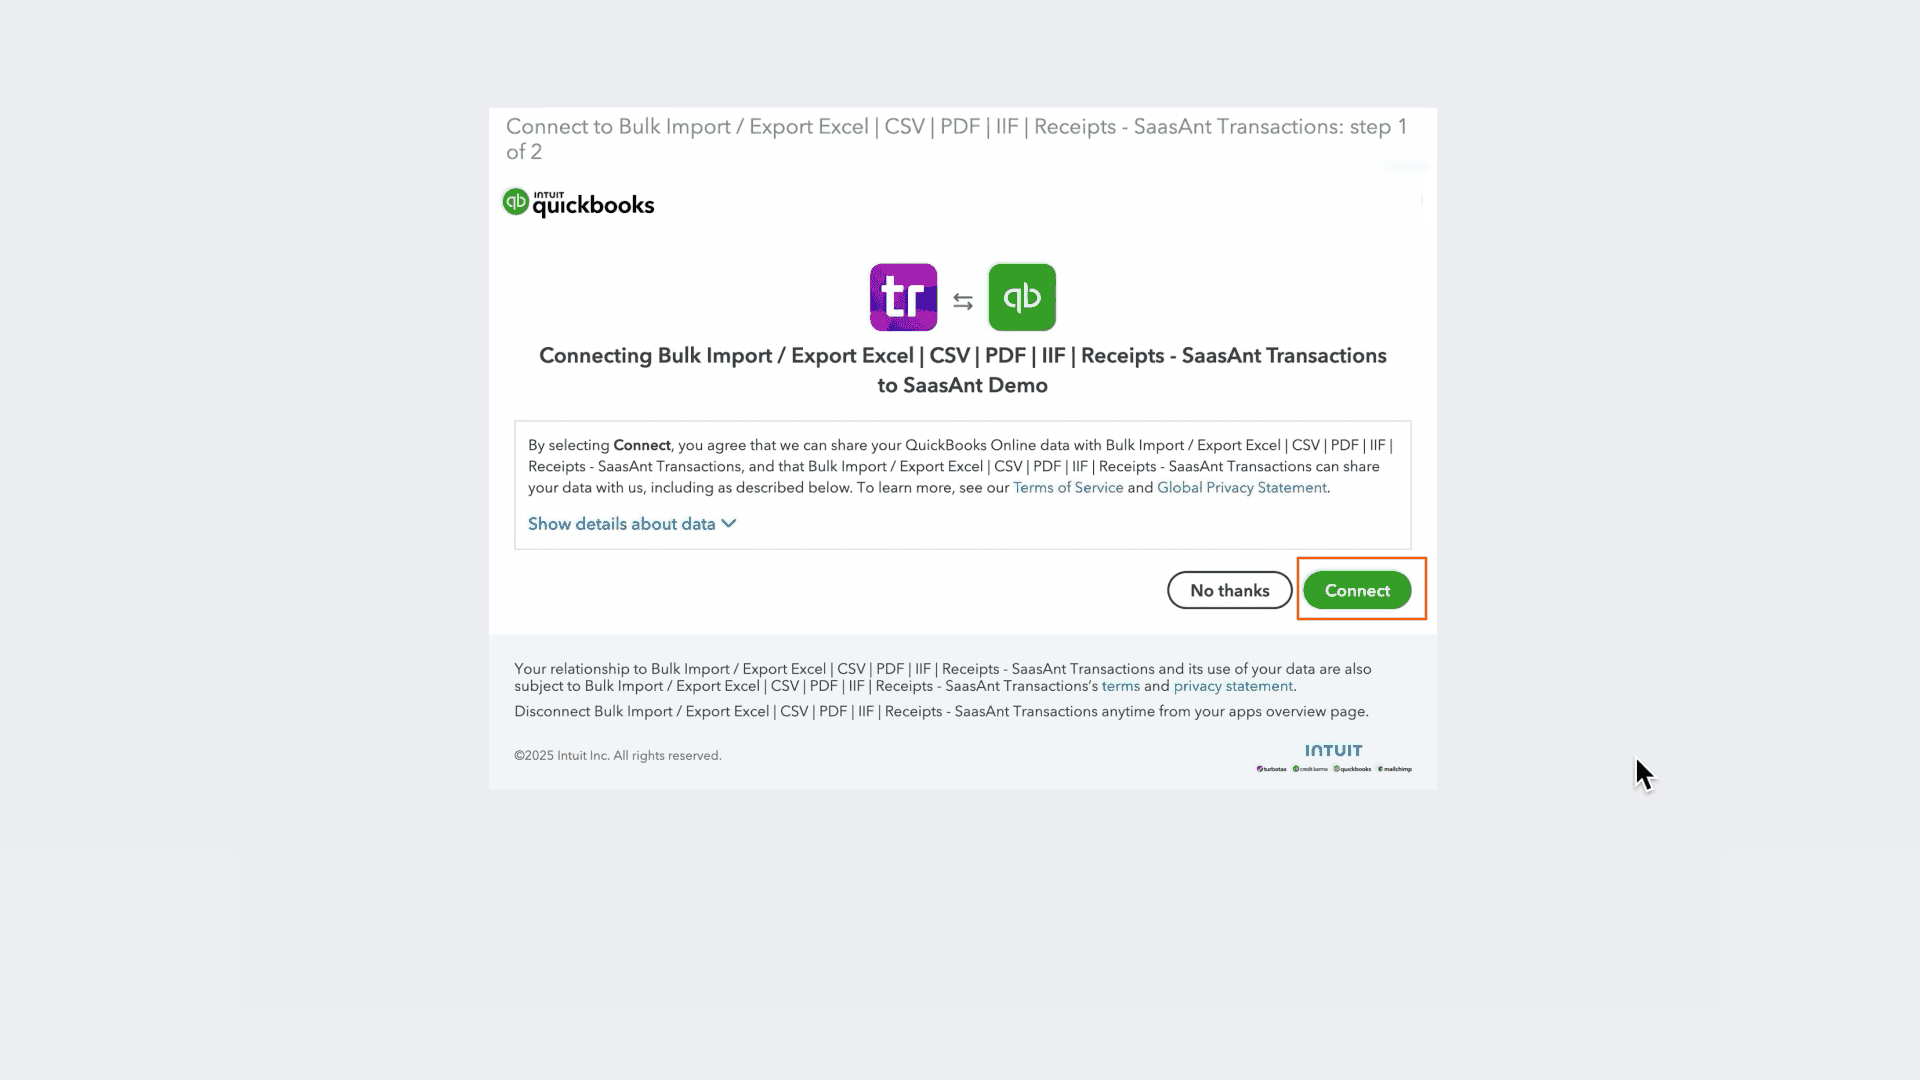
Install SaasAnt Transactions Online and connect your QuickBooks Online company.
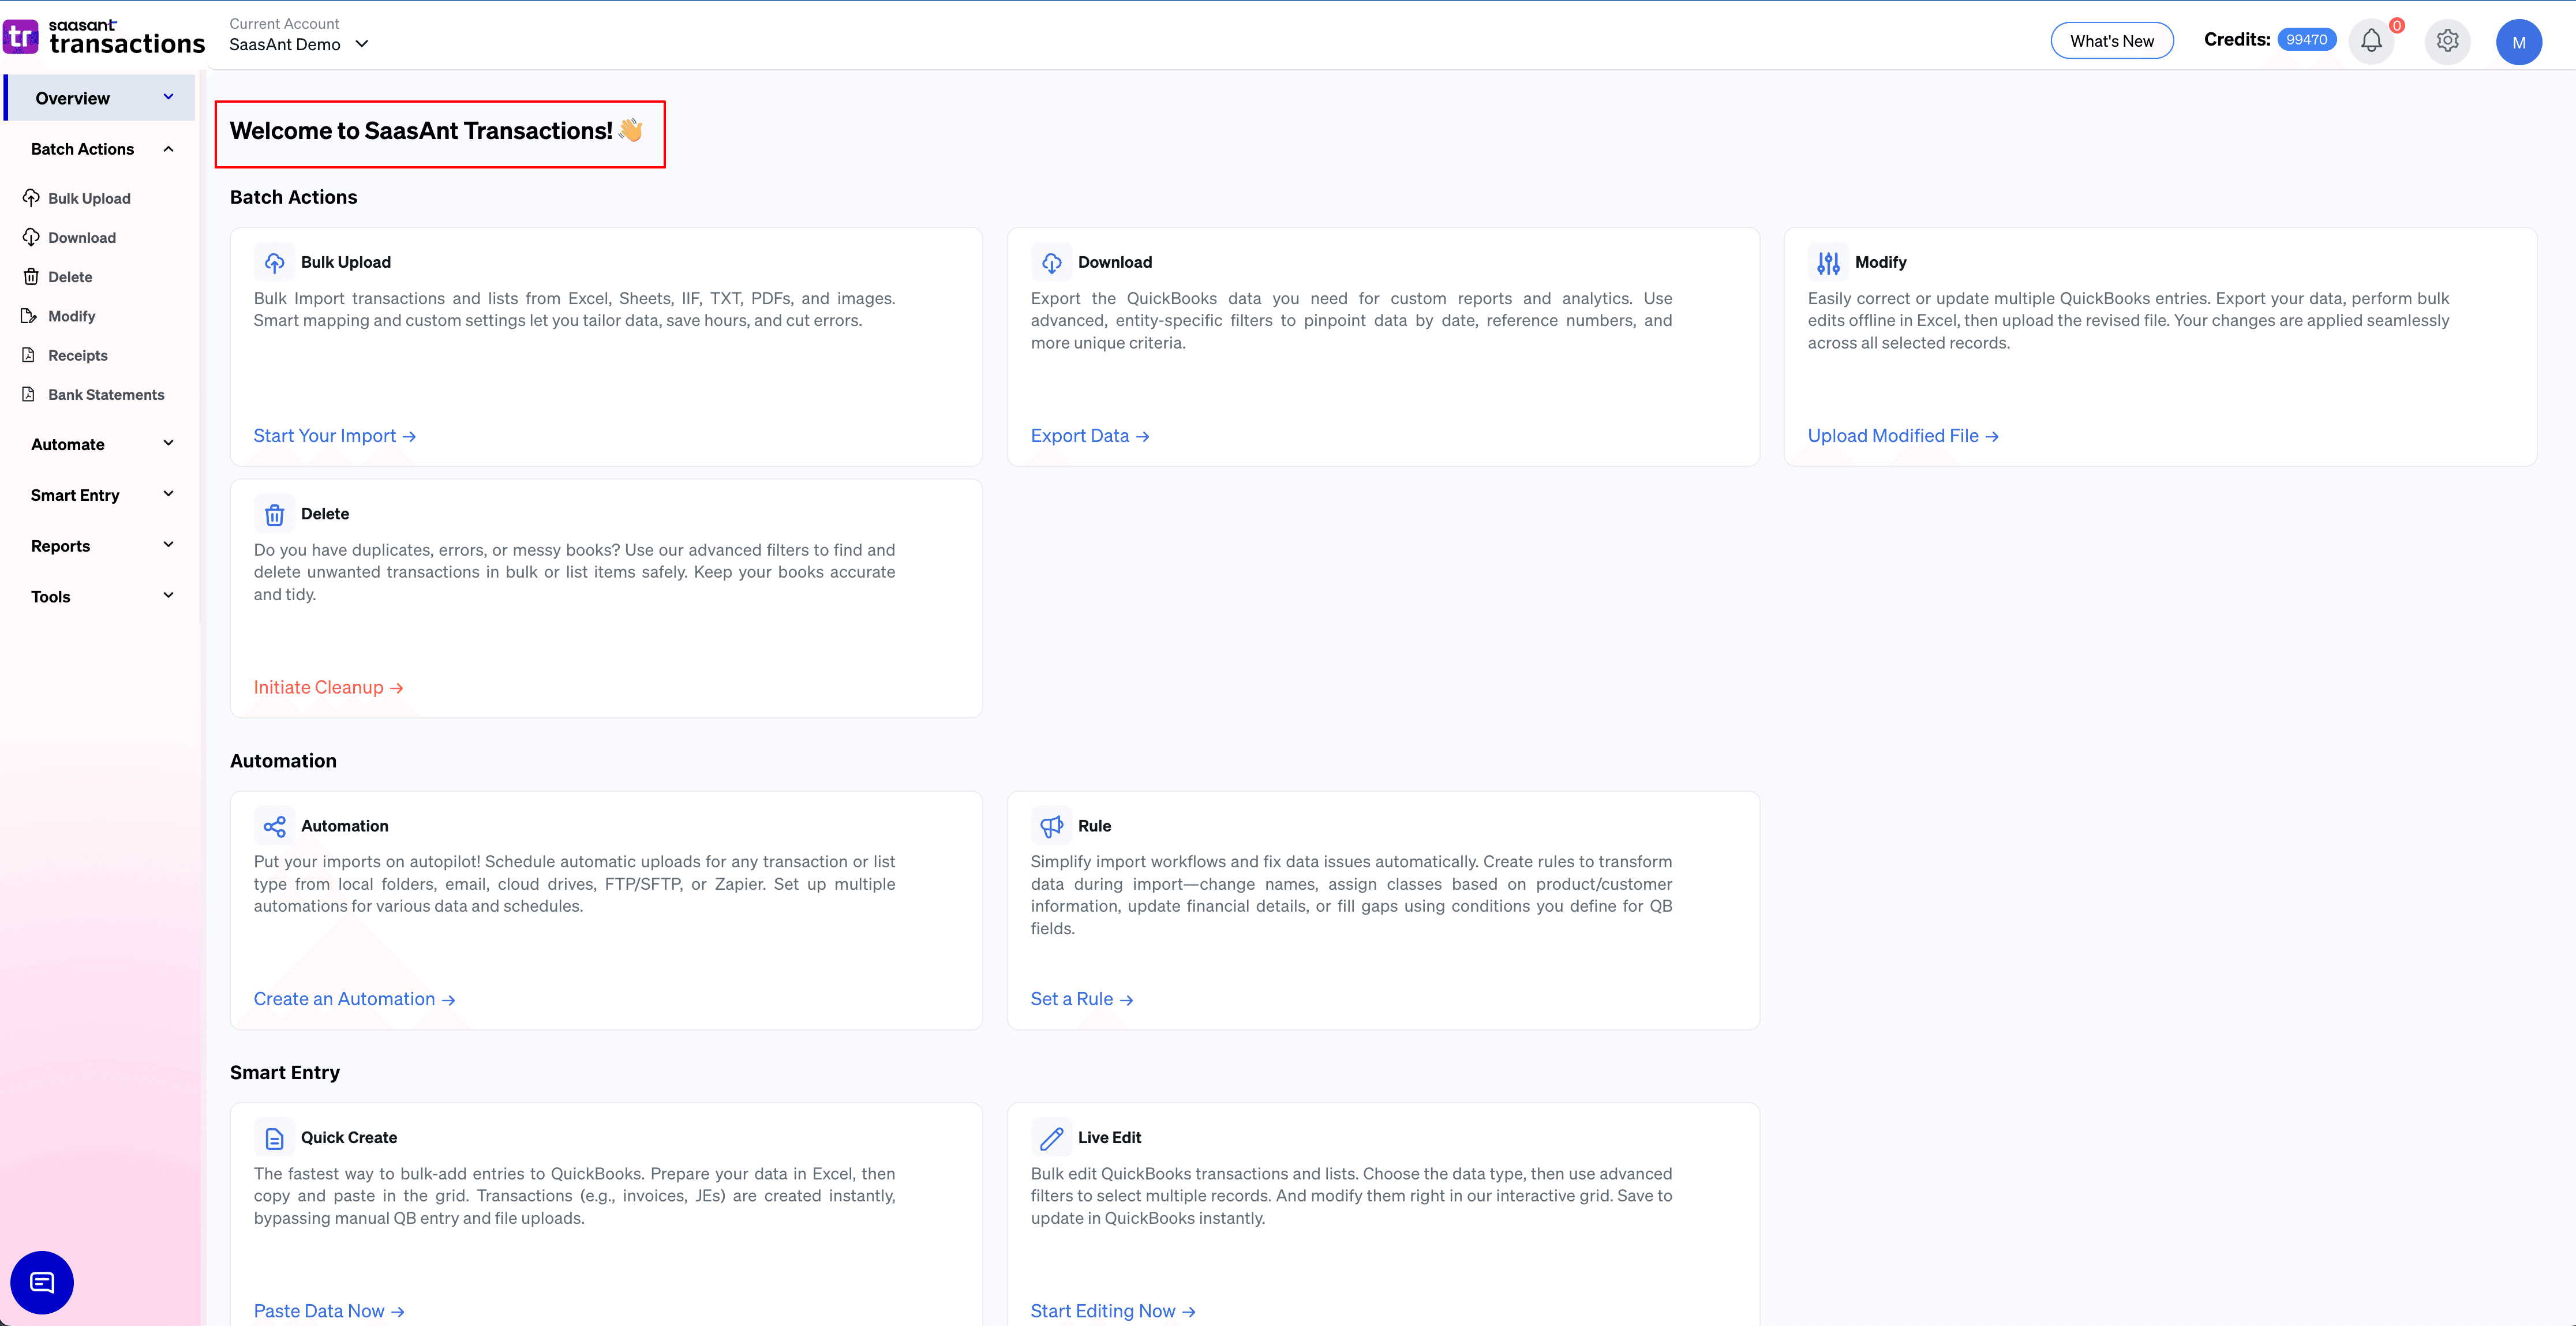
Launch SaasAnt Transactions Online.
Step 2: Where do you start the delete flow?
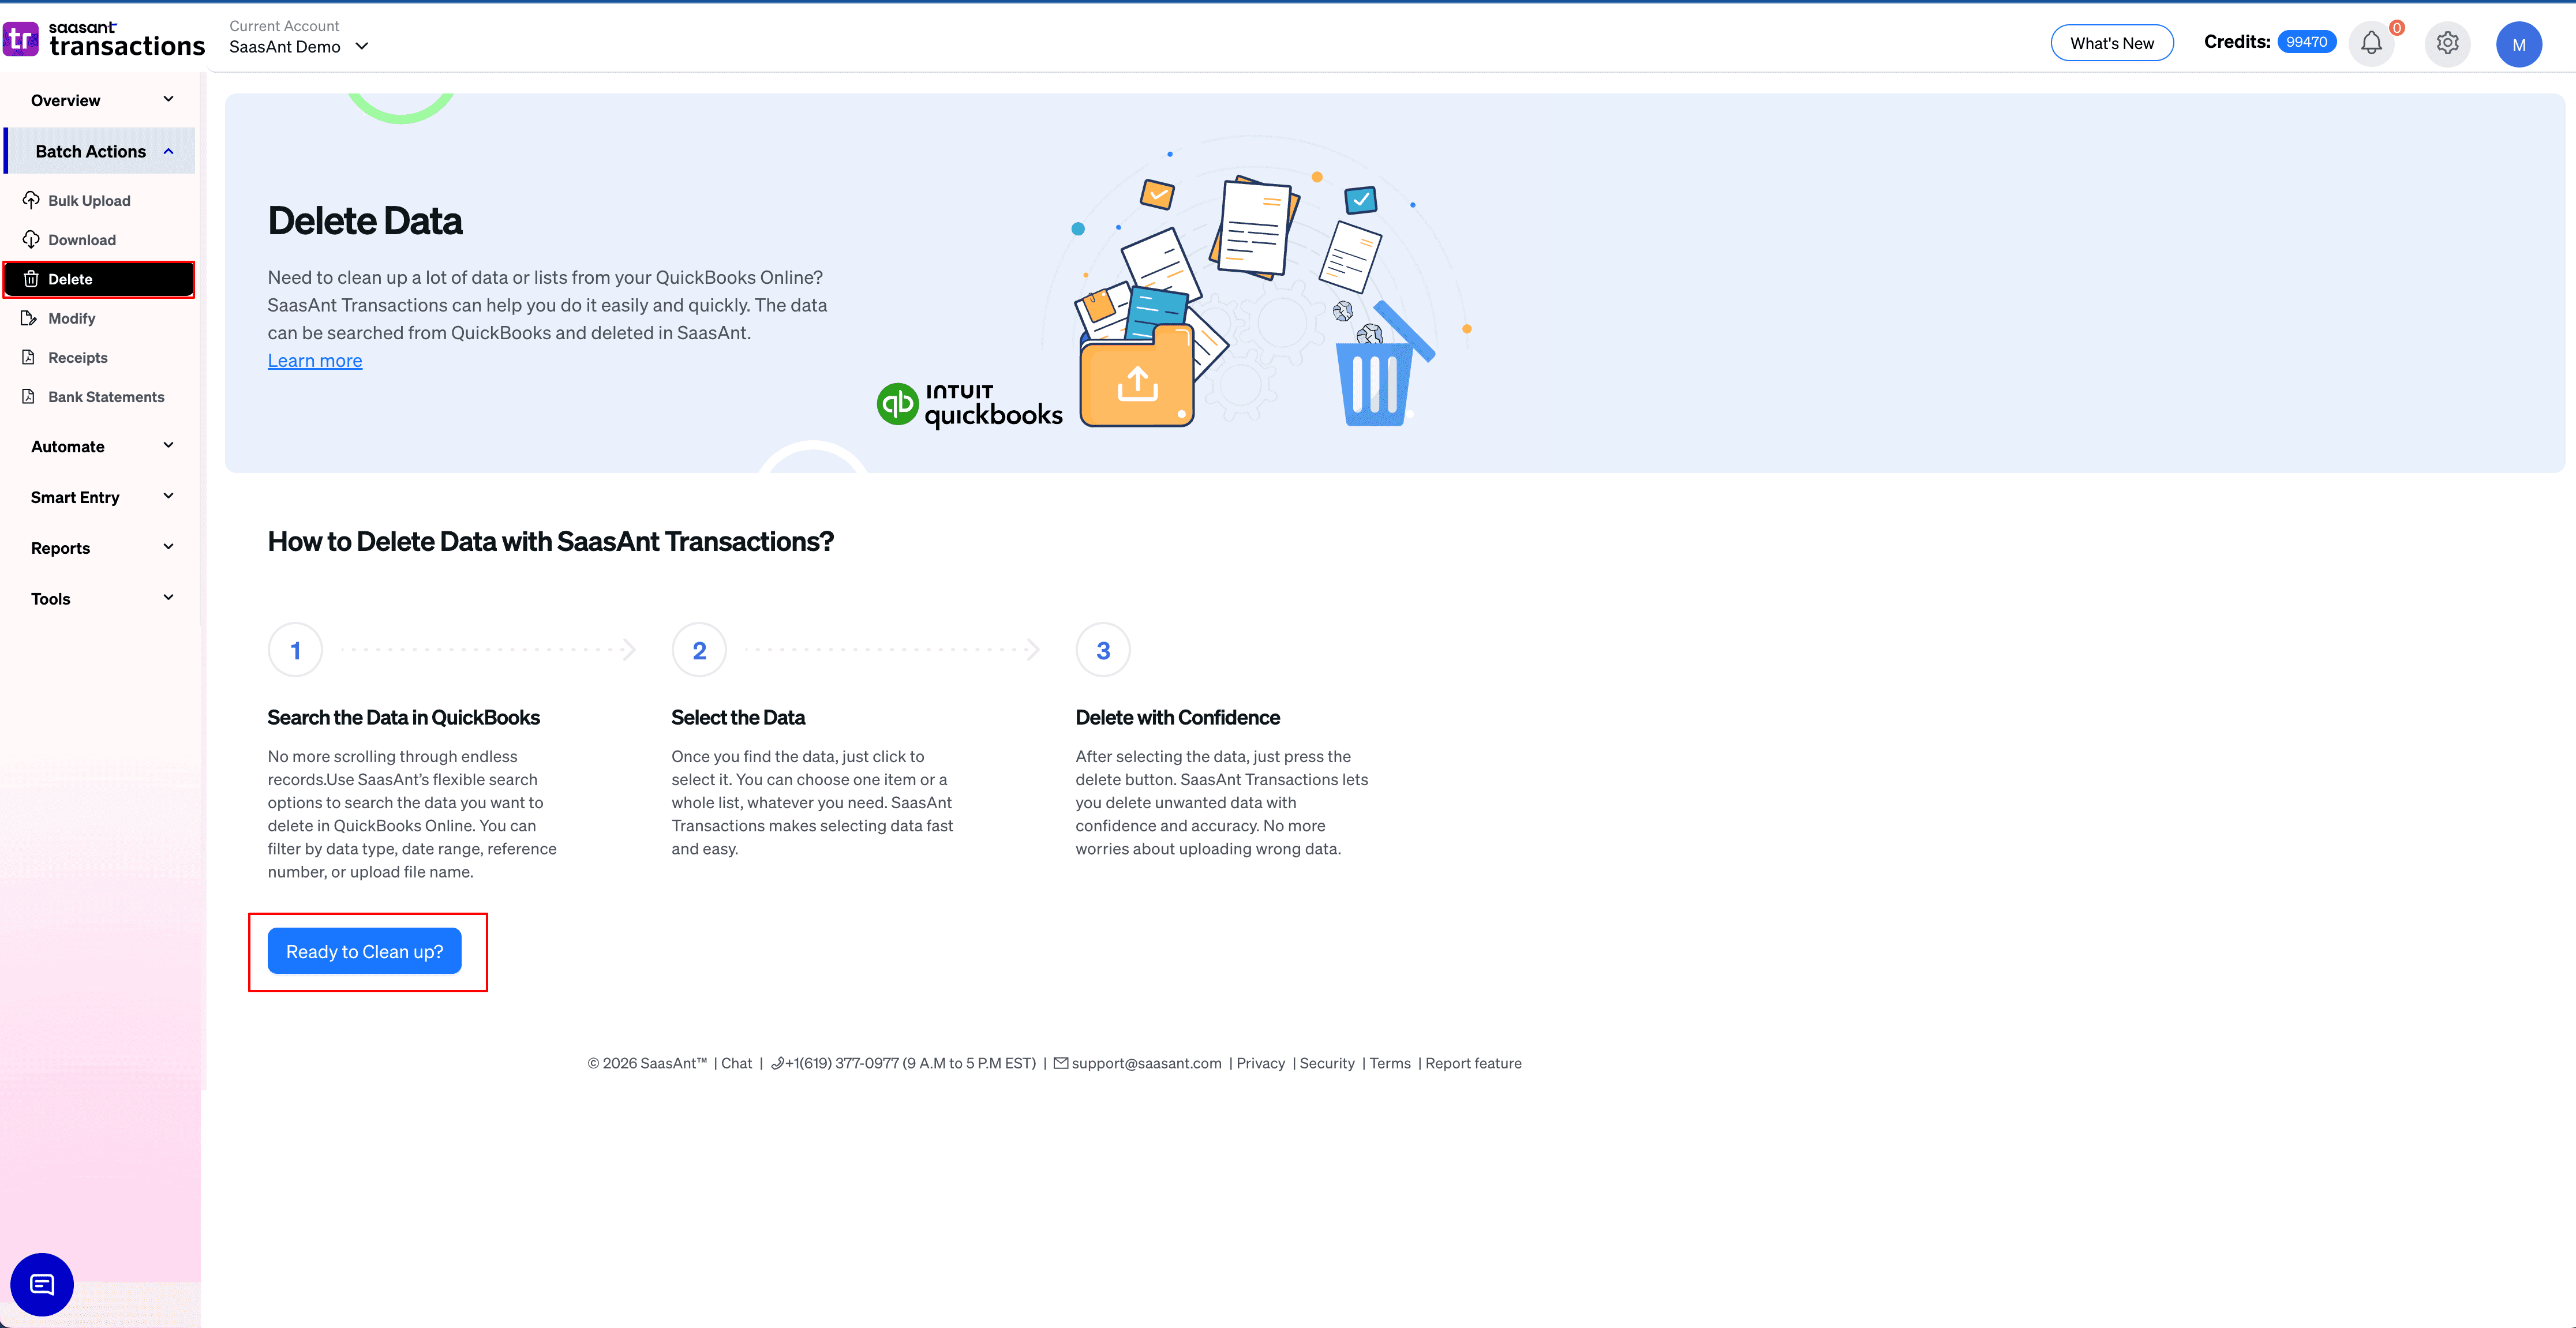
From the SaasAnt dashboard, select Delete.
On the setup screen, select Ready to clean up.
Step 3: Which delete method should you choose?
Choose one:
Delete by Reference: Use this when you already know the exact Class names you want to make inactive.
Delete by Searching: Use this when you want to search the Class list and review multiple records before making them inactive.
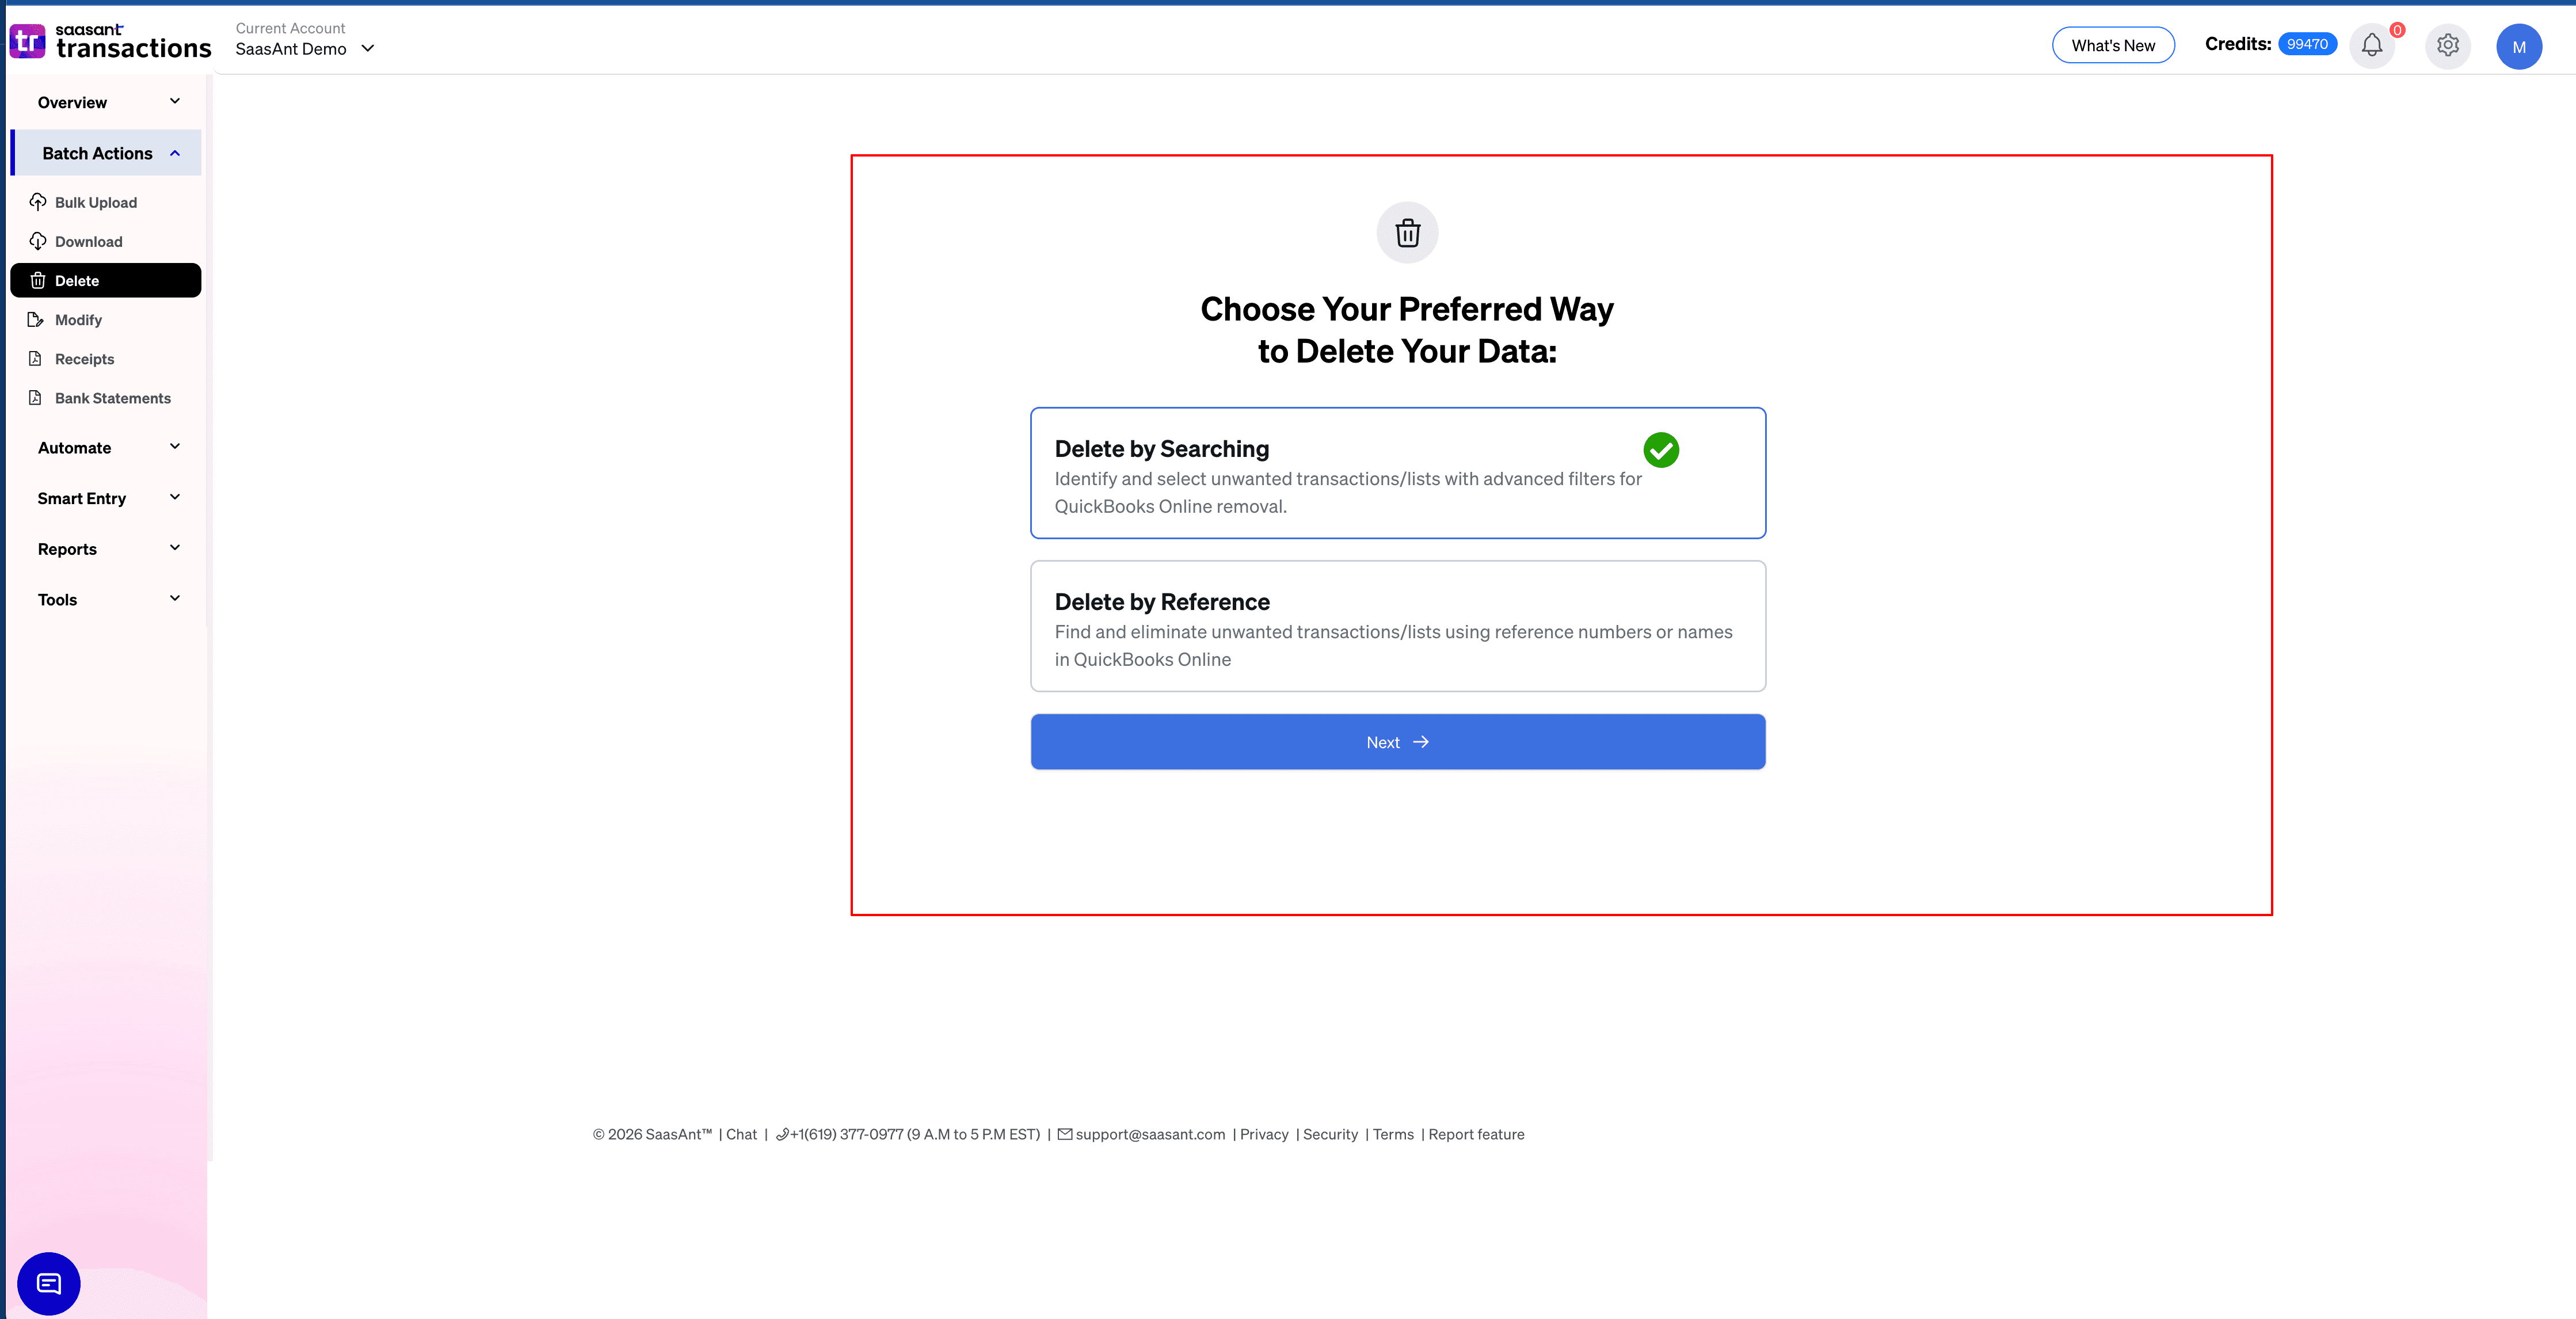
Select your preferred method. Now, choose the option “Delete by Searching,” then select Next.
Step 4: How do you select Classes and set the search range?
Set Transaction/List to Classes.
Select the appropriate date type available for the Class list, such as:
Created Date: When the Class was created in QuickBooks.
Last Updated Date: When the Class record was last changed.
Enter the required date range.
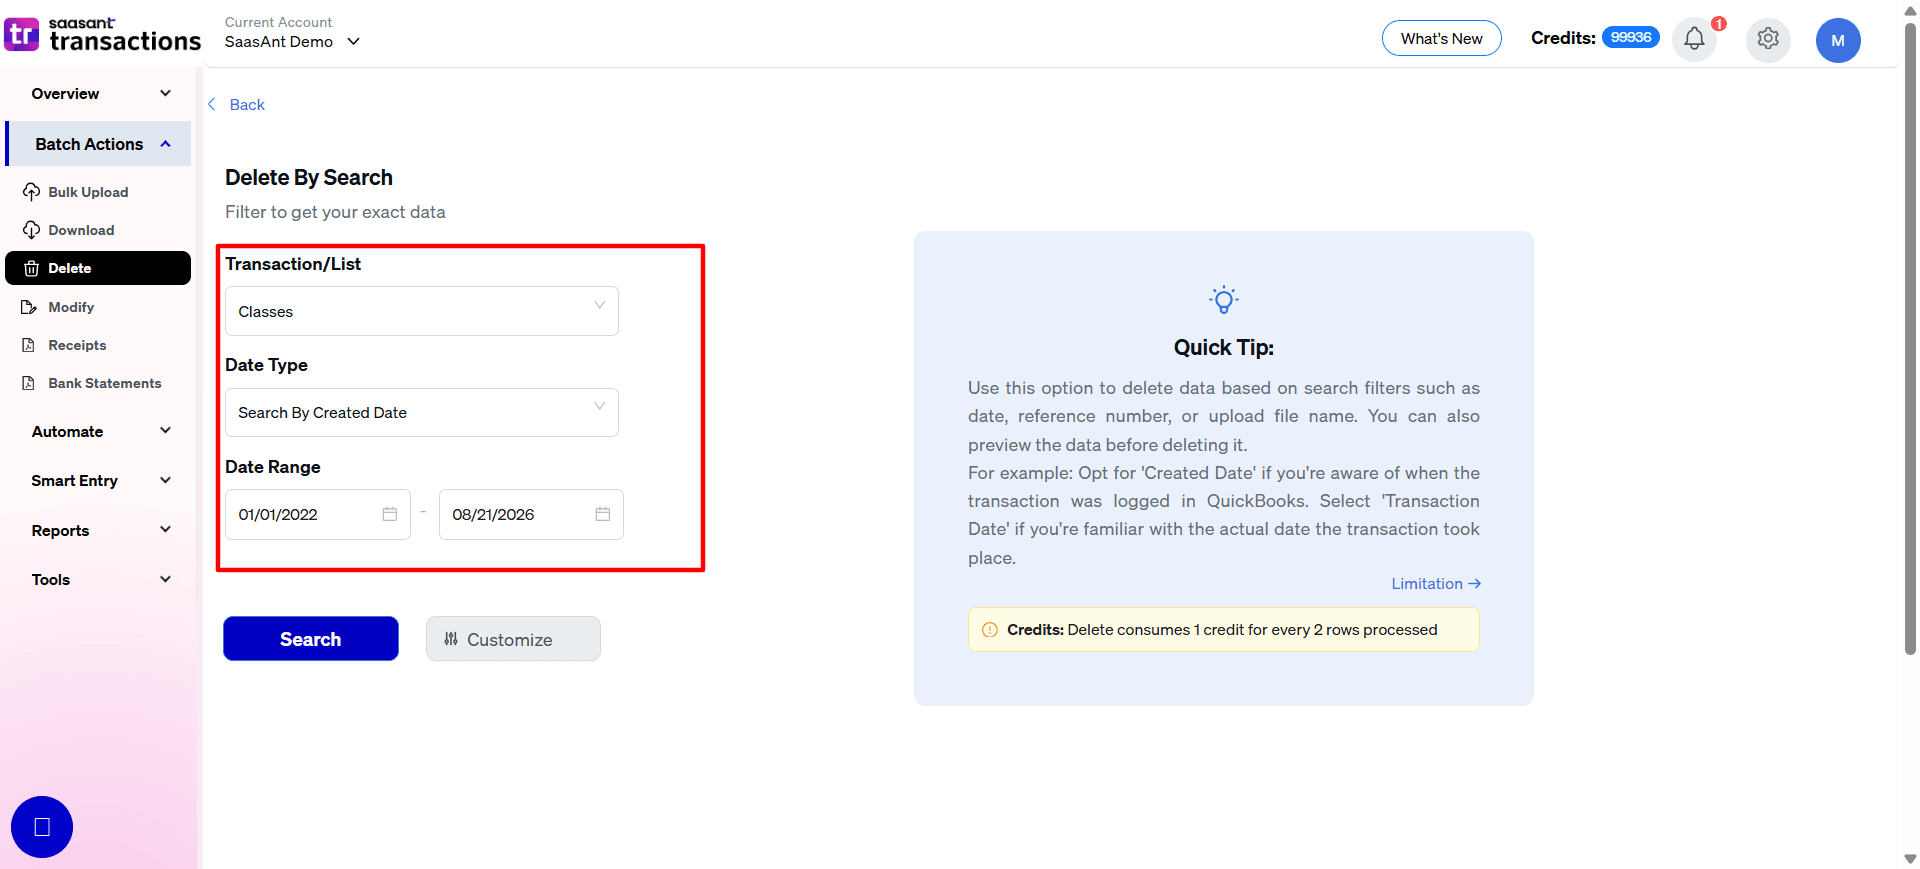
Unlike financial transactions, a Class does not have a transaction date. Use Created Date or Last Updated Date to locate the required Class records.
Step 5: How do you narrow the Class search?
Select Customize, when available.
Use the available filters to narrow the results, such as:
Show records from(Start At)Select Search to load the matching Classes.
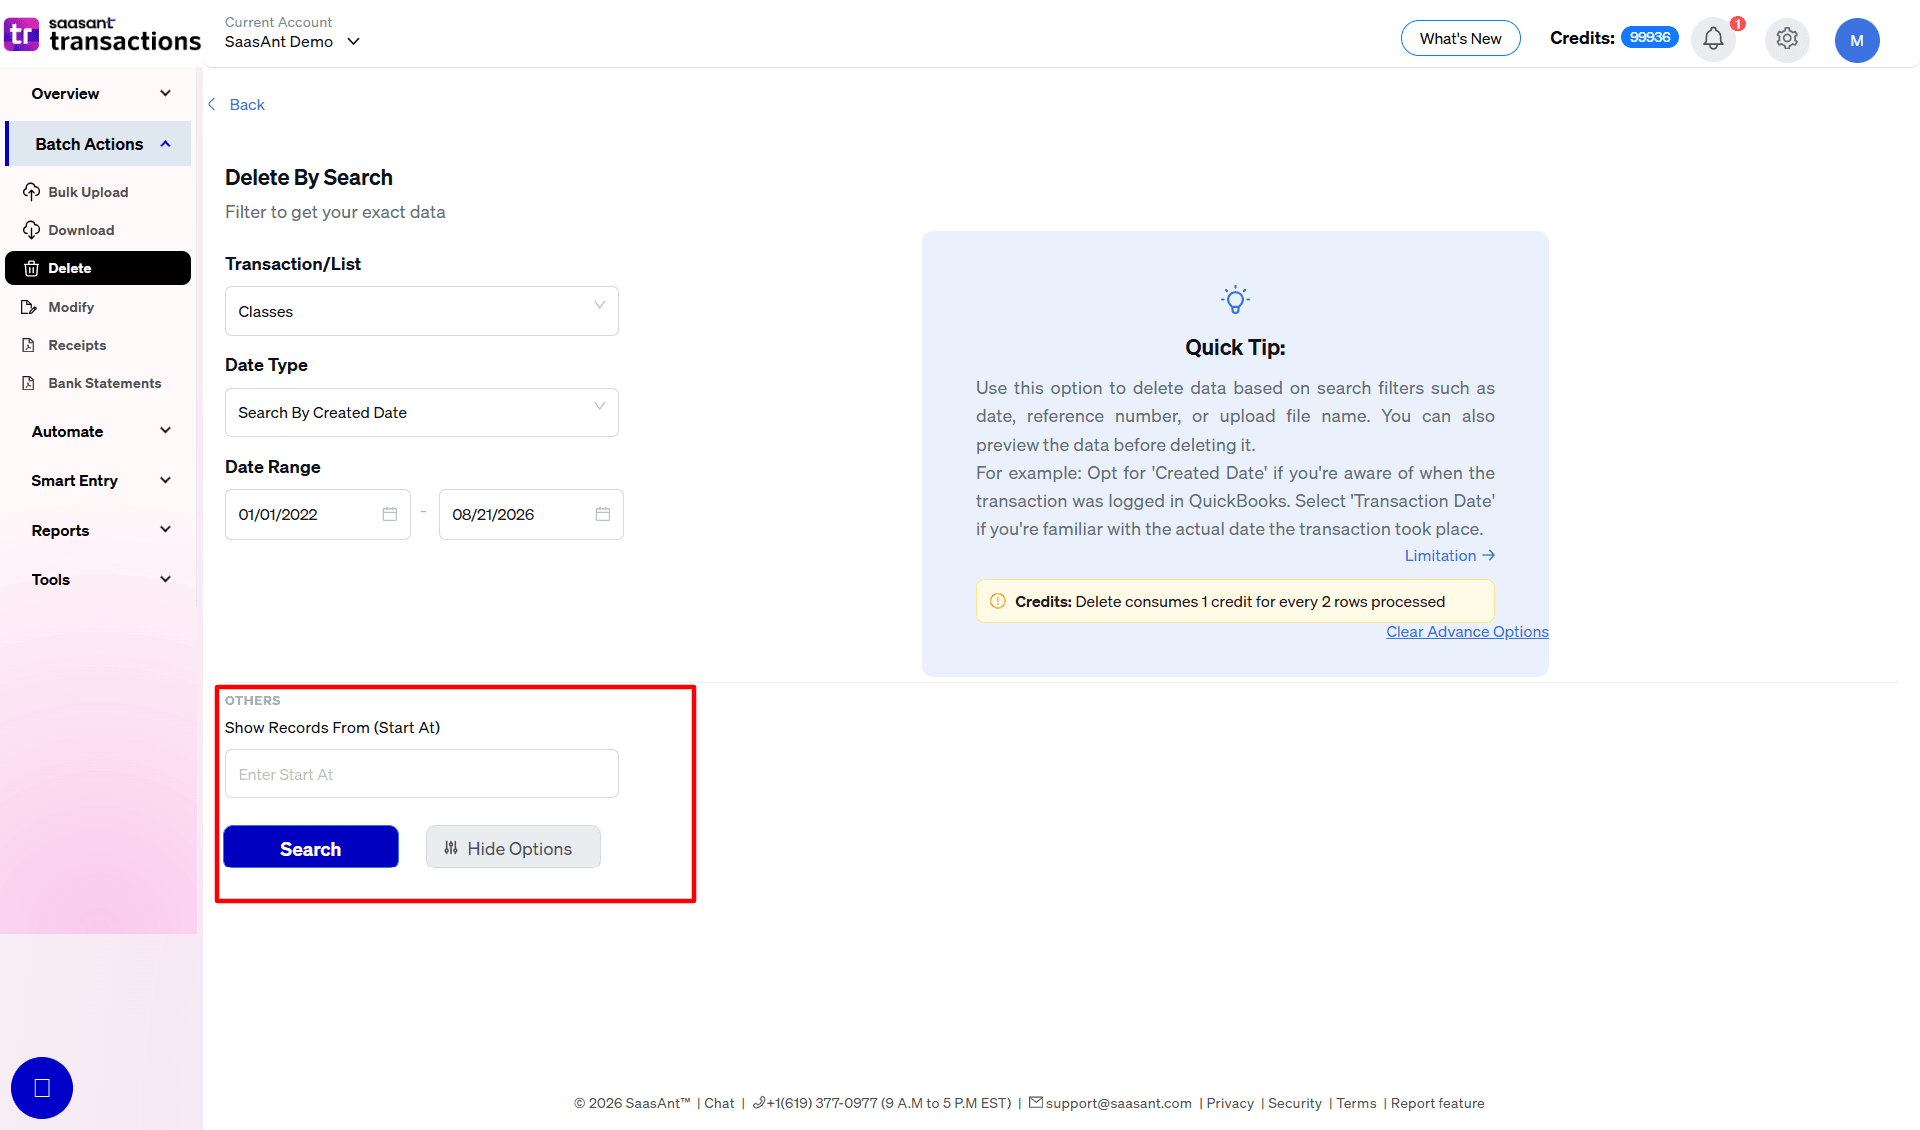
If you are cleaning up a large Class structure, review parent and sub-class relationships carefully before making records inactive.
Making a parent Class inactive may affect how you use its related Class structure going forward.
Step 6: How do you review, back up, and make Classes inactive?
Review the Classes returned by the search.
Check the Class name and parent Class information carefully.
Select the Classes you no longer want to remain active.
Download the records in CSV or Excel format before continuing.
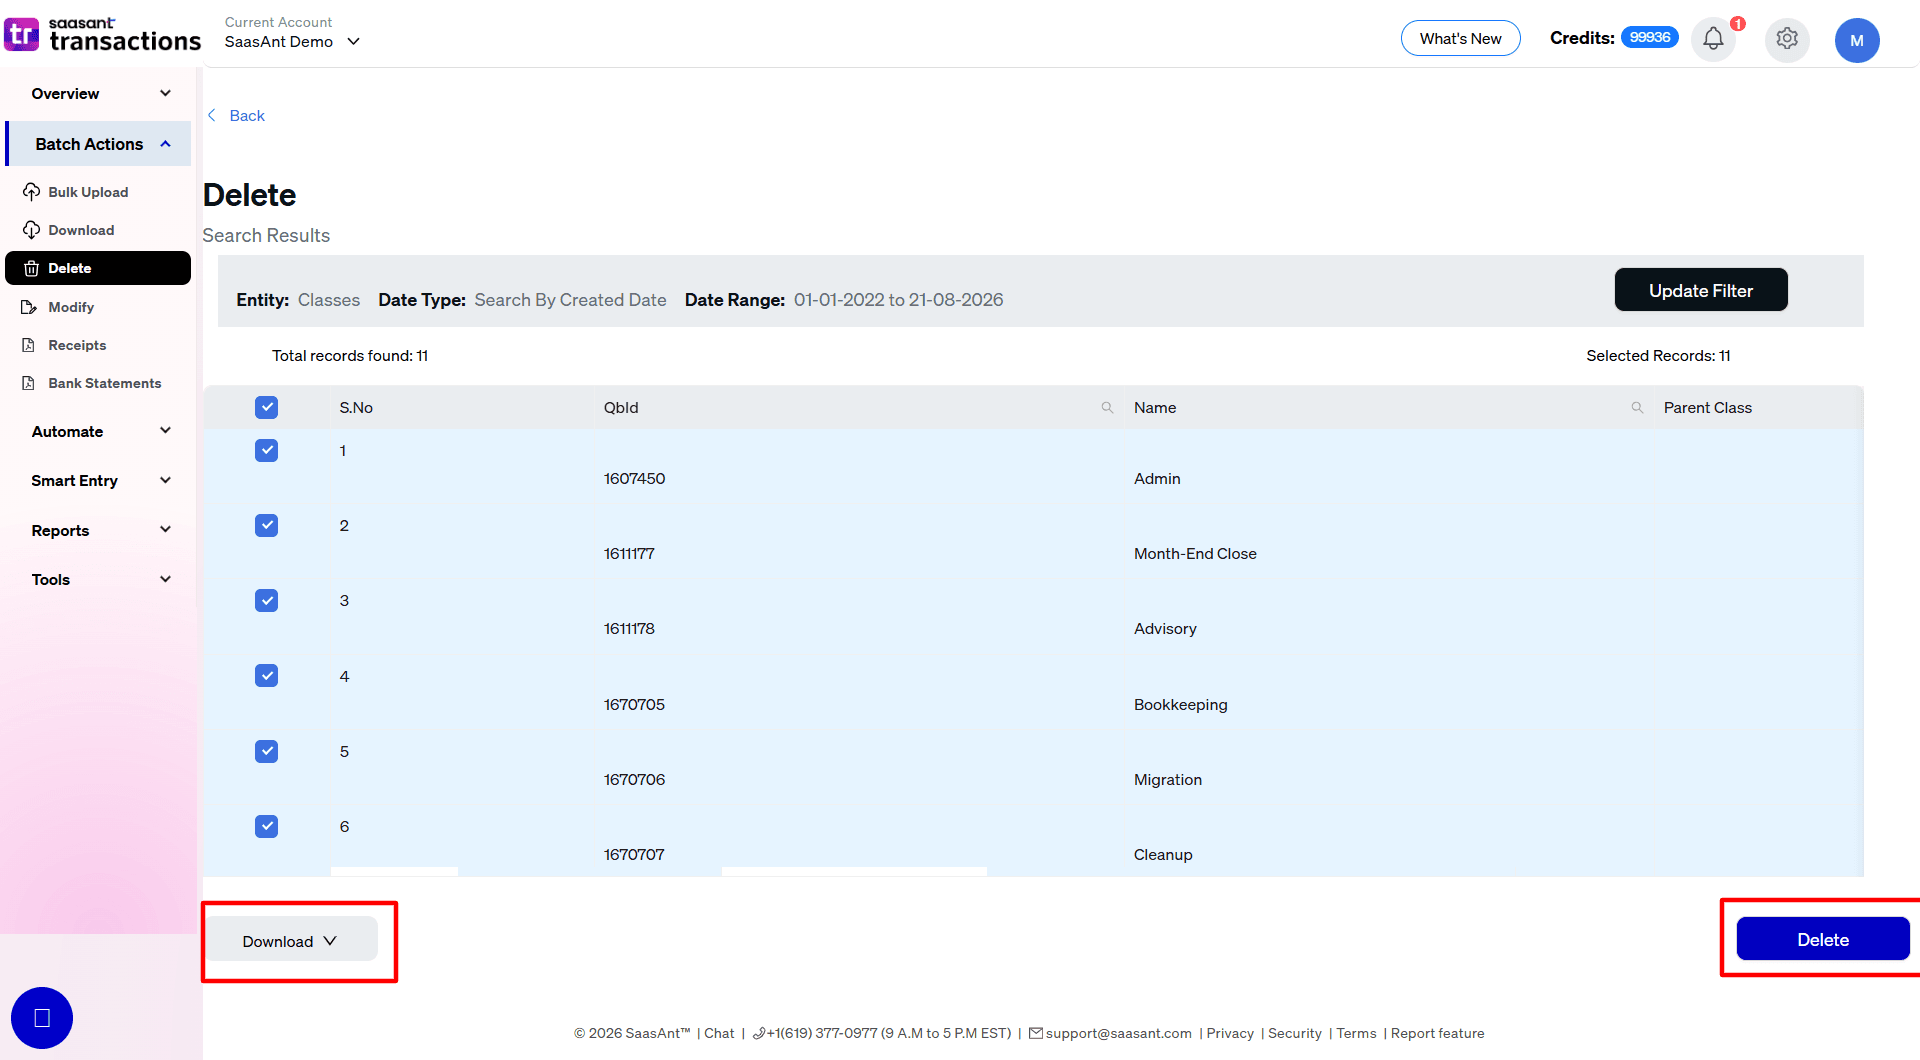
Select Delete.
Confirm the action in the pop-up.
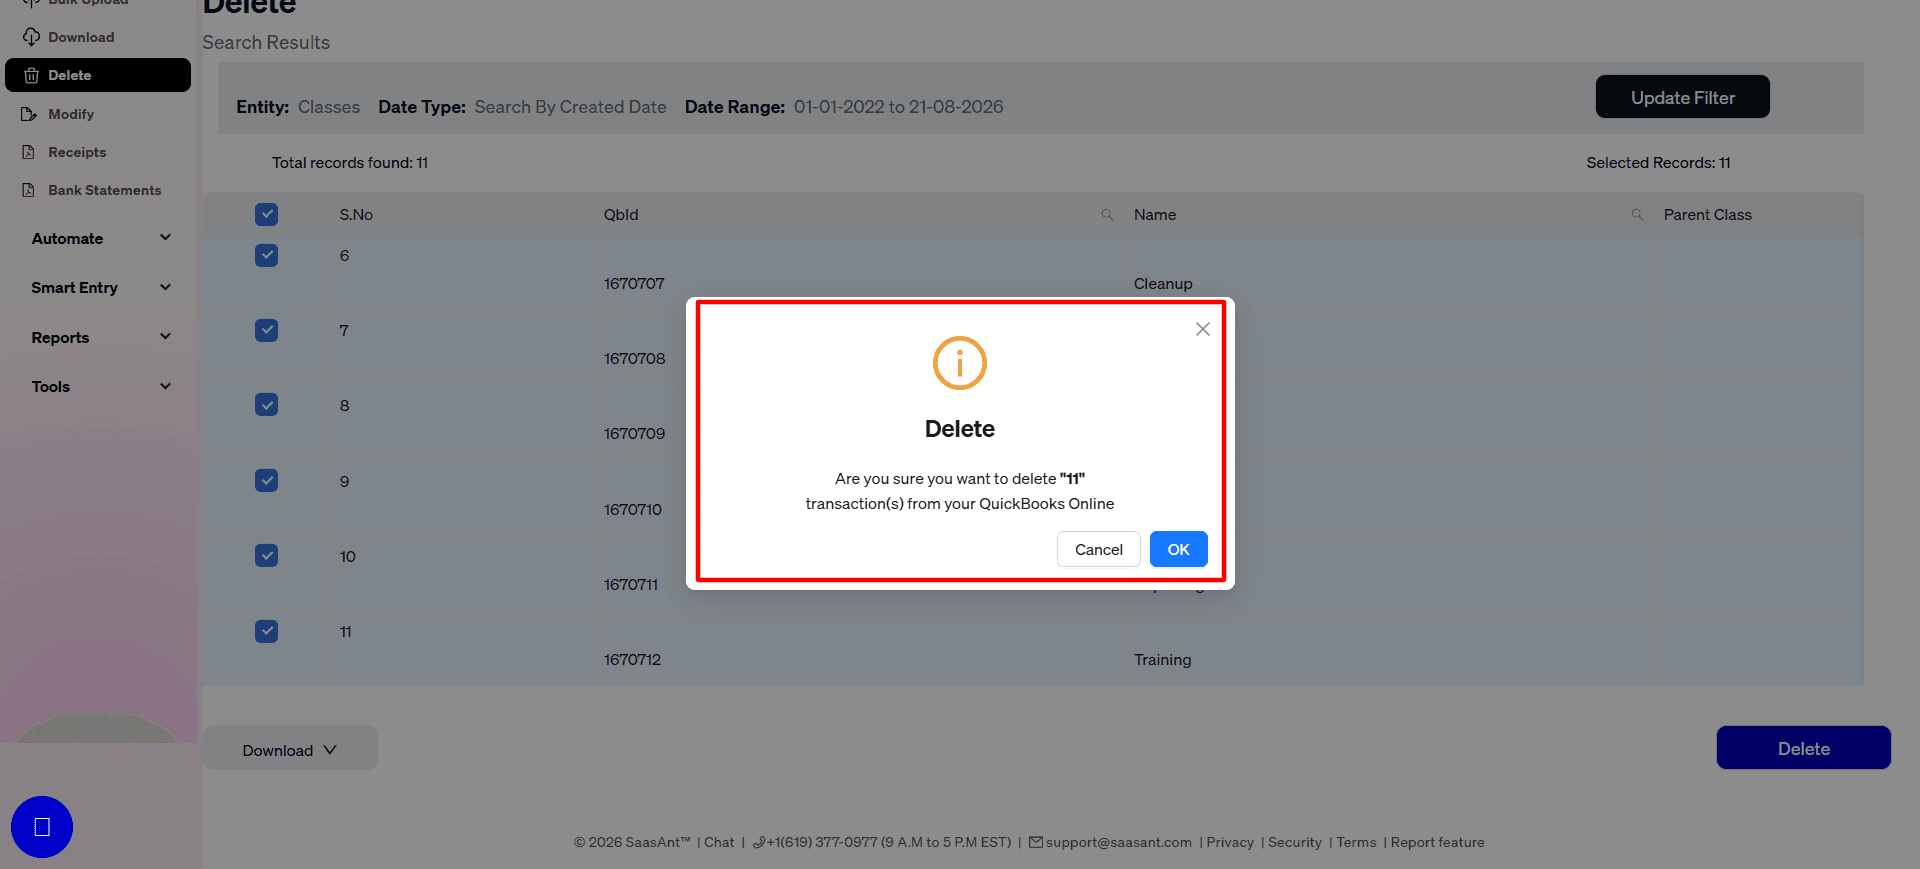
Important: For QuickBooks list records such as Classes, Delete does not mean that the record is permanently erased. The selected Classes are made inactive in QuickBooks Online.
Historical transactions that already use those Classes are not automatically removed simply because a Class is made inactive.
Step 7: Where do you see the deletion summary?
After SaasAnt completes the operation, the Deletion Summary shows the results.
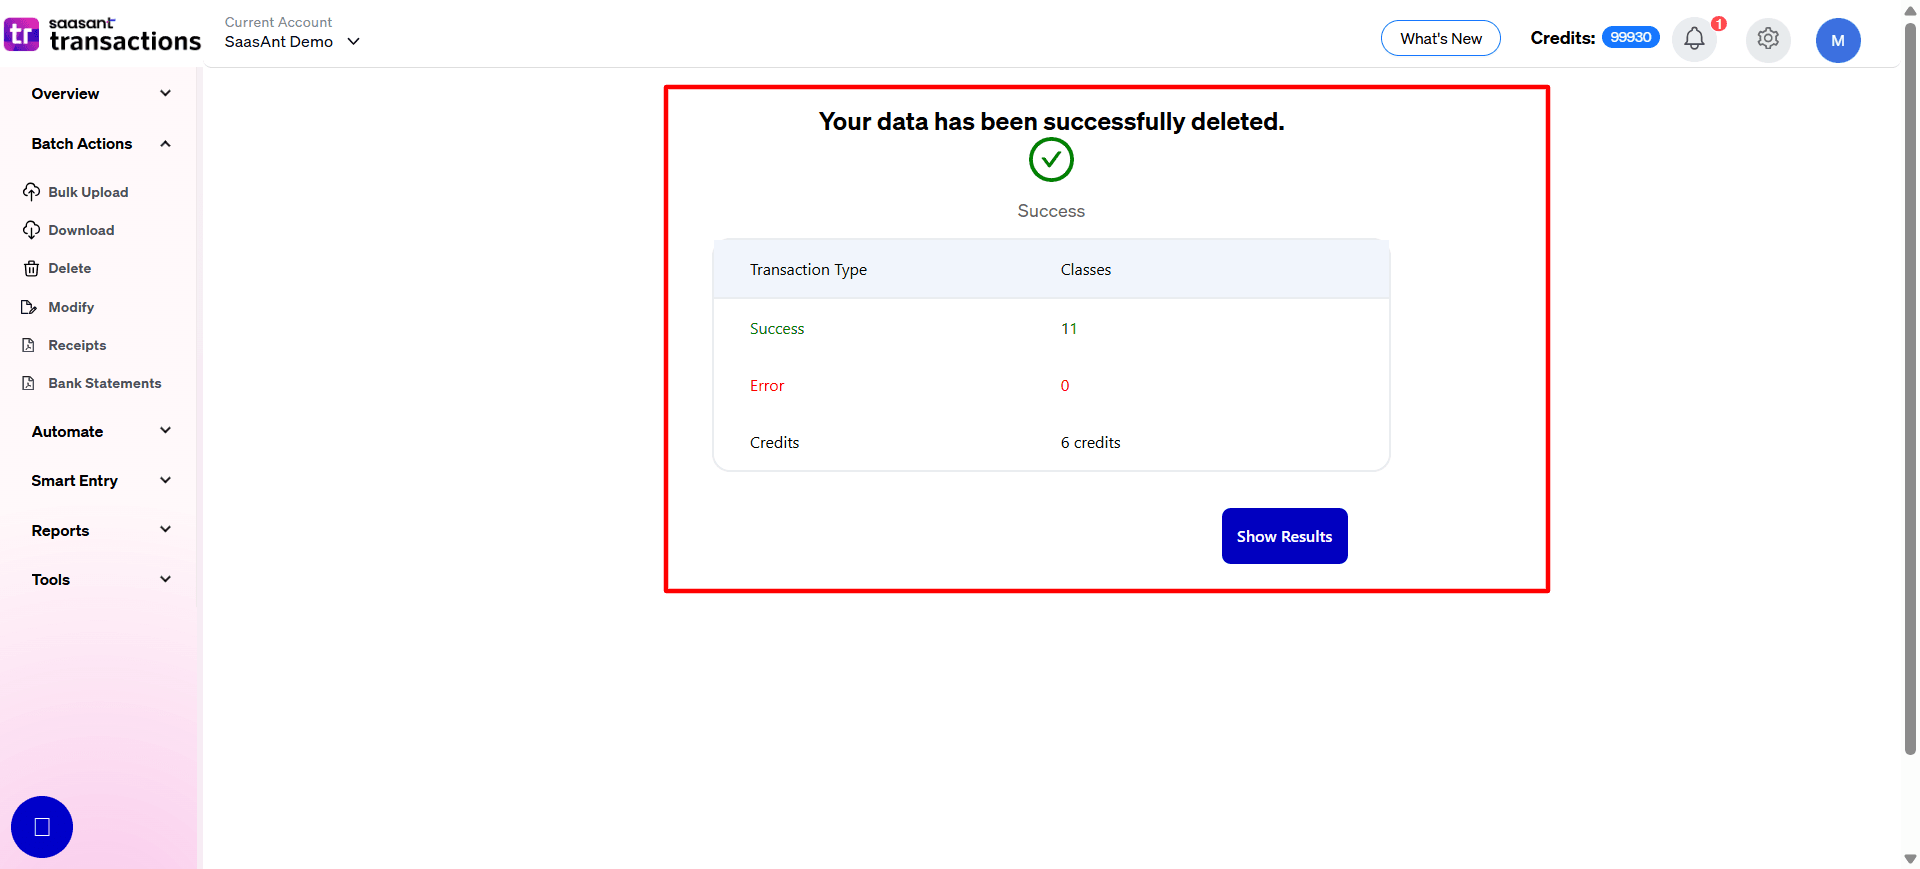
Note: Deleted data will remain available for download for the next 2 days. Please ensure you download it within this timeframe.
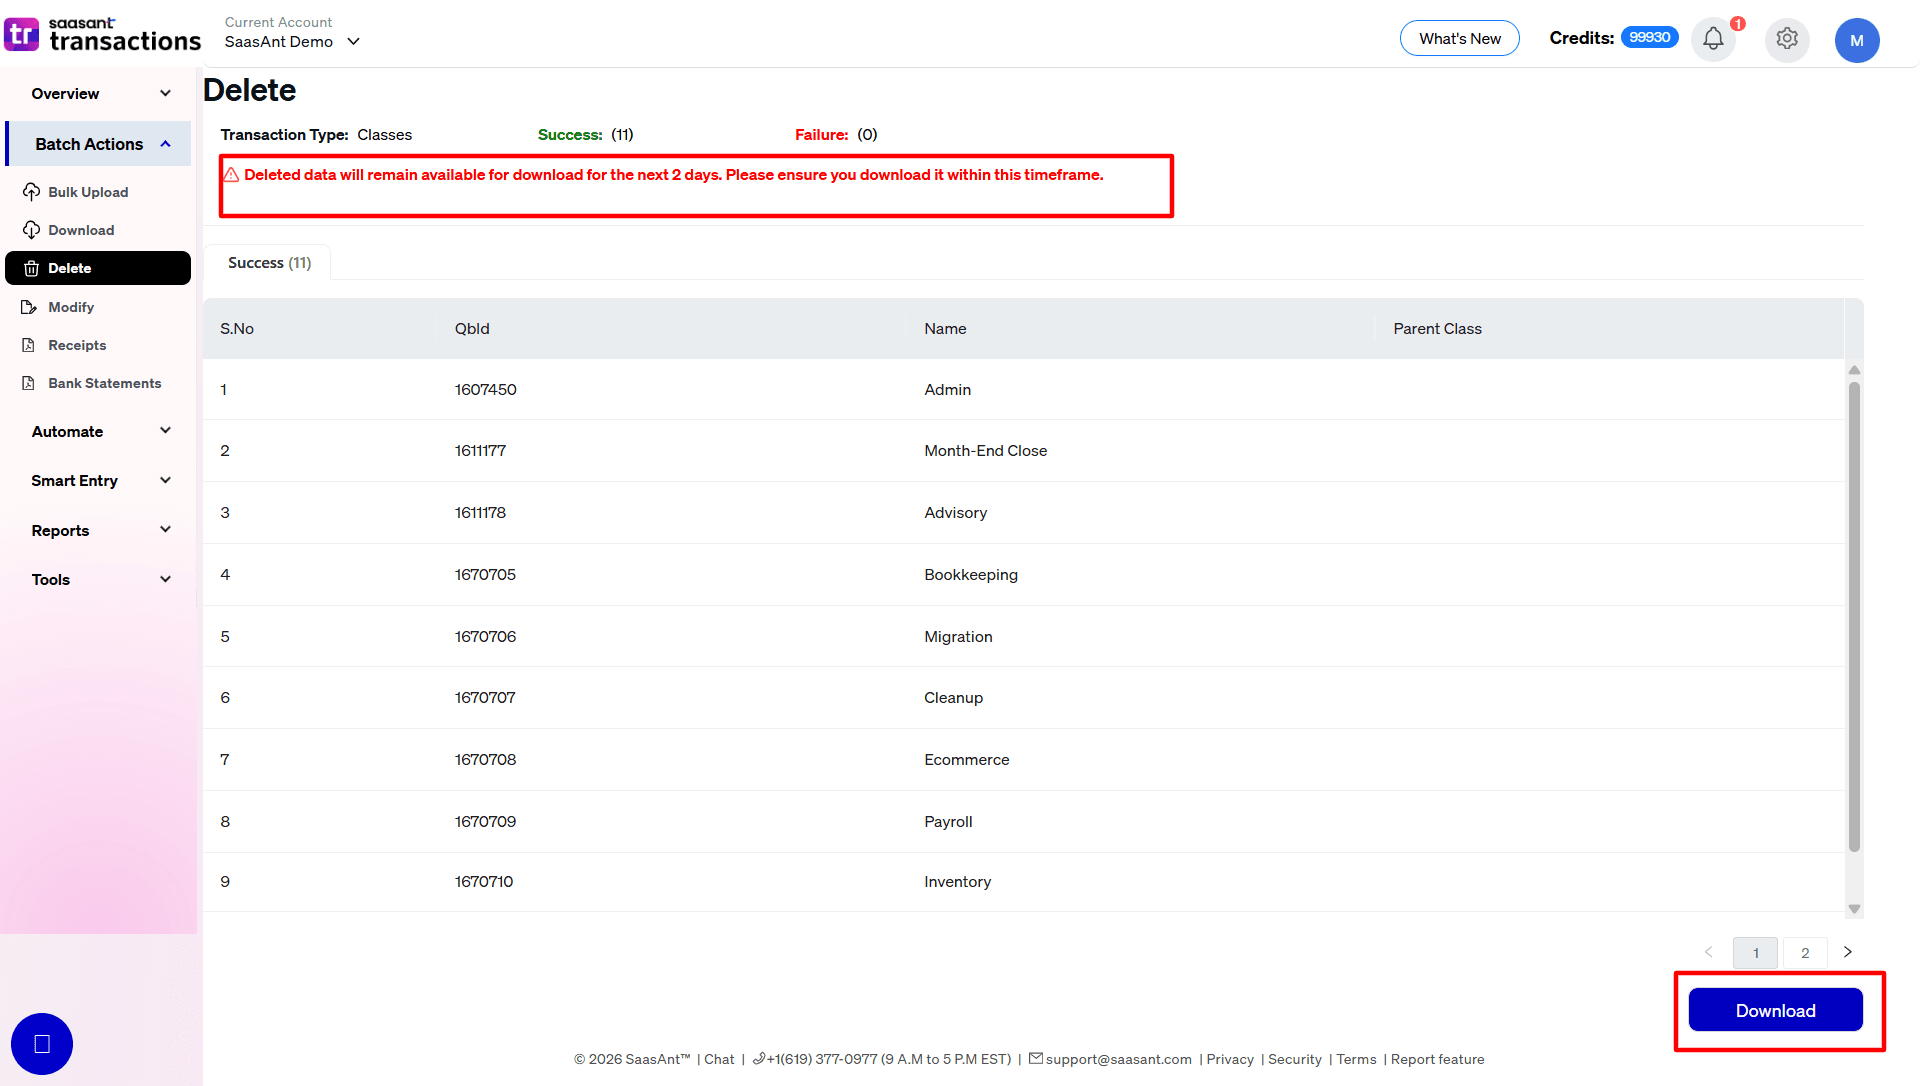
After completing the process, you can also review your Class list in QuickBooks Online to confirm that the selected Classes are inactive.
Troubleshooting
What if no Classes appear after the search?
Check the following:
Confirm that Classes is selected under Transaction/List.
Check the Created Date or Last Updated Date range.
Increase the date range if necessary.
Remove additional search filters one at a time.
Confirm that Classes are enabled in the connected QuickBooks Online company.
Confirm that you are connected to the correct company.
What if a Class cannot be made inactive?
Check whether the Class has related sub-classes or whether its current structure requires another Class to be handled first.
Review the Class structure in QuickBooks Online and confirm the relationship between the parent Class and its sub-classes before trying the operation again.
Does deleting a Class remove it permanently from QuickBooks?
No. Classes are list records. The Delete workflow makes the selected Classes inactive rather than permanently removing them from QuickBooks Online.
This allows QuickBooks to retain the Class information associated with historical accounting records.
What if you made the wrong Class inactive?
Because the Class is inactive rather than permanently deleted, you can reactivate it.
You can update the Class's Active status using a supported SaasAnt editing workflow such as Live Edit or Modify, or manage the Class directly in QuickBooks Online.
After reactivating it, verify that the Class is available again where you expect to use it.
Will making a Class inactive remove it from existing transactions?
No. Making a Class inactive prevents it from being used as an active Class going forward, but it does not automatically remove the Class assignment from historical transactions.
If existing transactions contain incorrect Class assignments, those transactions must be corrected separately.