PayTraQer Consolidated Summary sync Dashboard Guide
January 1, 2025
Overview:
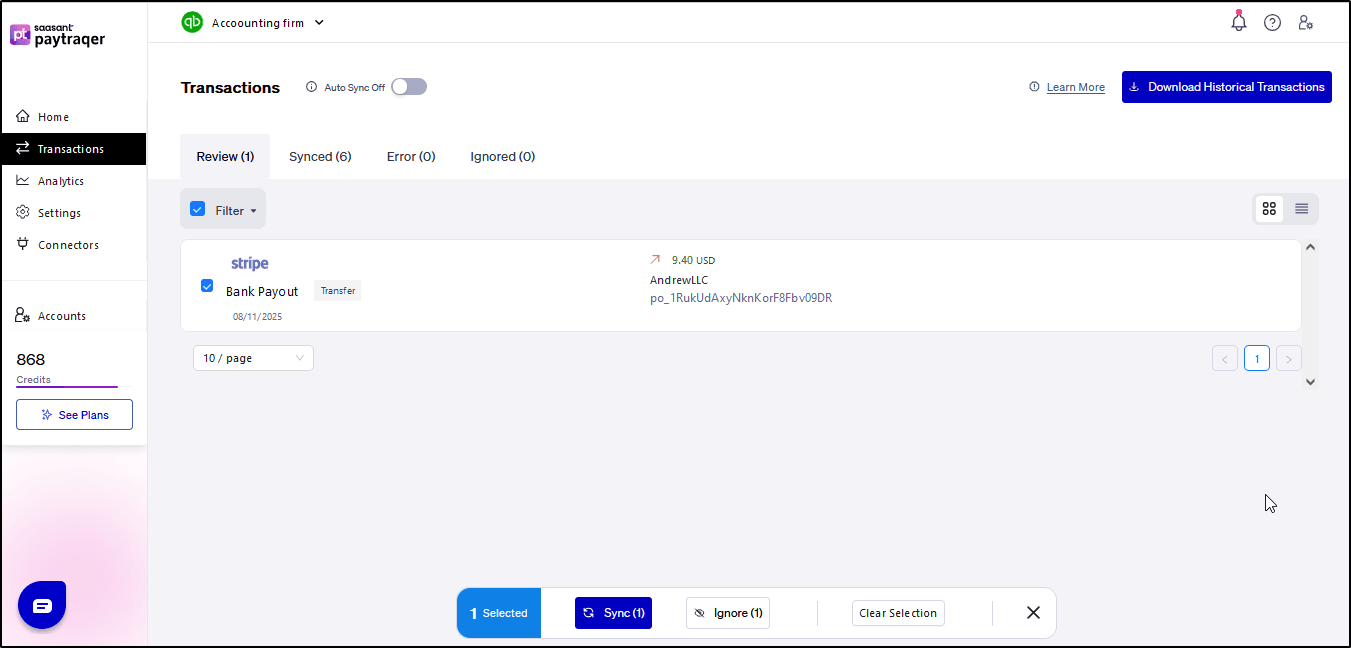
The PayTraQer transaction dashboard makes managing Payout transactions easy, whether you're new or experienced, by simplifying tracking, syncing, and financial management processes, with a detailed exploration of each tab's functions.
Not Synced Tab:
The 'Not Synced' tab stores transactions downloaded from the connected payment processor accounts, allowing users to access historical transactions and record unlimited entries. Using the 'Download Historical Transactions' widget, provide essential details like Transaction Date, Payee (Customer/Vendor), Processor, Amount, etc.
Additionally, users can view original transactions in Paypal, Stripe, Square, Shopify, Amazon, and eBay directly from PayTraQer by clicking the "TRANSACTION ID" hyperlink. You can also initiate syncing to QuickBooks Online for specific transactions by clicking the "Sync to QuickBooks " button.

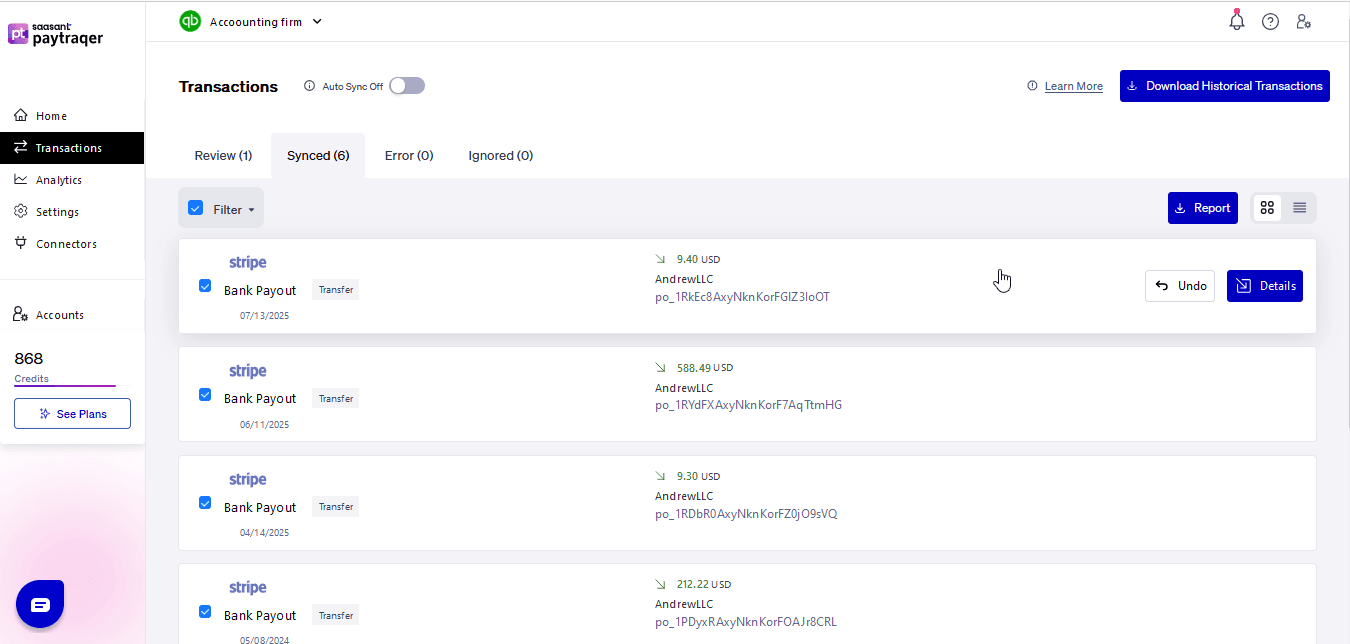
Synced Tab:
In the 'Synced' tab, users can view transactions successfully synced to QuickBooks Online from connected payment processor accounts. Transactions can be synced manually from the 'Not Synced' tab or automatically using the Auto Sync feature. This tab offers detailed insights into transactions, customers, vendors, and items created in QuickBooks Online. Users can also undo synced transactions by selecting the desired entries and clicking the "Undo Selected" button.

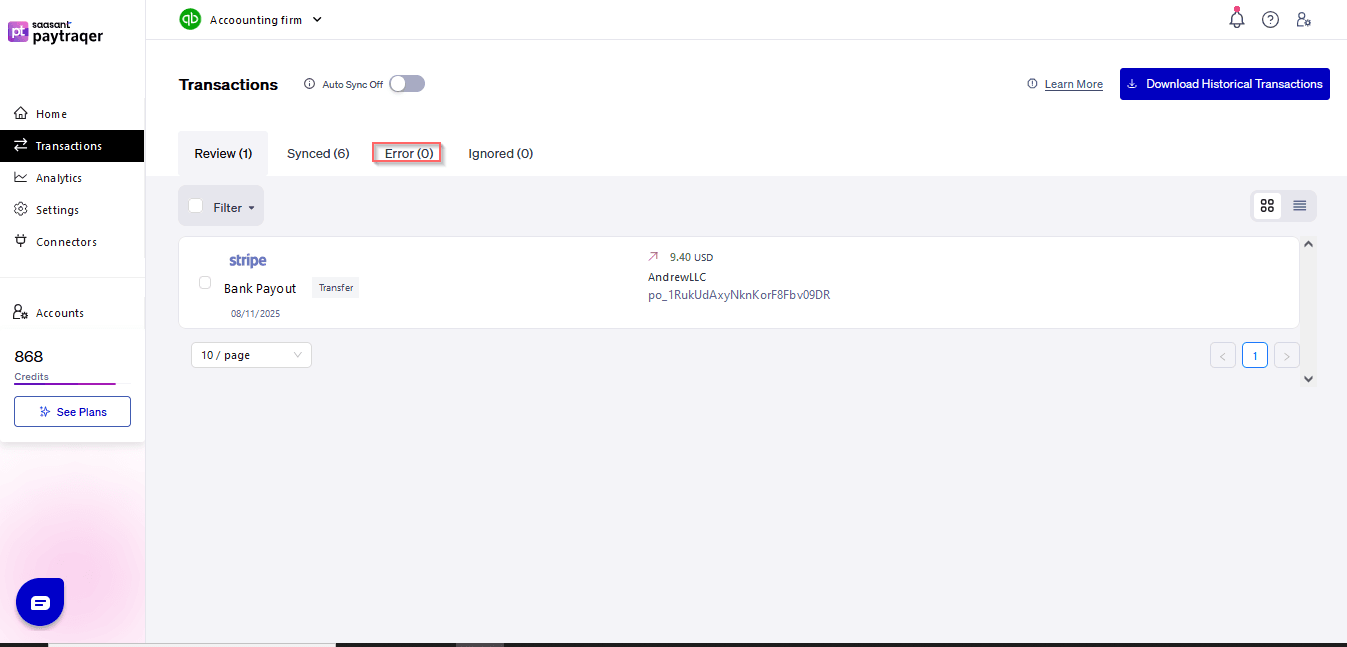
Error Tab:
The 'Error' tab highlights transactions that failed to sync with QuickBooks Online due to various reasons such as incorrect account information, currency discrepancies, or credit issues. Users can access detailed error information by clicking on specific entries. Additionally, the 'Fix' button provides users with actionable insights and solutions to resolve syncing issues effectively.

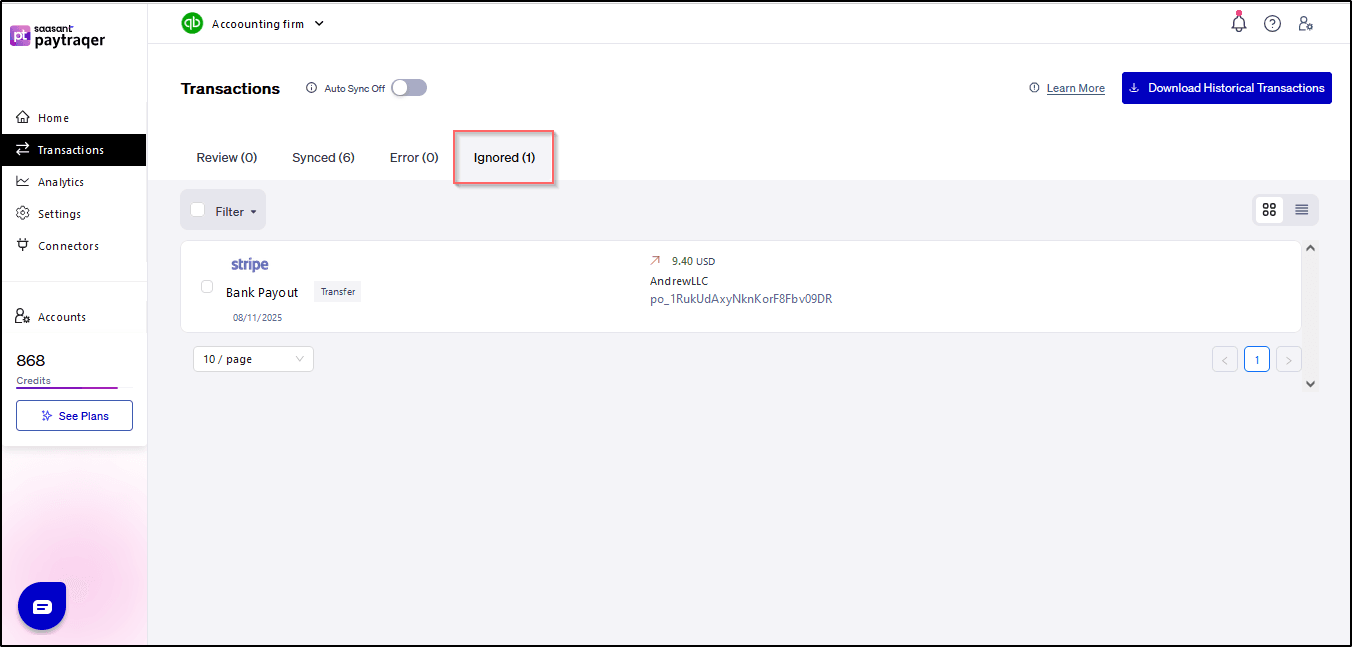
Ignored Tab:
In the 'Ignored' tab, users can find transactions that have been deliberately ignored from processing. If users have already created transactions in QuickBooks Online and prefer not to process them through PayTraQer, they can move these transactions to the 'Ignored' category using the 'Ignore' button in the 'Not Synced' tab.

Related PayTraQer Articles:
1) Please refer to this article How to rollback/undo the Synced transaction in PayTraQer
2) Please refer to this article Overview of PayTraQer Summary Sync Settings
3) Please refer to this article: How to configure general Settings in PayTraqer
4) Please refer to this article: PayTraQer - Sales Settings Configuration
5) Please refer to this article: Configuration of Tax Settings for Summary Sync in PayTraQer
6) Please refer to this article: Configuration of Fees and Expenses for Summary Sync in PayTraQer
7) Please refer to this article: Configuring Additional Settings for PayTraQer Summary Sync
8) Please refer to this article: Configuration of Payout Settings for Summary Sync in PayTraQer
9) Please refer to this article: Configuration of COGS Matching for PayTraqer Summary Sync
10)Please refer to this article: Configuring COGS Settings for PayTraqer Summary Sync
11) Please refer to this article: Configuring Grouping for PayTraqer Summary Sync
12) Please refer to this article: How to Preview and Sync the Transactions into QuickBooks Online
13) Please refer to this article: PayTraQer Consolidated Summary Sync Dashboard Guide
14) Please refer to this article: How to setup PayTraQer for Summary Sync (sales summary)
15) Please refer to this article: How to setup PayTraQer for Itemized sync (Individual)
You can reach out to us at support@saasant.com if you are stuck somewhere.