How to Connect Clover with Xero Using PayTraQer
January 1, 2025
How to setup Xero with PayTraQer
1) Connect your Xero Account with PayTraQer
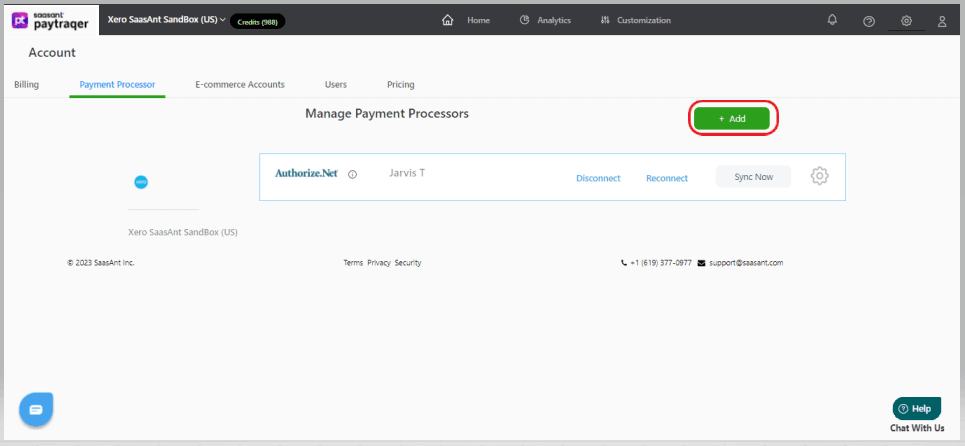
2) In PayTraQer, navigate to the Payment Processors Page and click on 'Add '
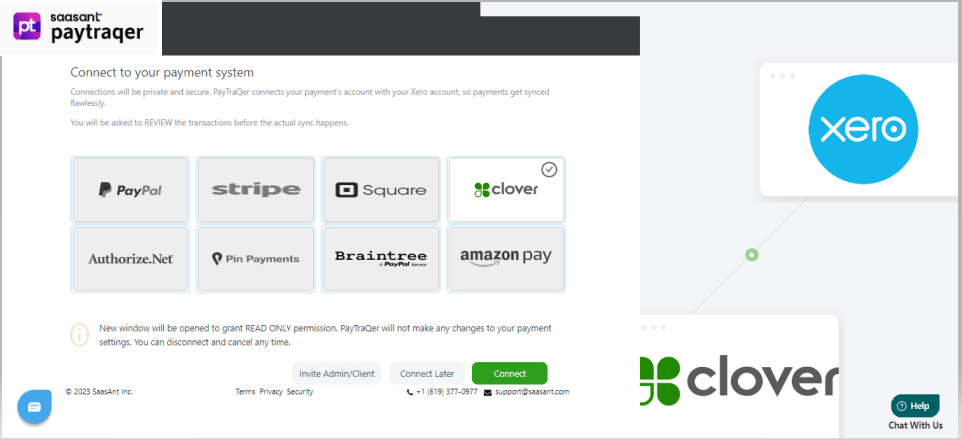
3) Click on the "Clover" tile in the Payment Processors Screen.
4) The "Clover" Integration Screen will be opened and you must follow the instructions below carefully.
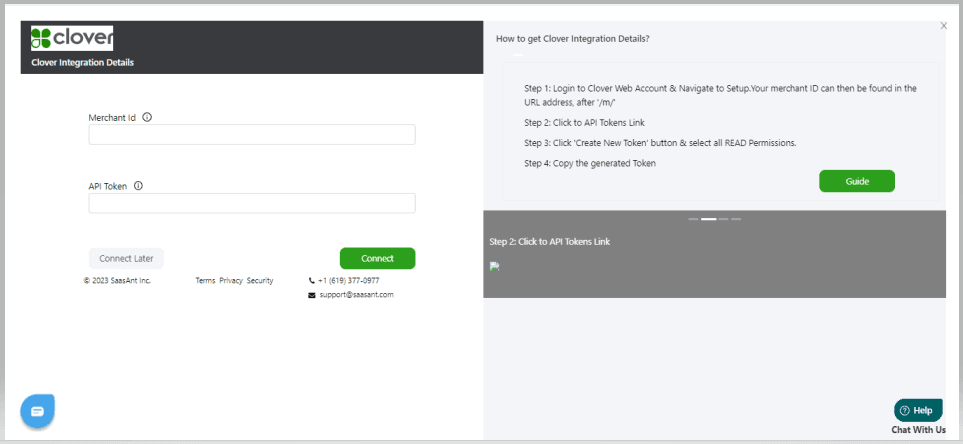
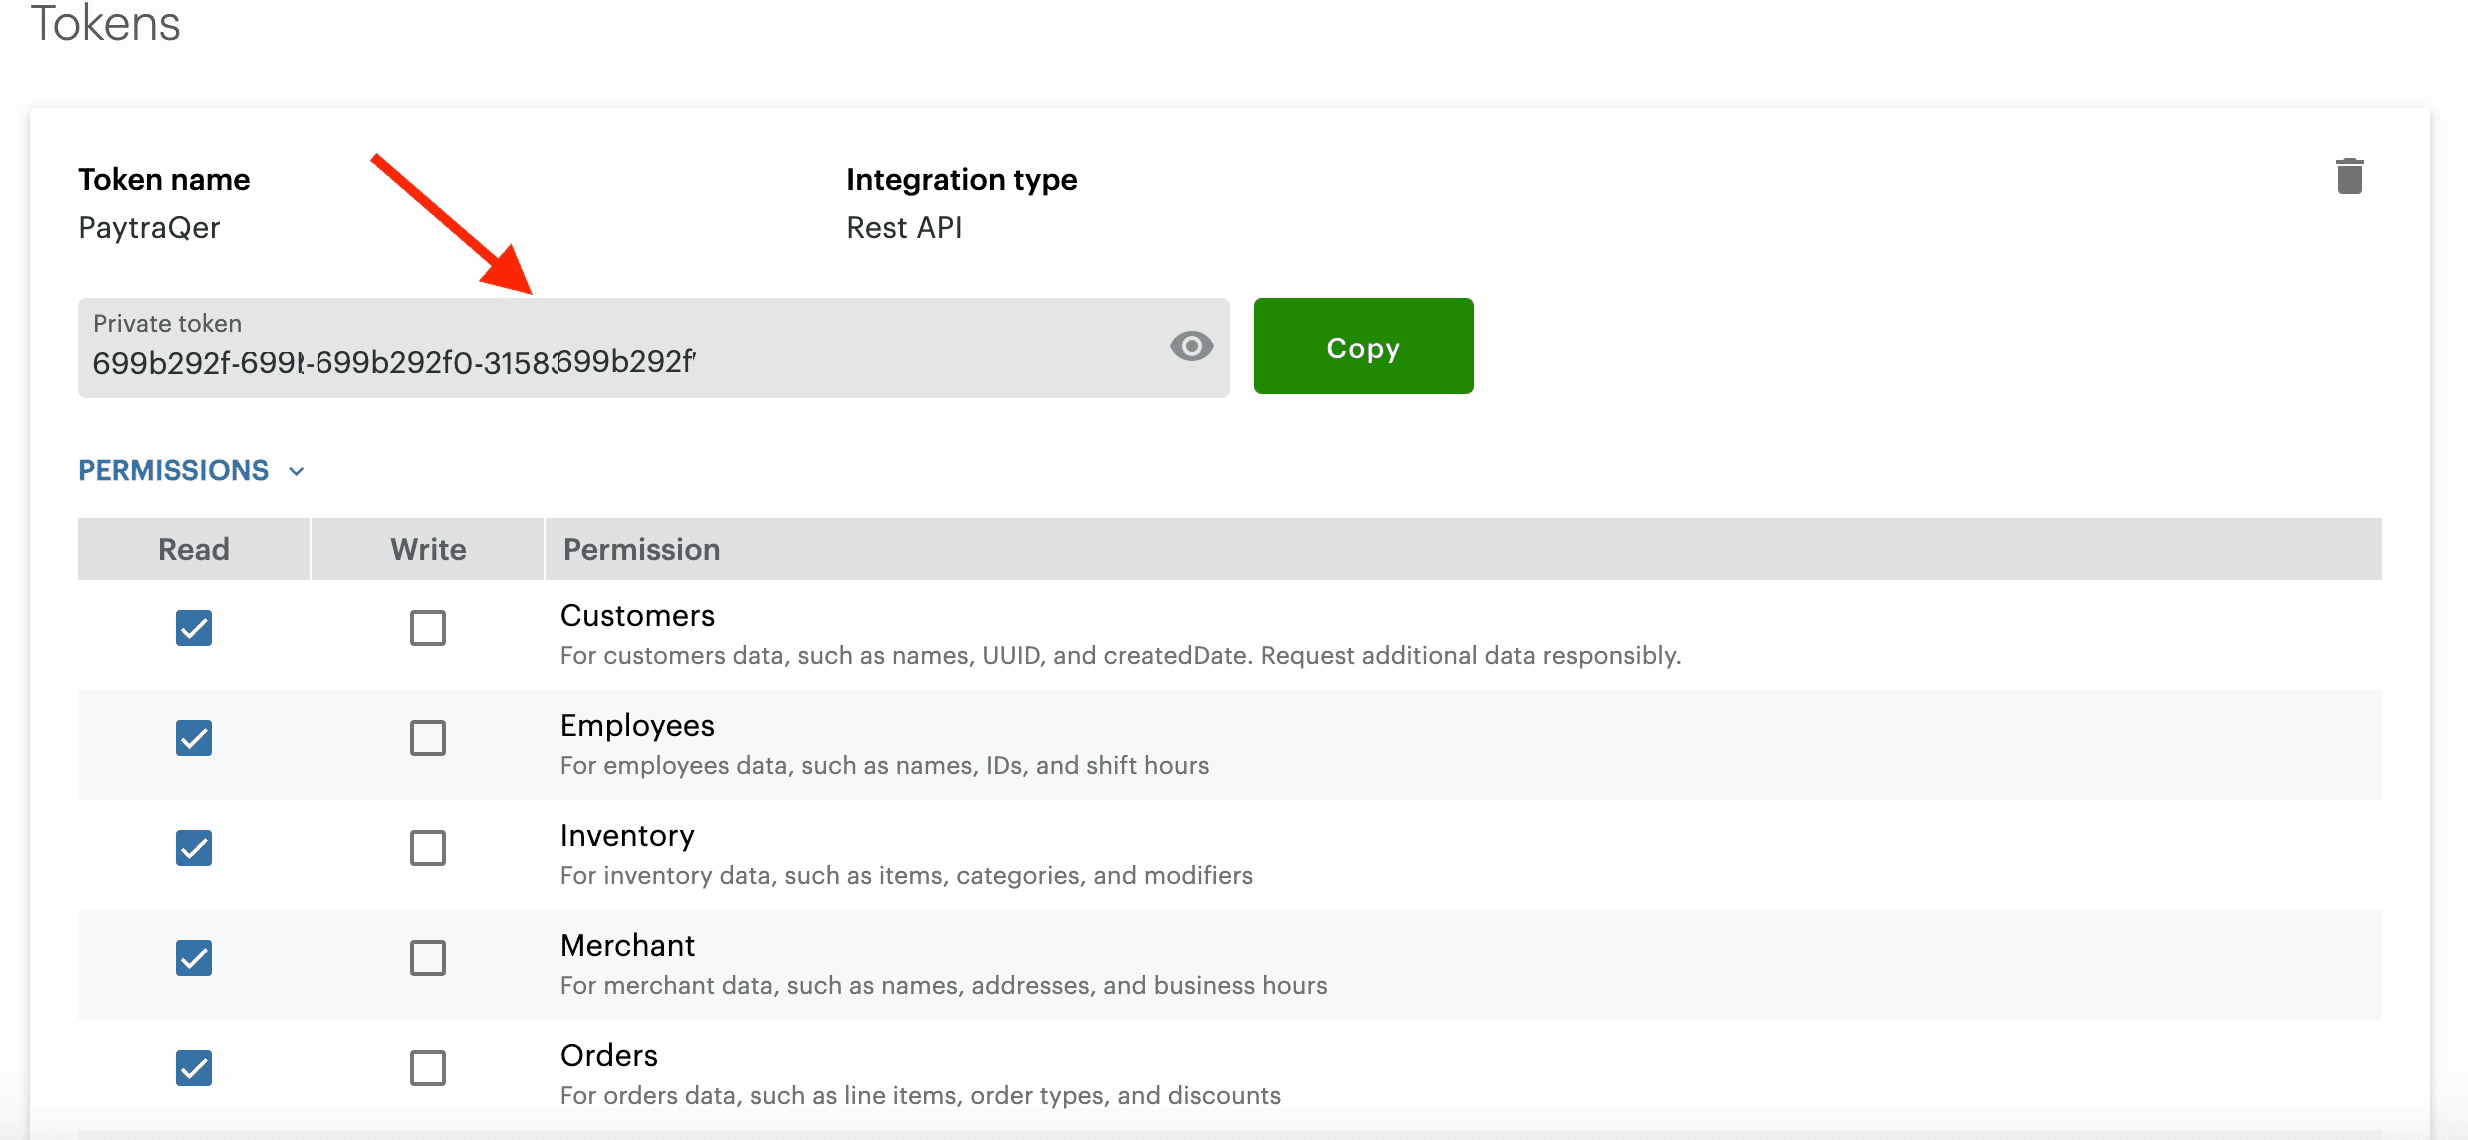
Note: You will need to submit your Clover API Token and Merchant ID to PayTraQer to get access to download and sync your Clover transactions to your Xero company
Here are the steps to get your Clover API Token.
Step 1: Log in to your Clover account.

Step 2: Navigate to Setup. Your merchant ID can then be found in the URL address, after '/m/'

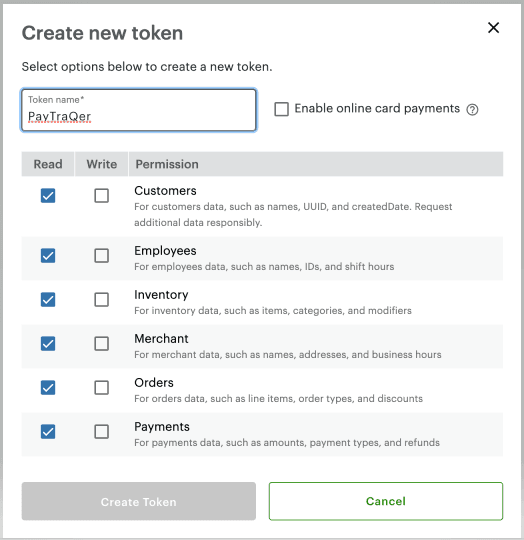
Step 3: Select ‘API Token’ under the Setup Settings.

Step 4: Click the 'Create New Token' button & select all READ Permissions.
Step 5: Copy the generated API Token and merchant ID to the PayTraQer screen
You can reach out to us at support@saasant.com if you are stuck somewhere. You can also schedule a personalized free demo with us if you need better clarity to connect with us by clicking Demo