How to request a demo for SaasAnt products?
March 3, 2026
SaasAnt offers a suite of solutions for QuickBooks Online, QuickBooks Desktop, and Xero users to import, export, edit, delete, and automate accounting data, along with payment and e-commerce connector options. If you want to see how a SaasAnt product fits your workflow before getting started, booking a demo is the easiest way to get a guided walkthrough.
SaasAnt Transactions:
Best for businesses and accountants who need to automate bulk import, export, delete, modification, and migration of accounting data into QuickBooks and Xero from any file format—from Excel spreadsheets to PDF receipts.
Video Tutorial for How to Connect SaasAnt Transactions Online with QuickBooks Online:
Video Tutorial for How to Connect SaasAnt Transactions Desktop with QuickBooks Desktop:
PayTraQer
Video Tutorial for How to Connect PayTraQer with QuickBooks Online:
Best for businesses that want to automatically sync, categorize, and reconcile sales, fees, taxes, and payouts from payment gateways and marketplaces into accounting software with both summary and individual transaction sync for easy reconciliation.
In this article, you’ll learn how to request a demo for SaasAnt products step by step, with screenshots to help you follow along.
Step 1: Open the SaasAnt website
Open your web browser.
Go to the SaasAnt website: www.saasant.com
You can either type “SaasAnt” in your search engine or enter the URL directly.
Before requesting a demo, it can help to quickly review the product pages so you choose the right demo option:
SaasAnt Transactions Online for QuickBooks Online and Xero
SaasAnt Transactions Desktop for QuickBooks Desktop
PayTraQer for payment and ecommerce connector needs (QuickBooks and Xero)
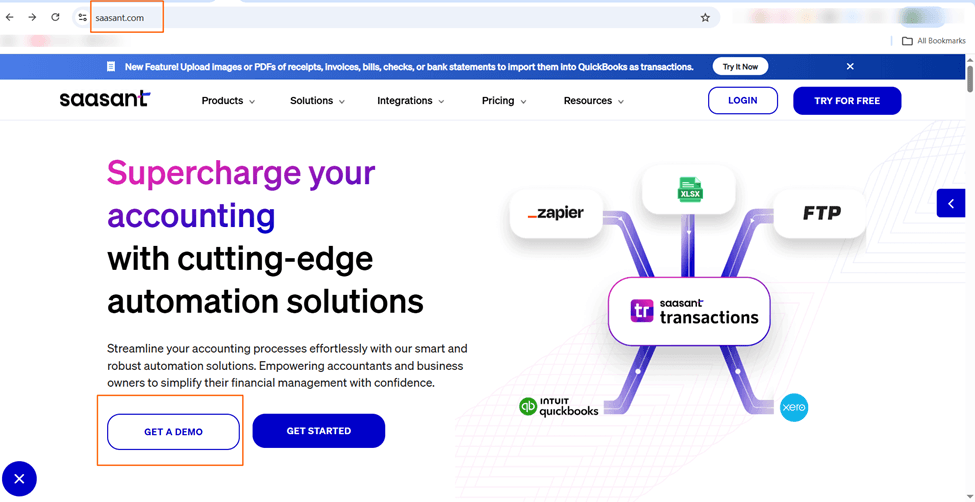
Step 2: Click Get a Demo
On the SaasAnt website, click Get a Demo.
This opens the SaasAnt Product Demo booking page, where you can choose a date and time for your demo.
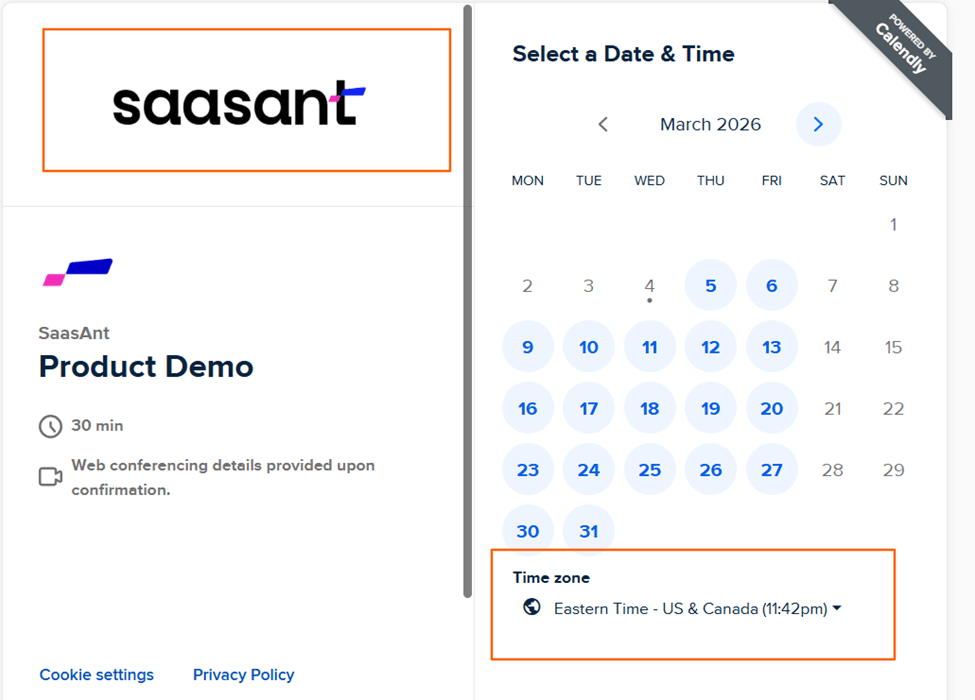
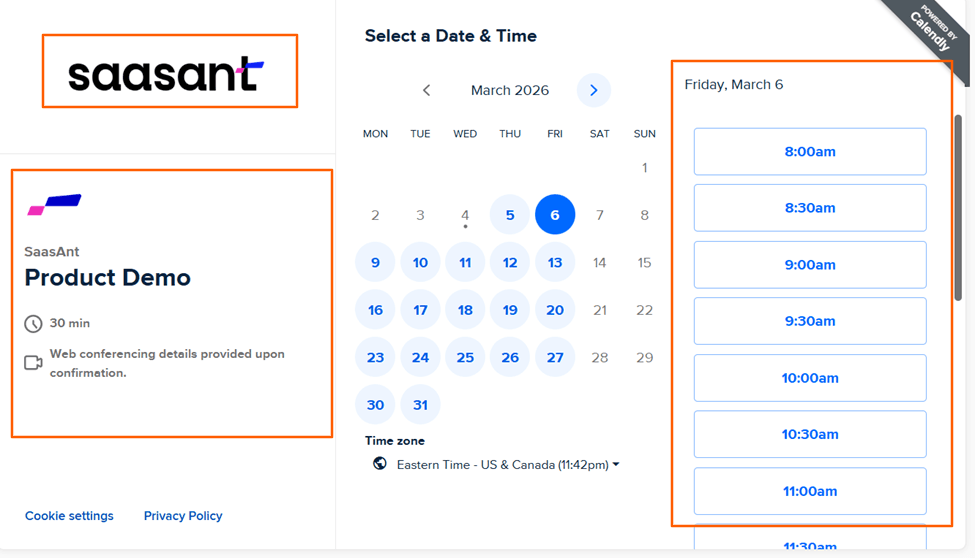
Step 3: Choose a date and time slot
On the Product Demo booking page, select a date from the calendar.
After you pick a date, available time slots will appear on the right side.
Select the time that works best for you.
The demo is scheduled for 30 minutes.
Step 4: Enter your details and schedule the demo
After selecting your time slot, click Next.
On the Enter Details page, fill in the required information:
Name
Email
[Optional: Click Add Guests if you want to invite a teammate to join the demo.]
In the Product dropdown, select the product you want a demo for:
SaasAnt Transactions for QuickBooks Online
SaasAnt Transactions for QuickBooks Desktop
SaasAnt Transactions for Xero
PayTraQer for QuickBooks Online
PayTraQer for Xero
In the message box, add any details that will help the team prepare.
Before scheduling, review the details shown on the left side, including:
Date and time
Time zone
Click Schedule Event.
After you schedule the demo, you will receive an email confirmation with the full meeting details at the email address you entered.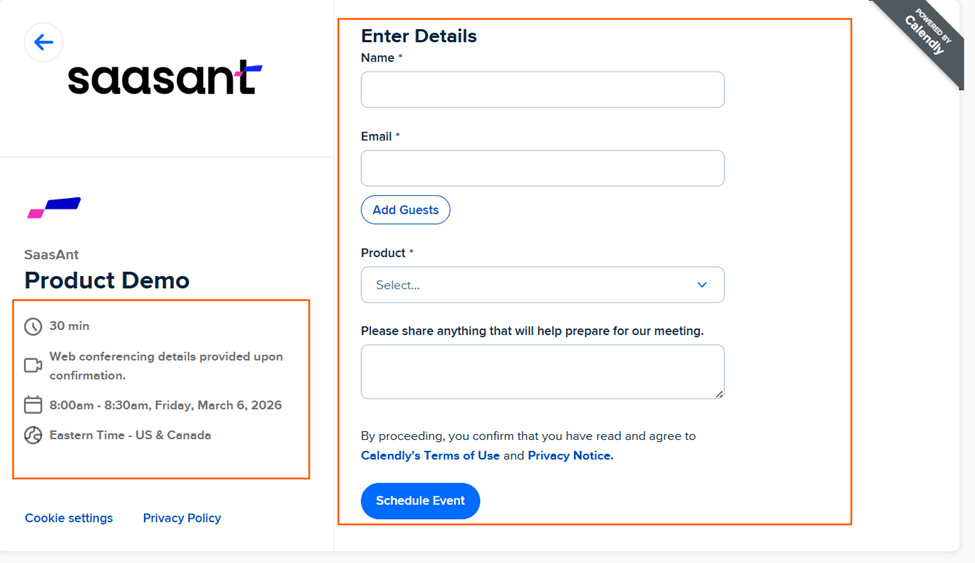
Step 5: Attend the demo
Join the demo at the scheduled time using the meeting details shared in your confirmation email.
During the session, you can explain your workflow and goals, and ask questions so the demo can focus on what you need.
If you have follow-up questions after the demo, contact us at support@saasant.com
FAQs
What file types does SaasAnt Transactions Online support for QuickBooks Online imports?
For almost all entities in QuickBooks Online, SaasAnt Transactions Online supports XLS, XLSX, XLSM, CSV, TXT, Google Sheets, and IIF. Additionally, PDF, PNG, and JPEG are supported only for Receipts, Invoices, Bank Statements, Checks, and Expenses.
What file types does SaasAnt Transactions Desktop support for importing into QuickBooks Desktop?
SaasAnt Transactions Desktop supports XLS, XLSX, XLSM, CSV, TXT, and IIF.
What file types does SaasAnt Transactions Online support for Xero Online imports?
For almost all entities in Xero, SaasAnt Transactions Online supports XLS, XLSX, XLSM, CSV, and TXT. You can also schedule imports by sending CSV or Excel files via Email, Zapier, or FTP.