How to Integrate Authorize.Net with Xero Using PayTraQer?
January 1, 2025
How to Integrate Authorize.Net with Xero?
To integrate your Authorize.Net transactions with your Xero Online company, you will have to install PayTraQer and connect Authorize.Net to PayTraQer.
If you have already connected your Authorize.Net account by verifying it with the API key, try the following steps for seamless integration.
You have to make some minimal settings changes before hitting the dashboard for the first time.
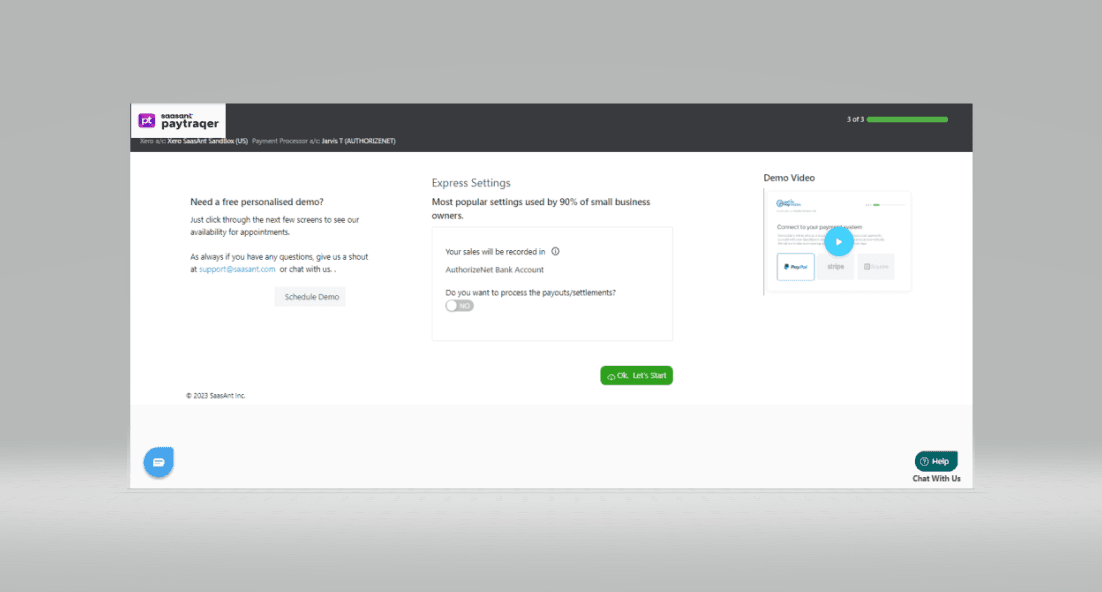
Express Settings
This is the default setting recommended by the pro-advisors. It works perfectly for your Authorize.Net integration. You can click on ‘OK, Let’s Start’ to run with this express setting. This is just for a quick start, you can change it any time after setting up.
Detailed Settings
If you want to fine-tune these settings according to your preferences, you can do it by clicking on ‘Go to Detailed Settings’. You can manage your Sales, Product, Tax, and Payout preferences here.
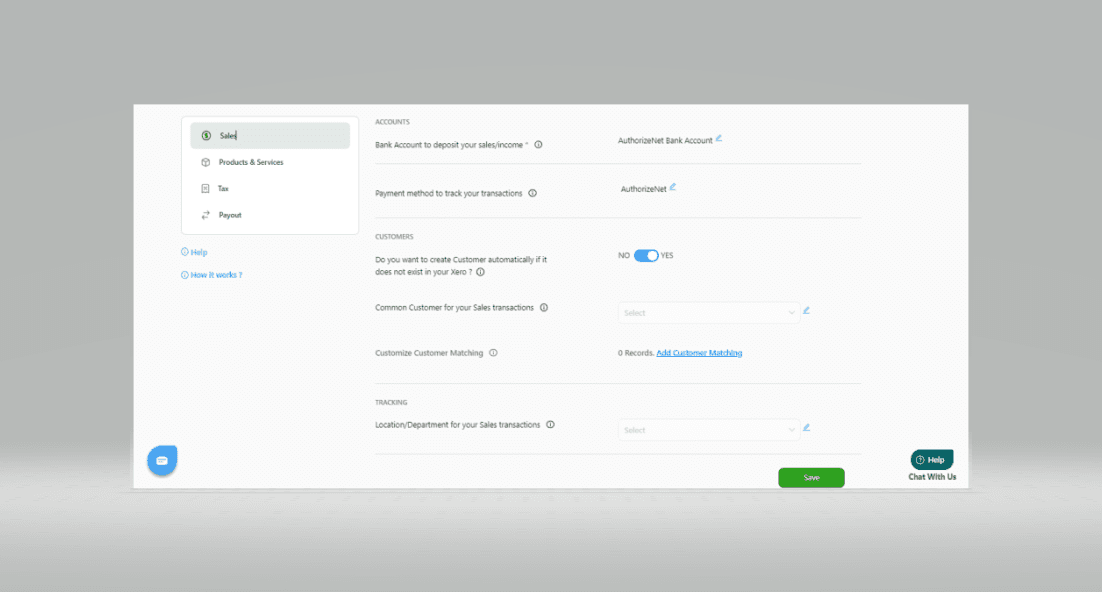
Sales Settings
Under this setting, you can manage your sales preferences. You can choose the bank account to deposit your sales/income and the method of payment you prefer for sales receipts, payments, expenses, etc.
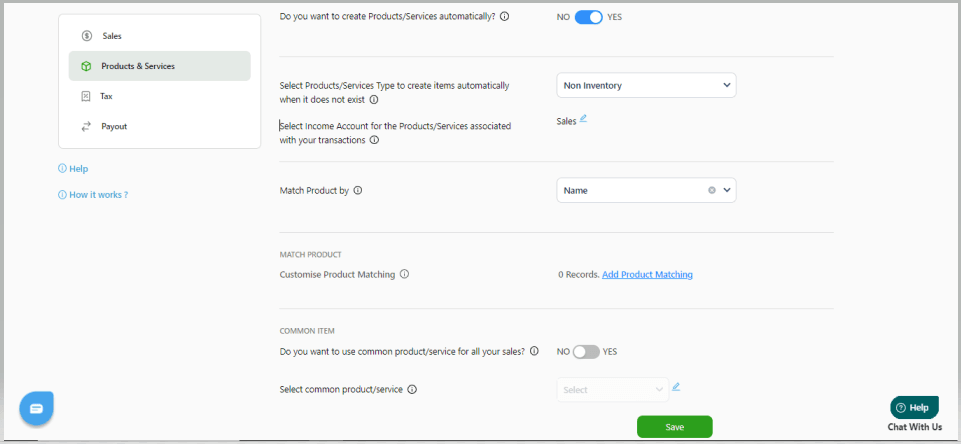
Product Settings
This setting will allow you to choose how your products are synced to Xero Online. If you turn on the auto-create feature, the missing items in your Xero Online will be automatically created during the sync.
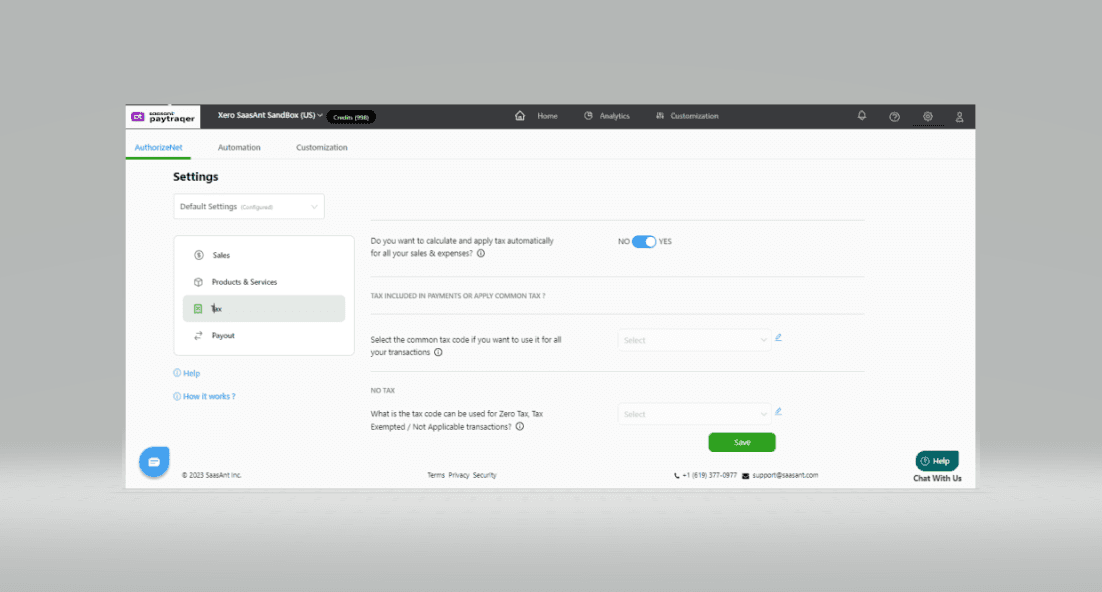
Tax Settings
Turn ON this setting to record sync with tax calculation. If turned OFF, the tax amount will be added to the transaction amount and recorded without tax.
Payout Settings
Enable the "Process the Payout" with the "Transfer To" account, so that all your Authorize.Net Payouts are processed as Transfer transactions in your Xero Online for easy reconciliation.
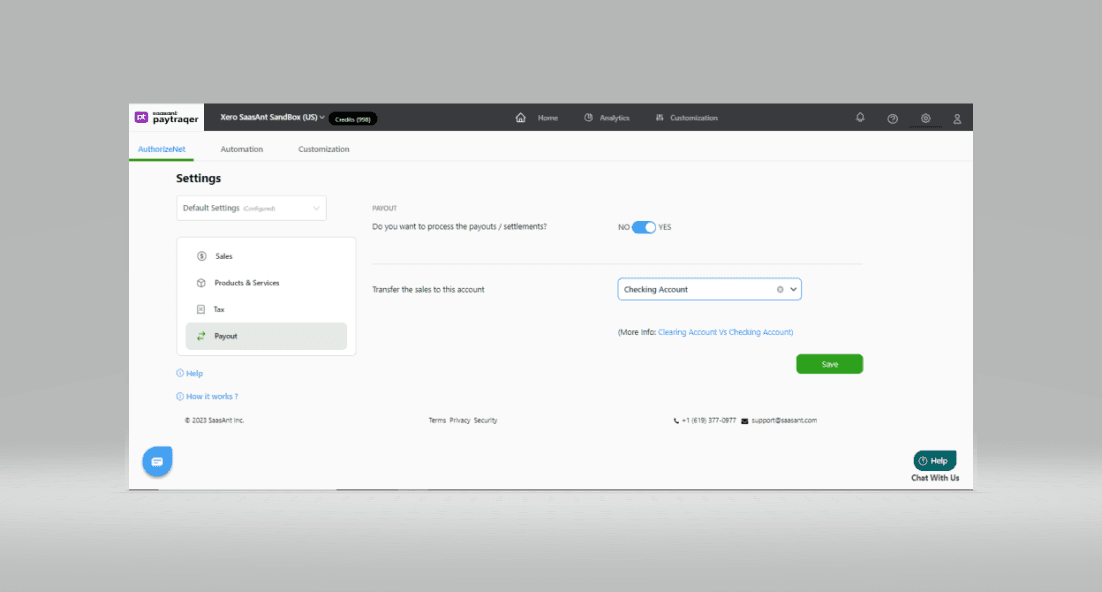
Click ‘Save’ once you are done managing your preferences.
This is just a basic setting. You can have your hands on further configurations through the Sync Setting, as you get along. (See how)
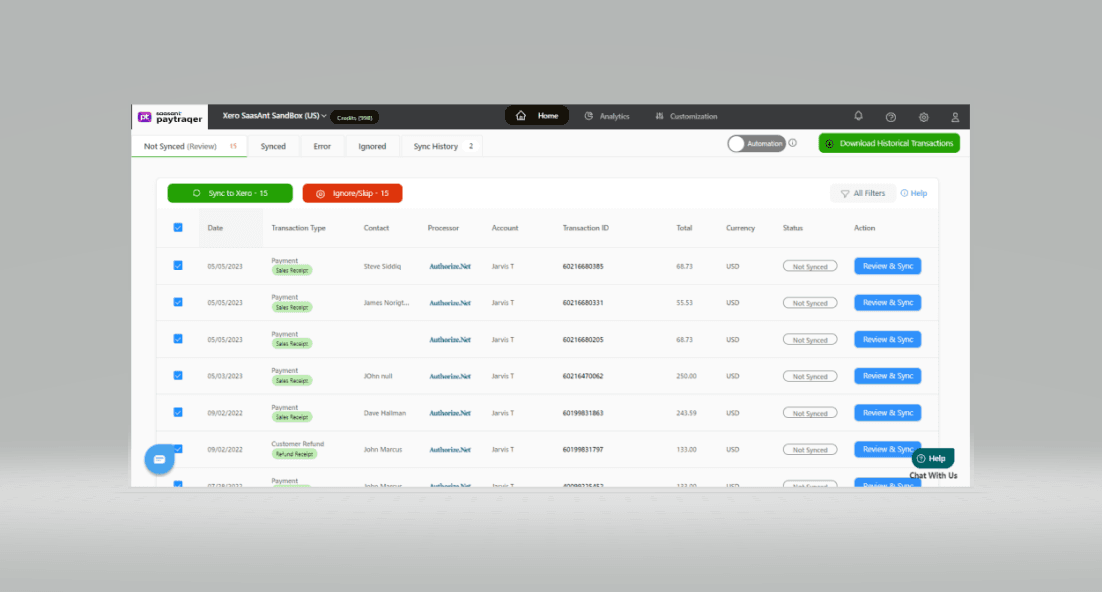
Your configuration is over and now you can start syncing your Authorize.Net transactions to Xero Online with a single click.
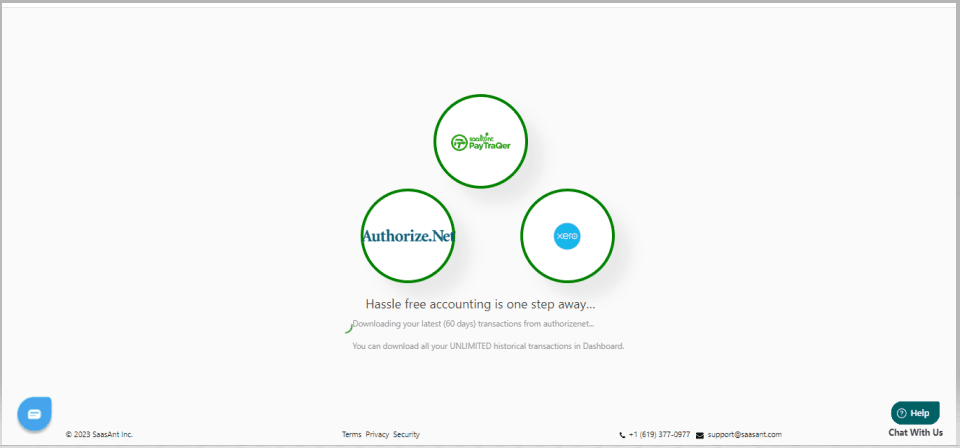
Your previous Authorize.Net transactions for the past 60 days will be automatically downloaded to PayTraQer when you hit the dashboard.
If you have any questions or if you get stuck at any point in the process, please don't hesitate to send an email to support@sassant.com.