How to Undo Ecwid Sync in PayTraQer
October 21, 2025
Step 1: Connect PayTraQer with QuickBooks Online
Log in to your QuickBooks Online account and access the Apps menu on the left side.
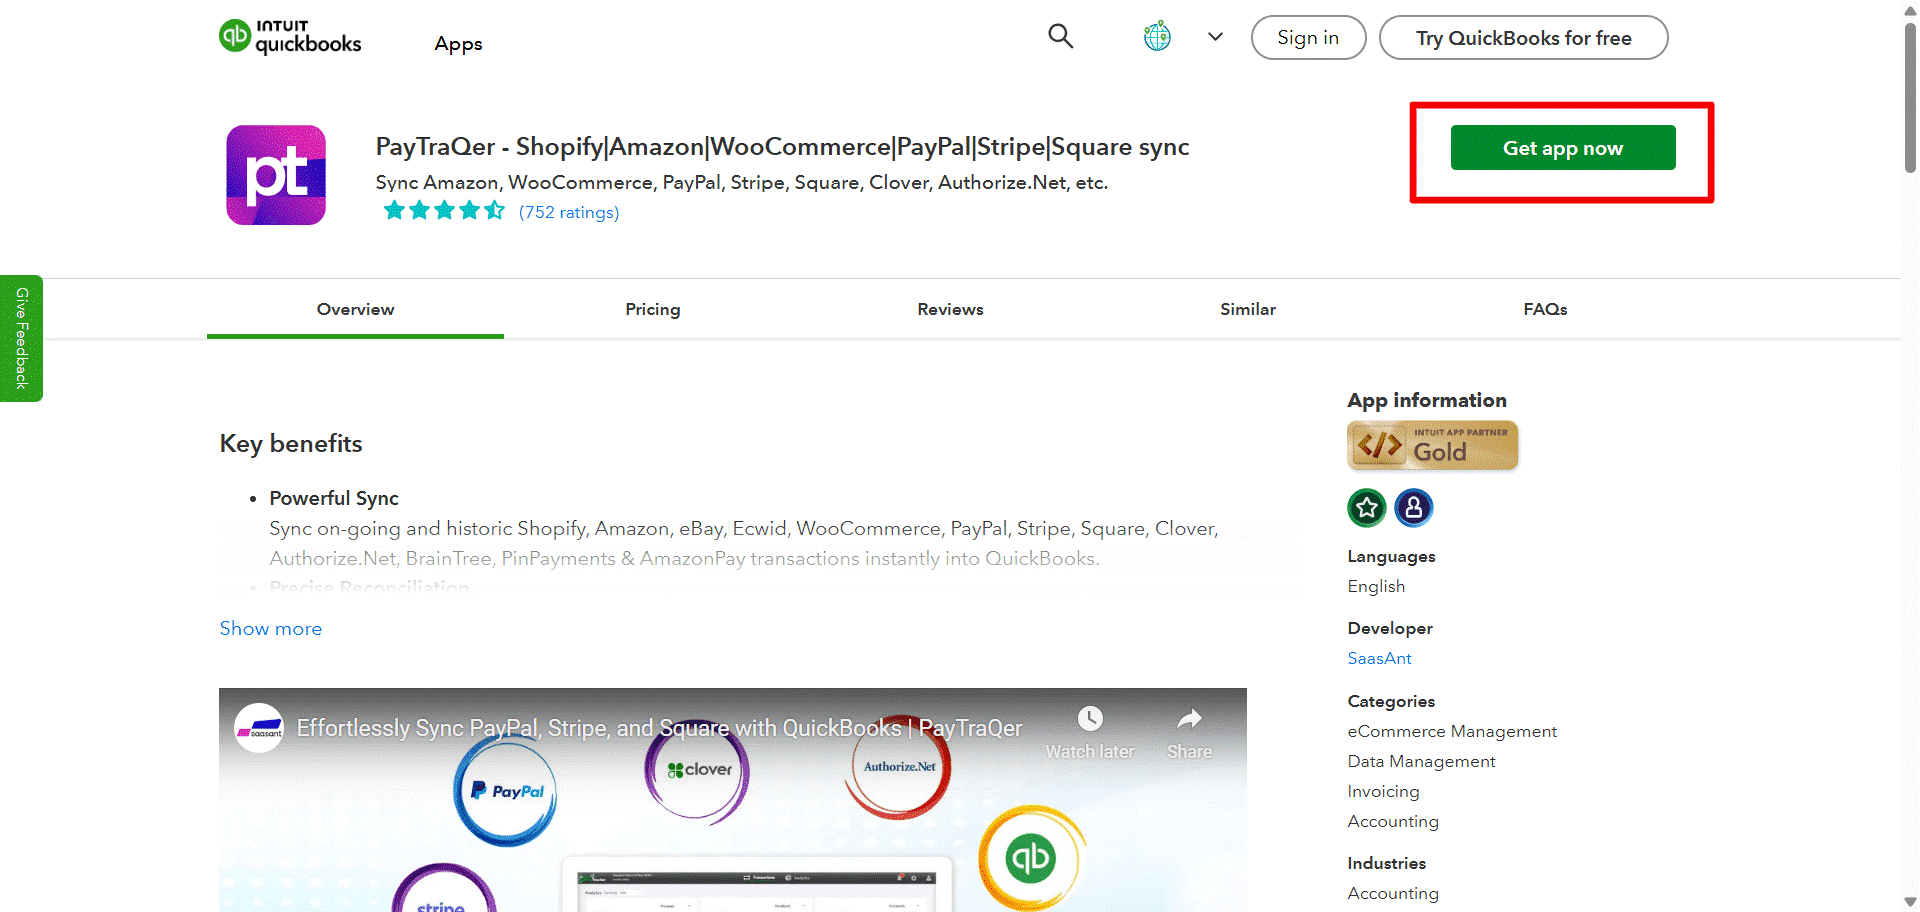
Search for PayTraQer in the QuickBooks App Store and click on Get App Now.
Follow the authorization steps to allow PayTraQer to connect to your QuickBooks company file.
After installation, open PayTraQer from the Apps menu and choose the appropriate QuickBooks company.
Finish the initial setup by checking access permissions and configuring your basic syncing preferences.
Step 2: Connect Ecwid with PayTraQer
Open PayTraQer after you connect your QuickBooks company.
Go to the Connectors section in the left menu.
Select Ecwid from the available connectors.
Provide the necessary store details and finalize the authorization process.
For comprehensive setup instructions, check this article: How to Connect Ecwid with QuickBooks Online using PayTraQer.
Step 3: Go to the Transactions
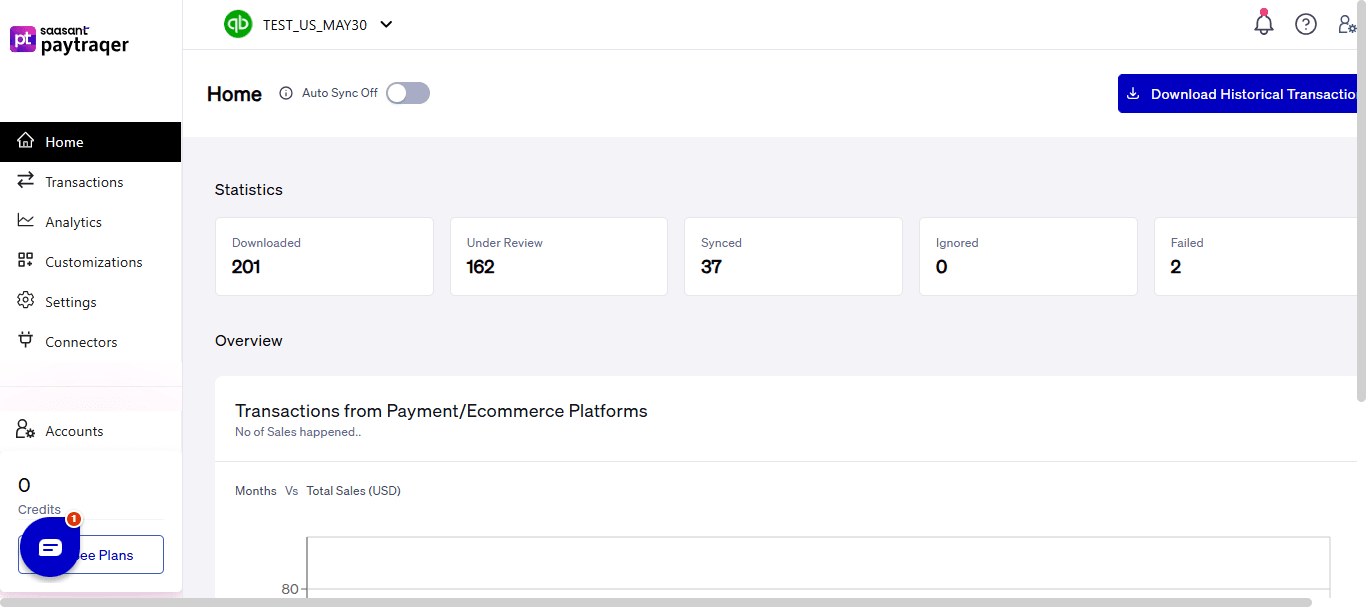
Click Home from the left sidebar to view the PayTraQer dashboard.
Step 4: Review the Synced Ecwid Transactions
Once syncing is done, go to the Synced tab in PayTraQer.
This section will display all Ecwid transactions that were synced successfully.
Select each transaction to inspect the synced details.
For detailed steps, refer to the article: How to Sync Ecwid Historical Transactions with QuickBooks Online?
Step 5: Undo Incorrectly Synced Data
If the Ecwid data that was synced is incorrect, keep it on the Synced tab.
Find the transaction that must be removed from QuickBooks Online.
Click the Undo button on the right side of the transaction entry.
Check the Rollback Transactions confirmation pop-up before proceeding.
Step 6: Verify and Check the Reverted Transaction
Click Confirm to reverse the synced Ecwid transaction.
PayTraQer will undo the synced transaction from QuickBooks Online.
After this, the message Transaction Reverted successfully will show up.
Return to the Review tab, adjust the necessary settings or mapping, and sync again when you are ready.