Sync Ecwid Sales and Payments Transactions into QuickBooks Online
January 1, 2025
Syncing Modes:
You can sync your Ecwid sales and Payment transactions into QuickBooks Online in a couple of ways
A) Manual sync.
B) Automatic sync.
Manual Sync
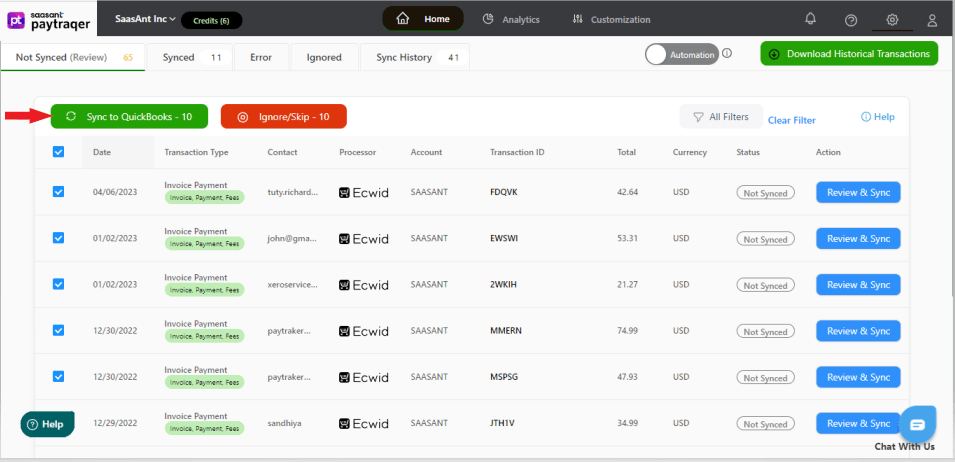
All the downloaded Ecwid transactions will appear on the screen in a grid view.
All you have to do is read each transaction and choose the ones that you want to sync into QuickBooks Online.
Once you have made the selection, click the Sync to QuickBooks Online button. PayTraQer will sync all the selected transactions into QuickBooks Online.
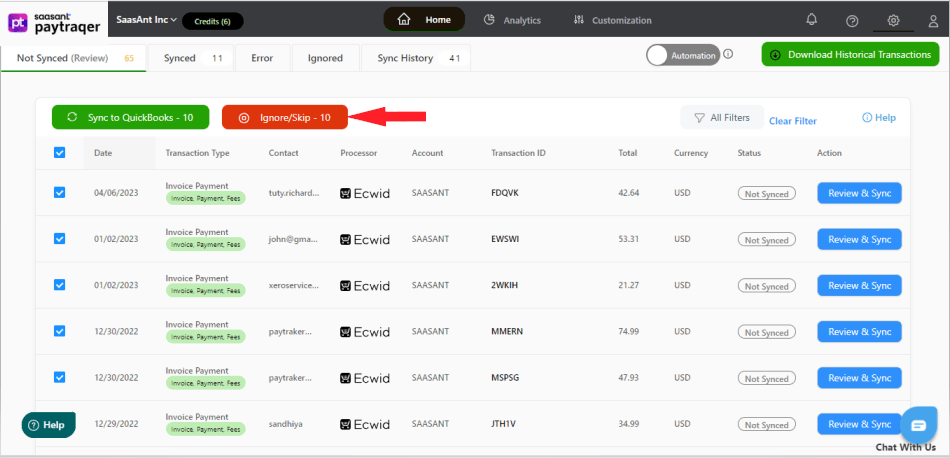
Ignore Transactions
It explains that in case there are specific transactions that you do not wish to synchronize with QuickBooks Online, you have the option to select them and use the Ignore/Skip button.
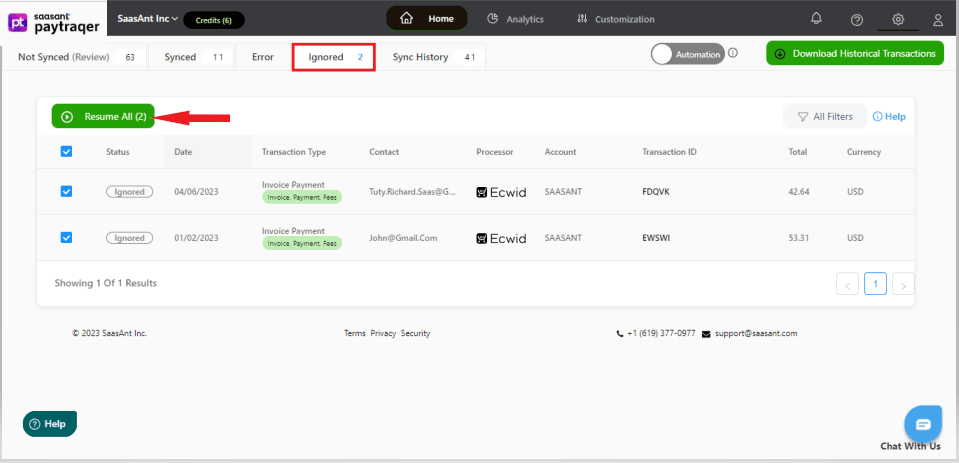
All the ignored transactions will be listed under the Ignored tab. You can choose to synchronize them at a later time by selecting the Resume Selection button.
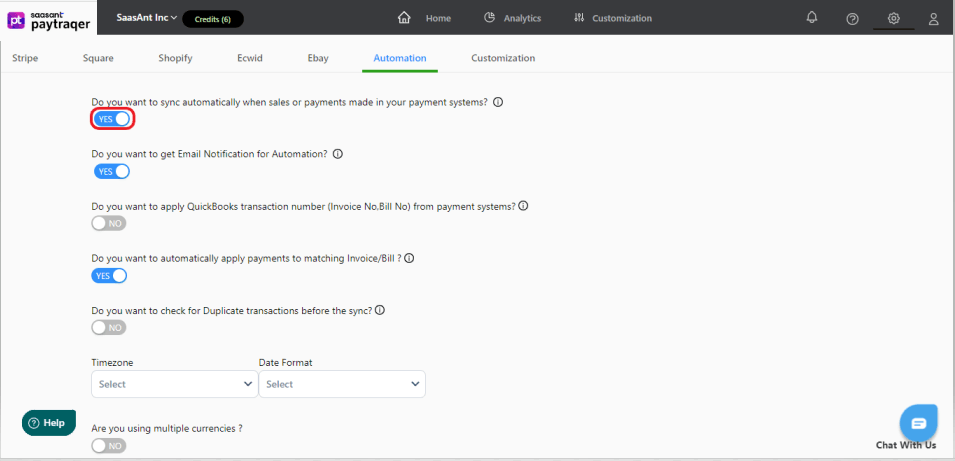
Automatic Sync
It describes the capability of the automatic sync feature to synchronize Ecwid sales and transactions with QuickBooks Online in real-time, even if the user is not actively present or available. For that to happen, you should turn ON the automation-sync feature. Here is how to do it.
1) Navigate to the Settings icon ![]() > Settings.
> Settings.
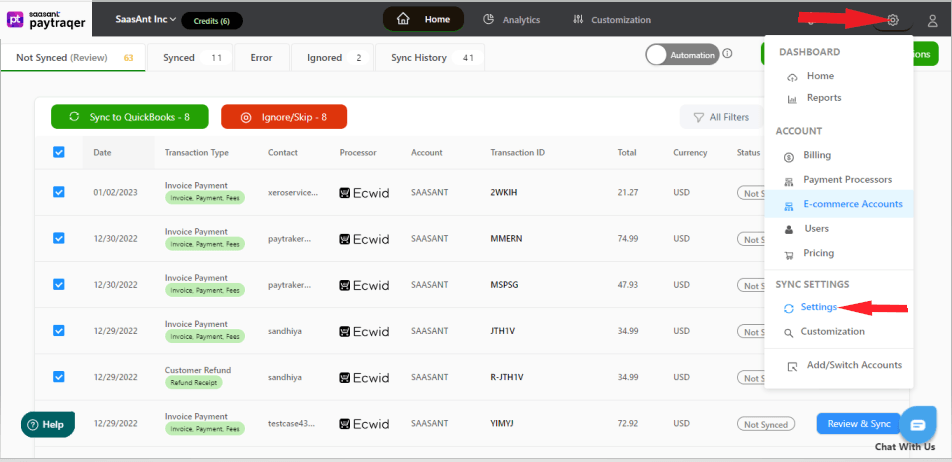
2) Switch ON the automatic sync toggle.
3) When turned ON, all the real-time Ecwid sales and transactions will be automatically synced into QuickBooks Online.
Review Sync
You can check the status of the sync by selecting the Home button and one of the tabs in the horizontal navigation bar.
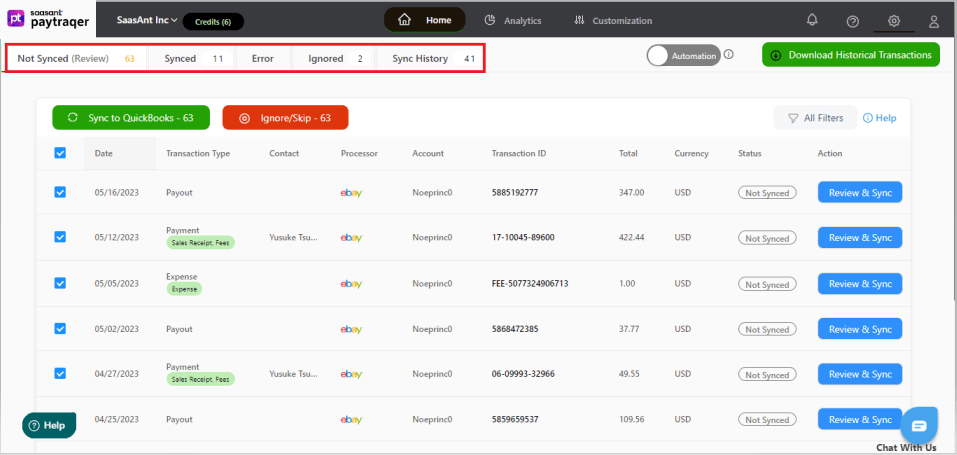
All the downloaded transactions will be listed under the Not Synced tab.
All the synced transactions will be listed under the Synced tab.
Note: You can select a transaction to review its details.
Transactions that were not synced due to some error will be listed under the Error tab.
Ignored transactions will be listed under the Ignored tab.
You can reach out to us at support@saasant.com if you are stuck somewhere. You can also schedule a personalized free demo with us if you need better clarity to connect with us by clicking Demo