How to import Transactions with New Sub-customers or Sub-Items into QuickBooks Online
January 1, 2025
To import a transaction with new sub-customers or items, provide the customer or item name in the following format on the import file.
Parent:Child (or ) Parent Customer:Sub Customer (or) Parent Customer:Job (or) Parent Item:Sub Item
For example John:Alex represents - John is the parent customer and Alex is sub-customer

To import Parent and Sub-Customers or Items, follow these steps:
Step 1) To import the sub-customers and items from your file and spreadsheet, please select the appropriate file.
Step 2) Select the QuickBooks entity.

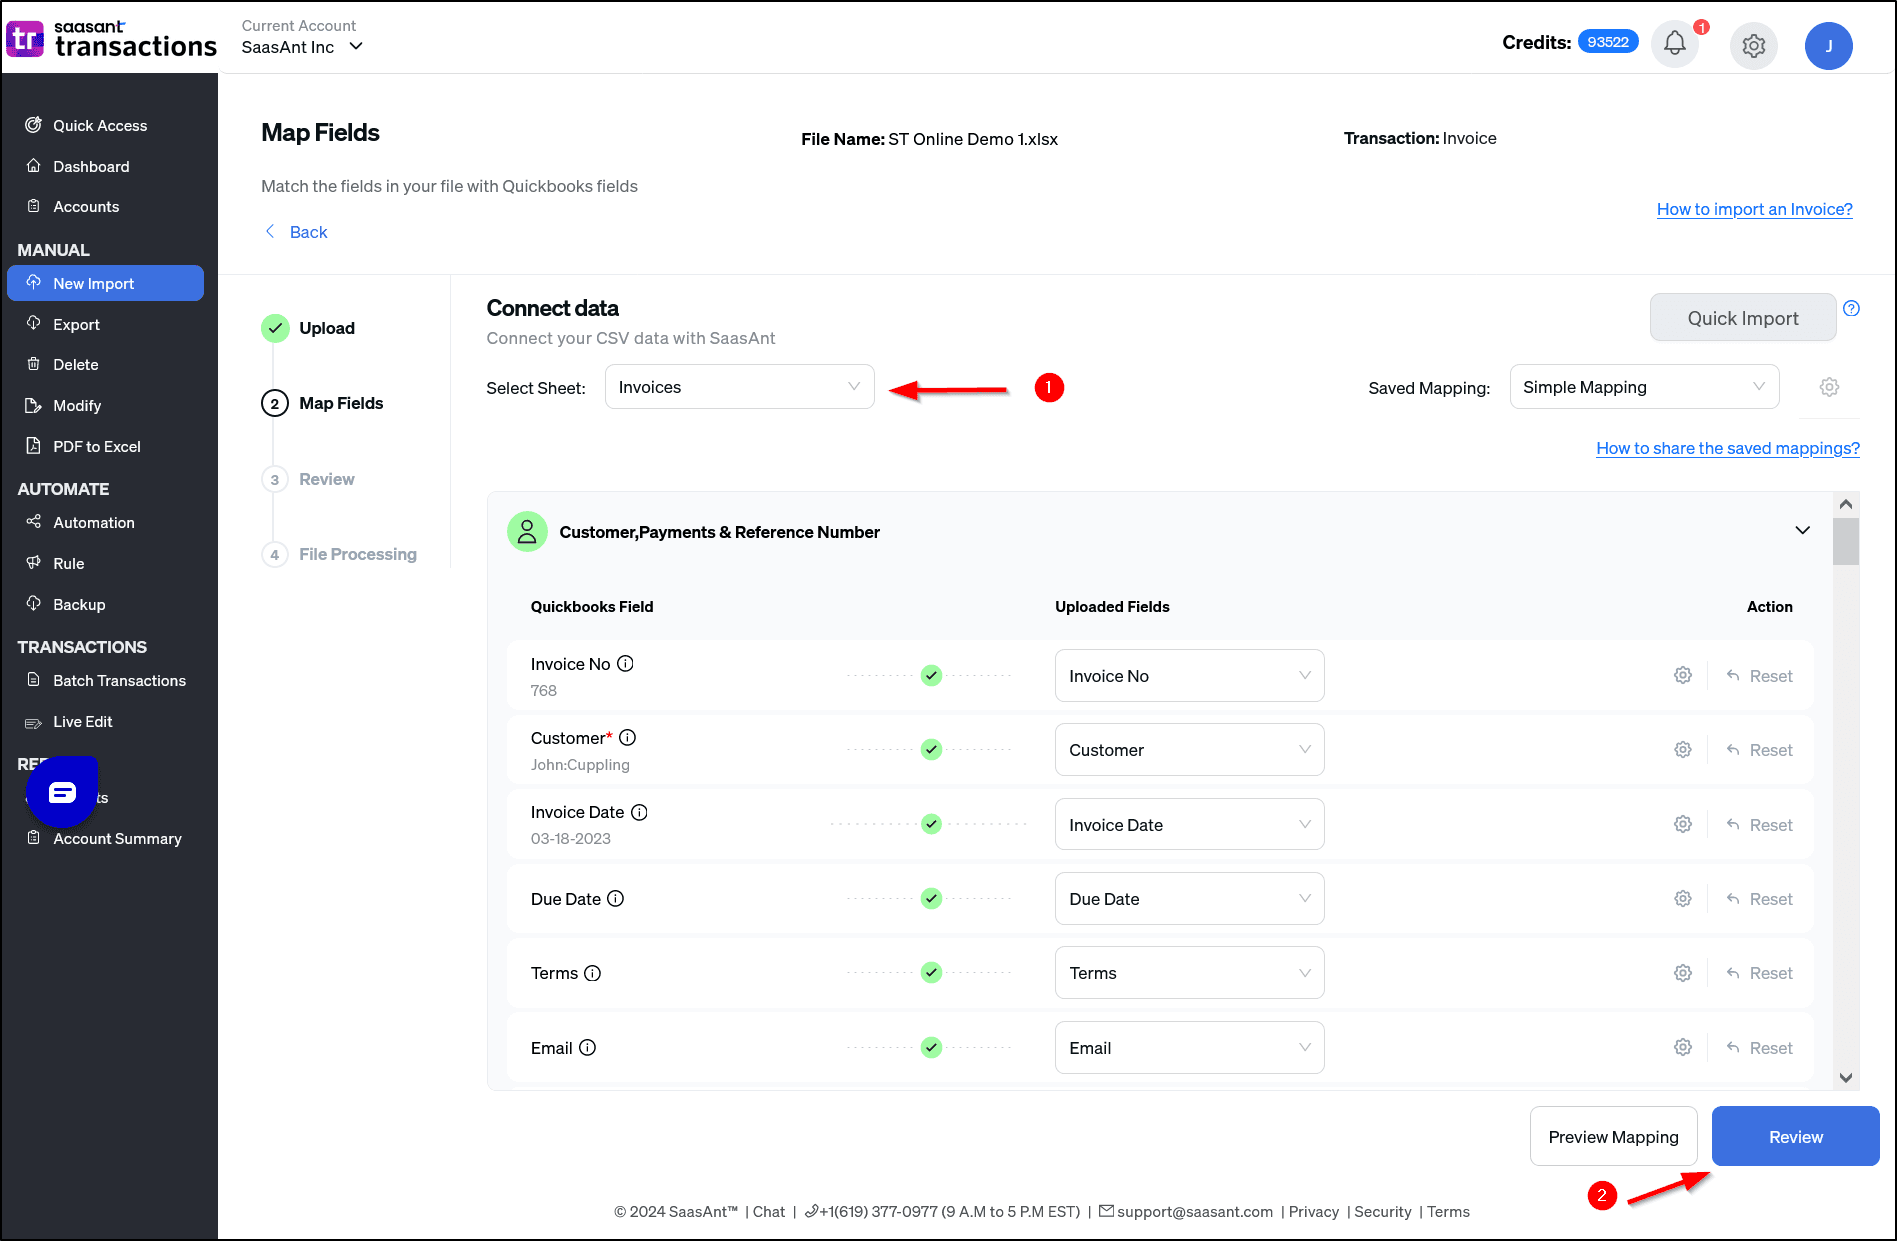
Step 3) To set up the mapping of the columns in your transaction import file to the corresponding fields in QuickBooks
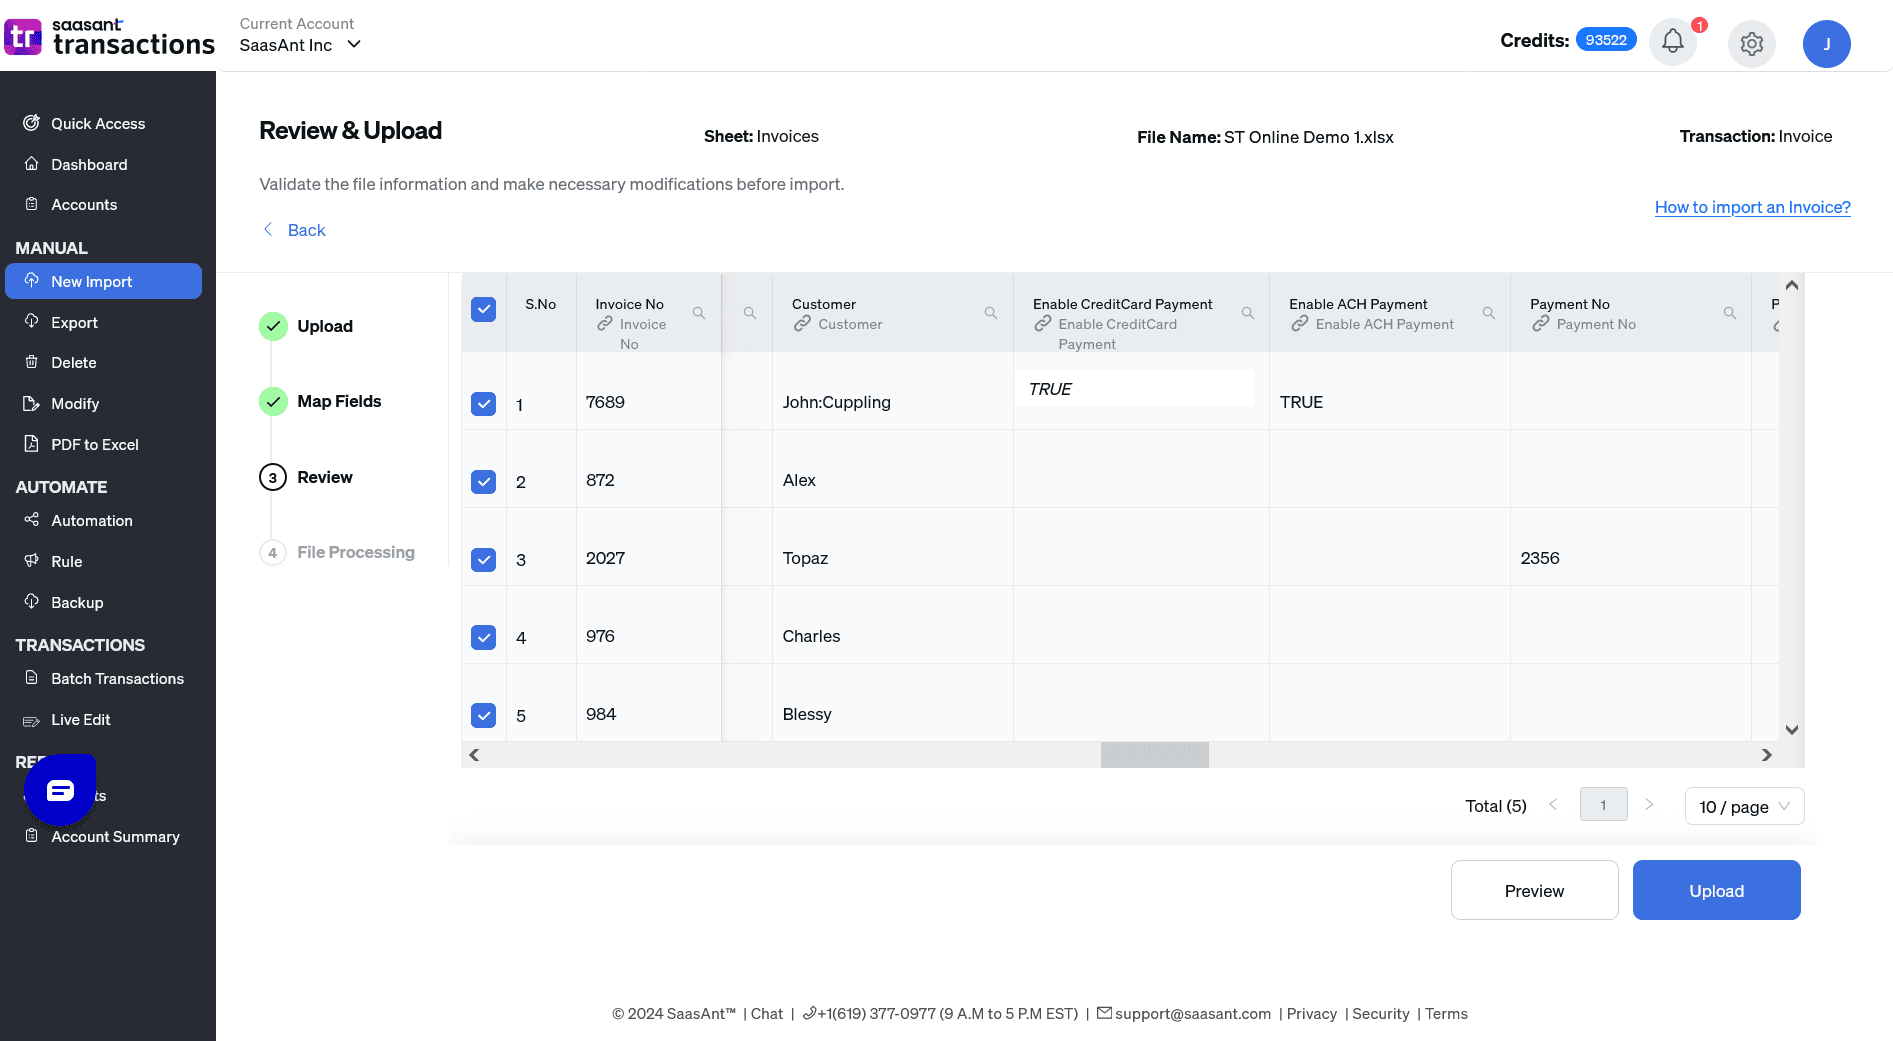
Step 4) After selecting the import option, your sub-customers or sub-items will be created in your QuickBooks company and assigned to the transaction.
Note: Please ensure that the "Auto-create entities" setting is enabled in SaasAnt to allow for the automatic creation of customers or items.
How to import Transactions with New Sub-customers or Sub-Items into QuickBooks Online (New User Interface 2.0)
To import a transaction with new sub-customers or items, provide the customer or item name in the following format on the import file.
Parent:Child (or ) Parent Customer:Sub Customer (or) Parent Customer:Job (or) Parent Item:Sub Item
For example John:Alex represents - John is the parent customer and Alex is sub-customer
To import Parent and Sub-Customers or Items, follow these steps:
1) Login into SaasAnt Transaction Online
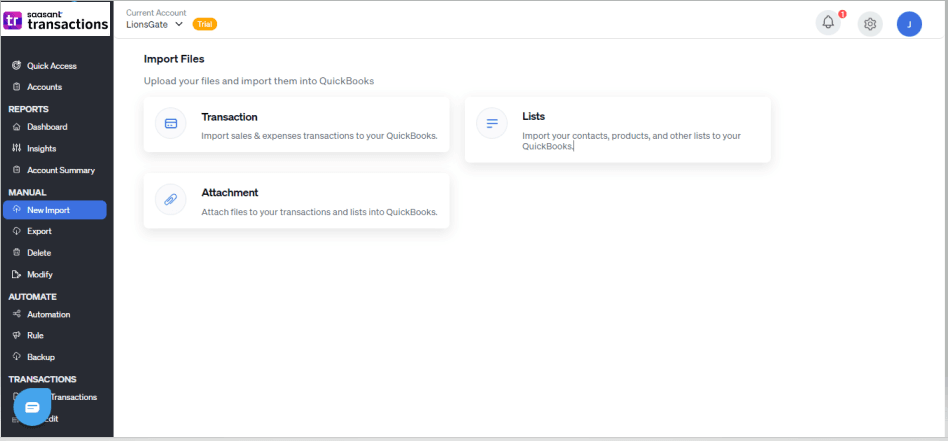
2) Select the New Import Tab.

3) Select Transaction, List, or Attachment to upload your file into QuickBooks.
4) Select the QuickBooks entity as "Invoices"
5) Select the files you want to upload

6) To set up the mapping of the columns in your transaction import file to the corresponding fields in QuickBooks
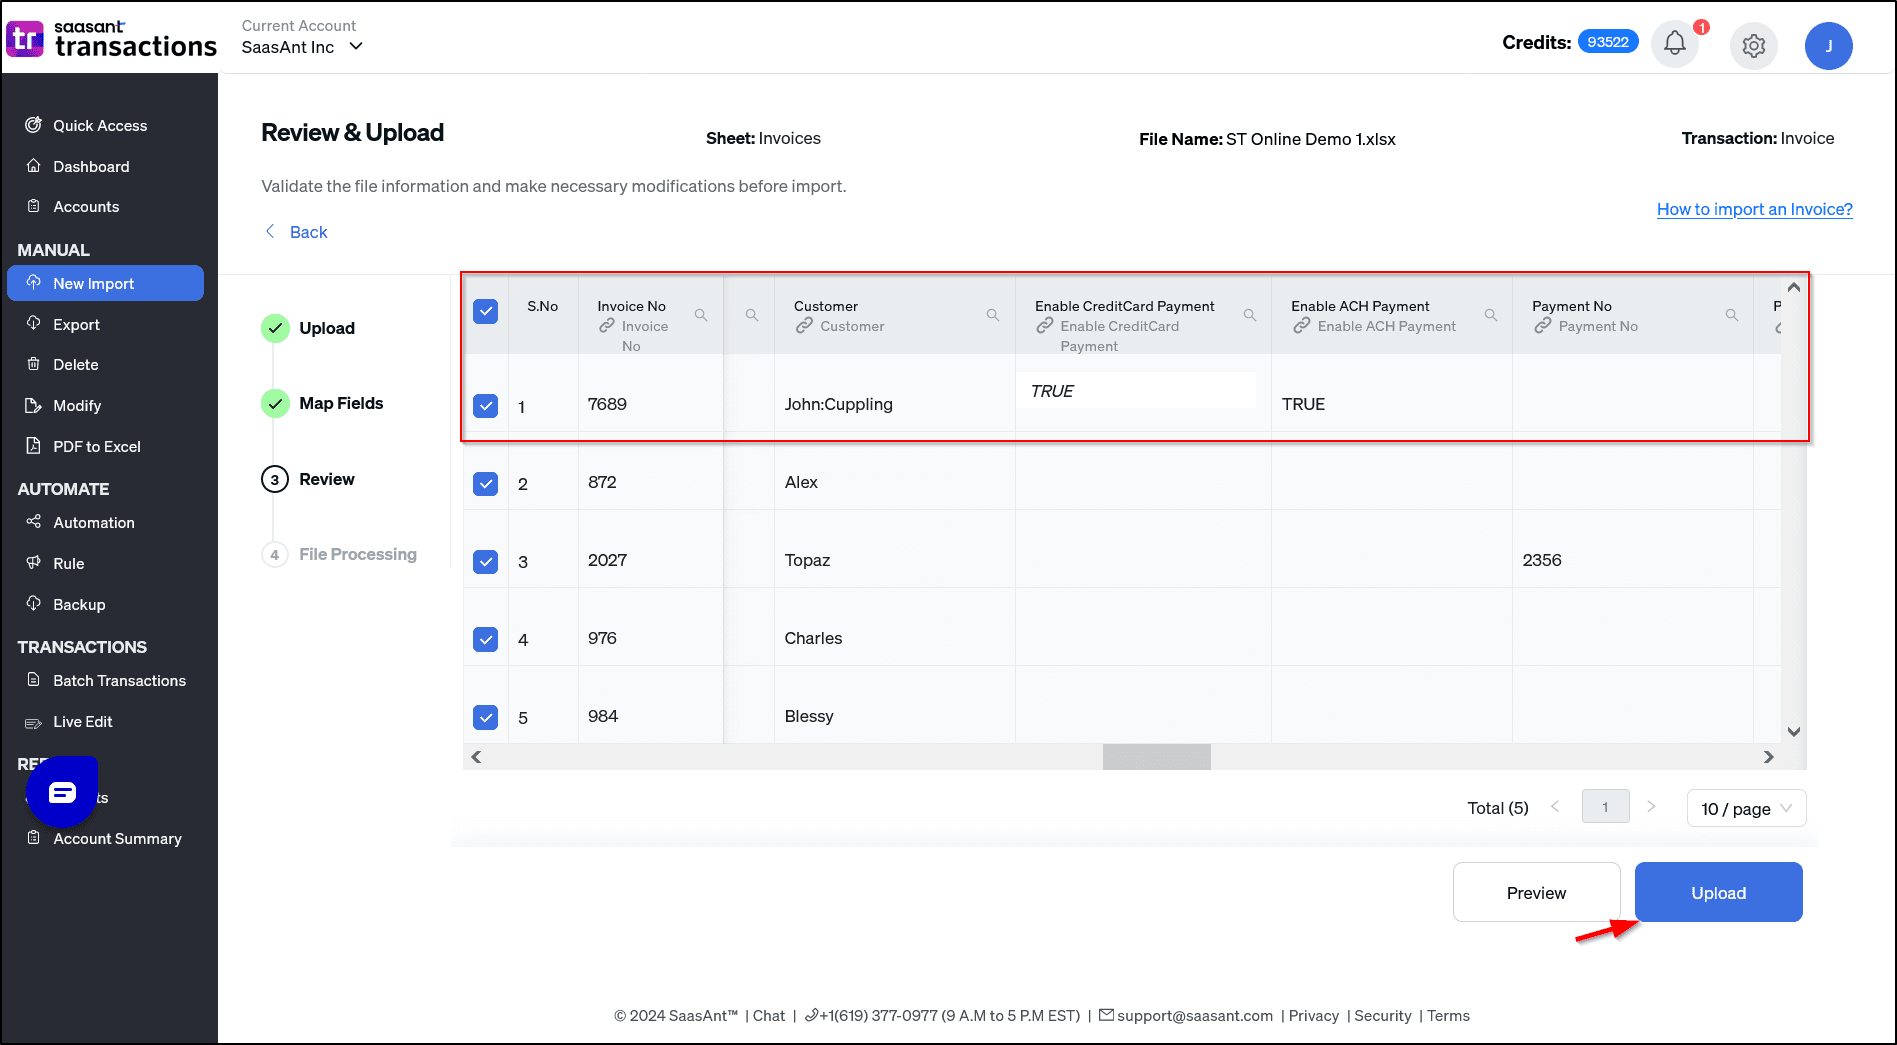
 7) Select the Upload Tab
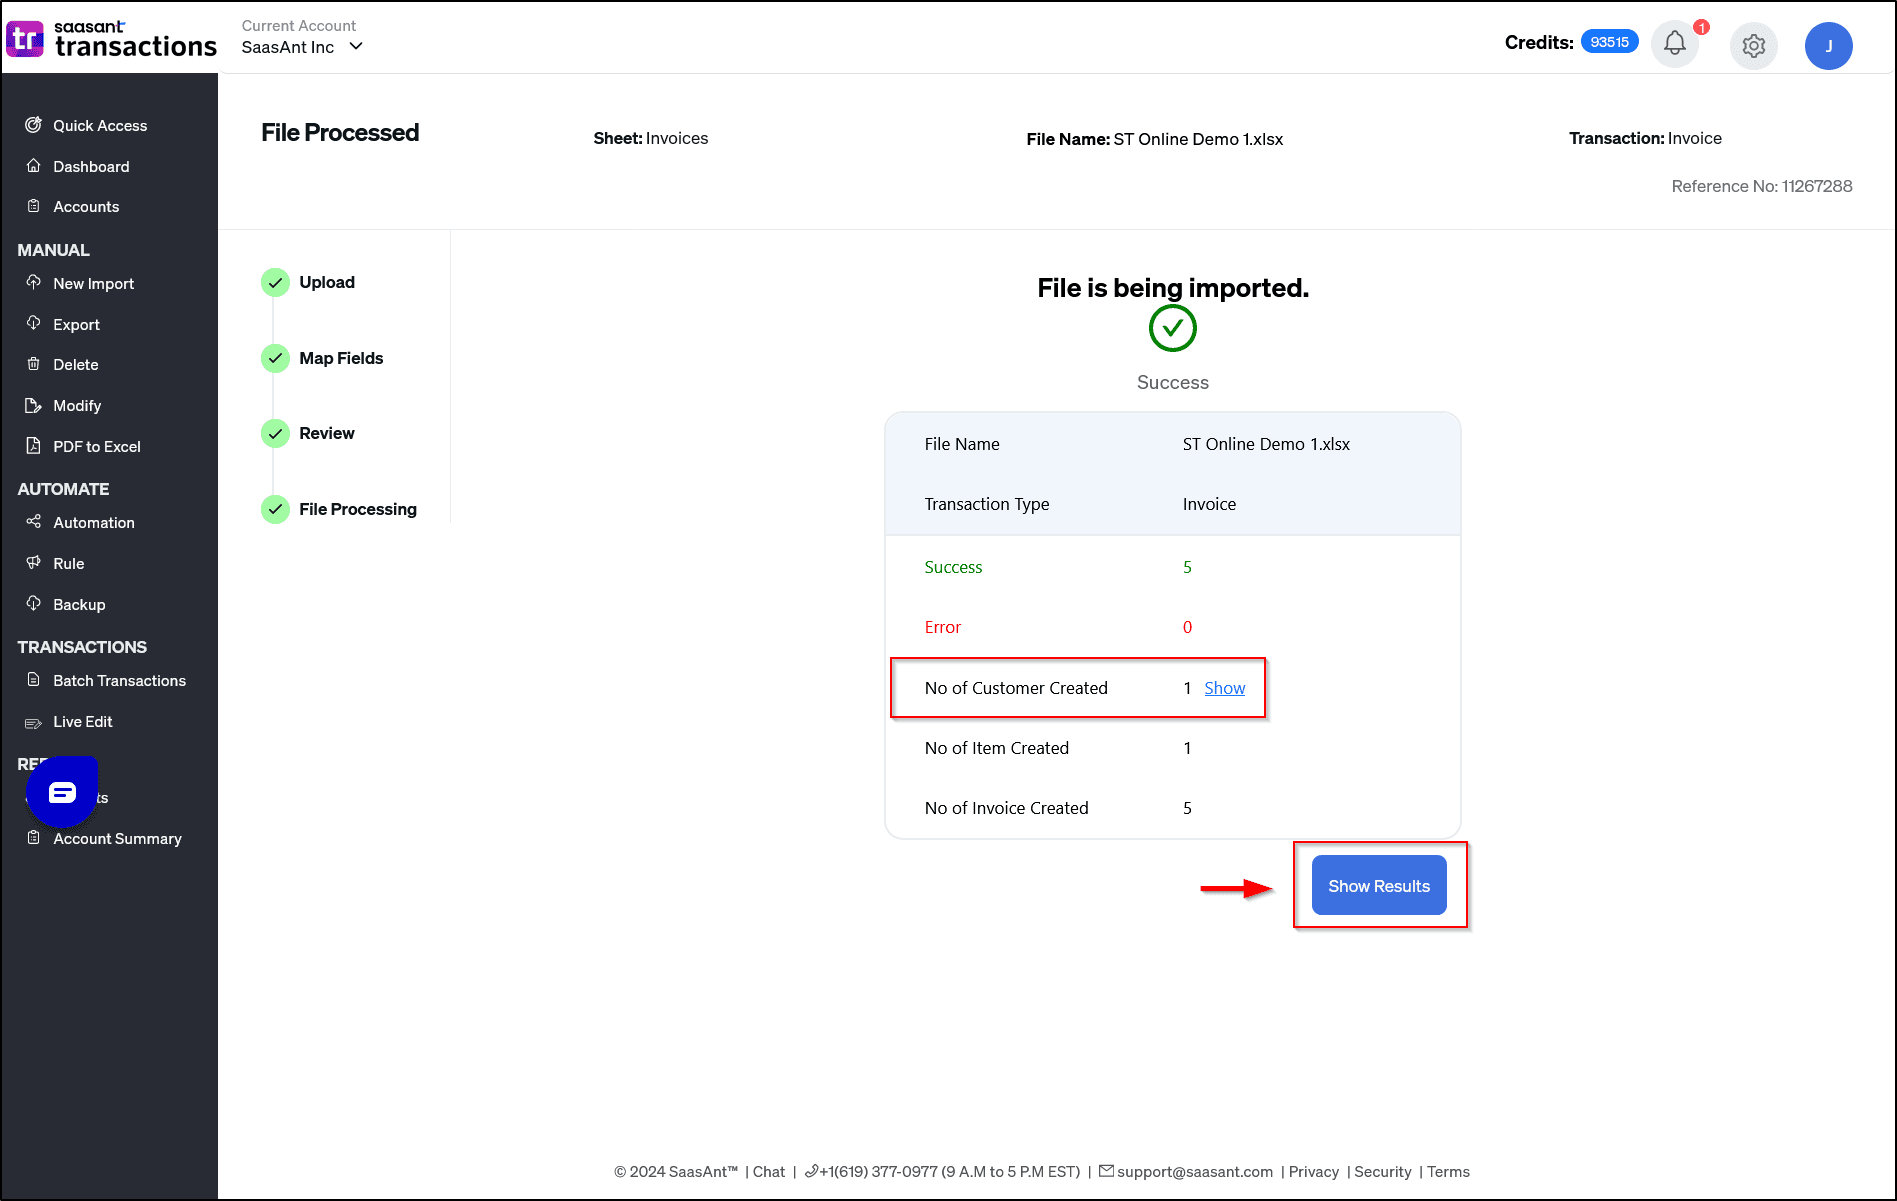
8) The data was imported successfully into Quickbooks.
Note: Please ensure that the "Auto-create entities" setting is enabled in SaasAnt to allow for the automatic creation of customers or items.
For any further inquiries regarding credit card transactions, please reach out to support@saasant.com
Video tutorial on how to import customer list into QuickBooks Online: