Connect Amazon with QuickBooks Online using PayTraQer
November 27, 2025
How to Connect Amazon with QuickBooks Online using PayTraQer
Use PayTraQer to bring your Amazon settlements, sales, fees, and tax entries into QuickBooks Online in a clean, automated way.
This guide walks you through:
Connecting Amazon and QuickBooks Online to PayTraQer
Doing a quick setup with Express Settings
Fine tuning Sales, Product, Tax, Fees, and Payout mappings
Downloading and syncing your Amazon transactions
Prerequisites
Before you start:
A QuickBooks Online company connected to PayTraQer
Access to your Amazon account used for payouts
Admin rights in QuickBooks to create accounts, items, and classes if needed
Connect QuickBooks Online to PayTraQer
If your QuickBooks company is not already connected:
Sign in to PayTraQer.
Choose Connect to QuickBooks and follow the prompts.
Allow PayTraQer to access your QuickBooks company.
Once connected, you will see your QuickBooks company name at the top of PayTraQer.
Choose Your Sync Mode
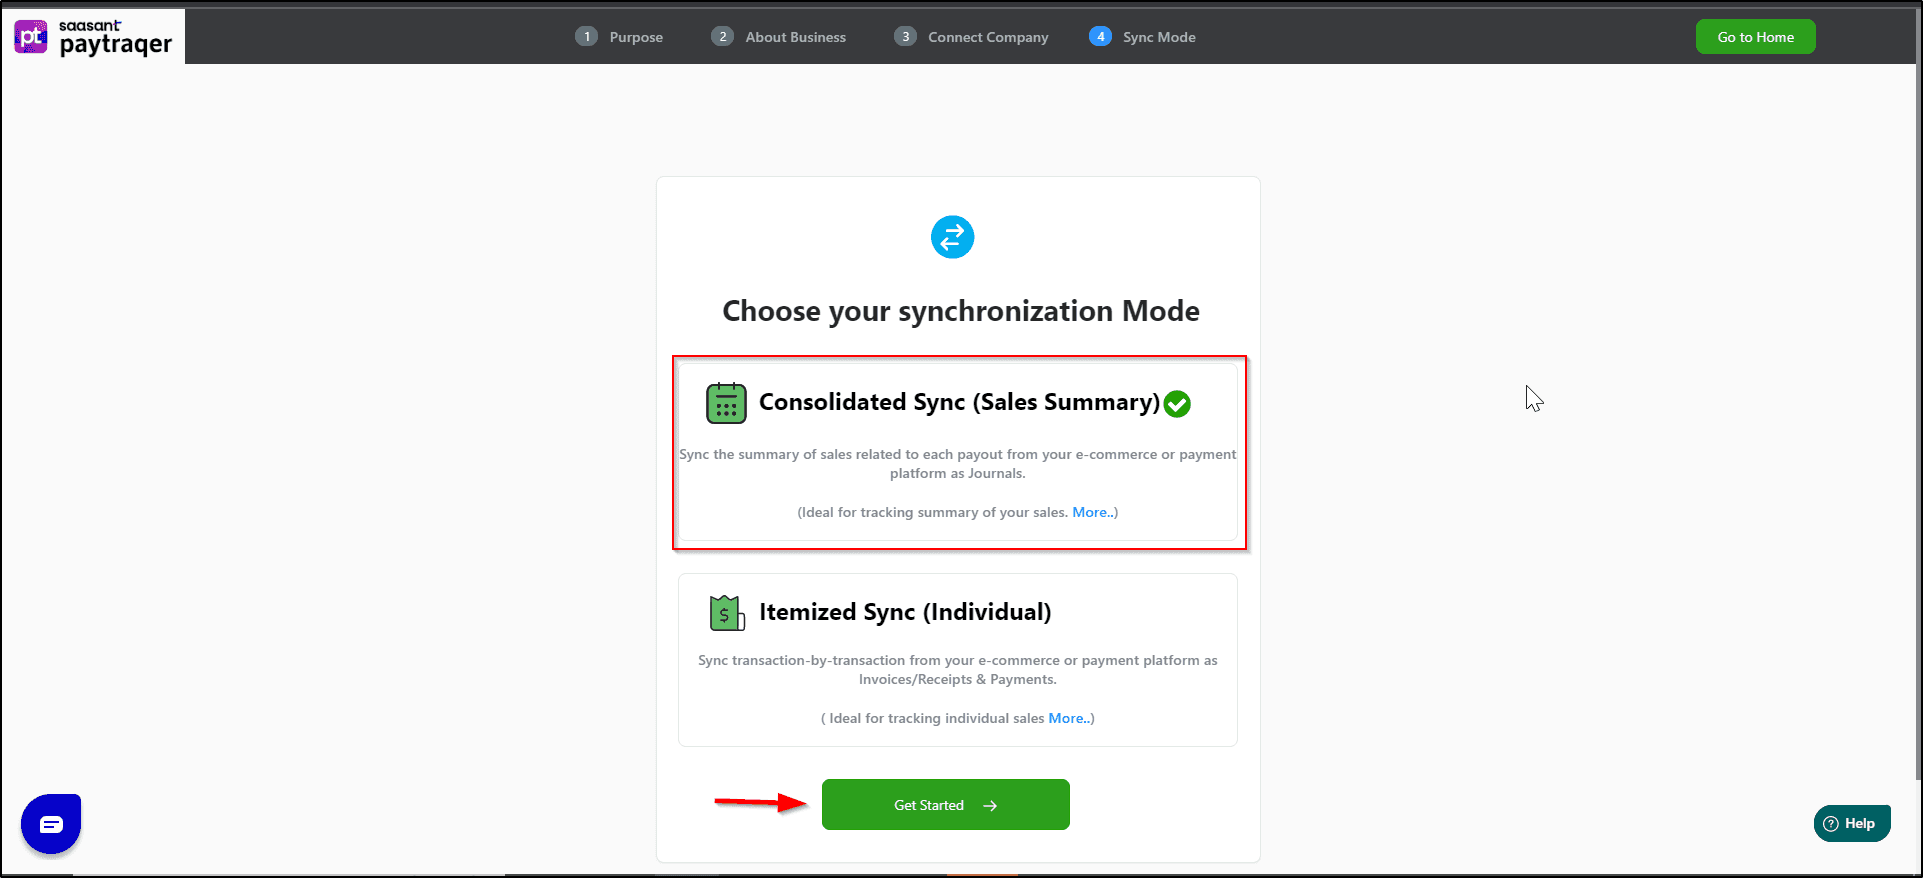
After connecting to QuickBooks, decide how Amazon data should post:
Consolidated Sync (Sales Summary): fewer entries for faster reconciliation.
Itemized Sync (Individual): detailed entries with customer and item information.
Select your preferred mode and click Get Started.
Add your Amazon account in PayTraqer
In PayTraQer, go to Connectors in the left menu.
Open the Ecommerce Connectors tab.
Click Add New, choose the Amazon card.
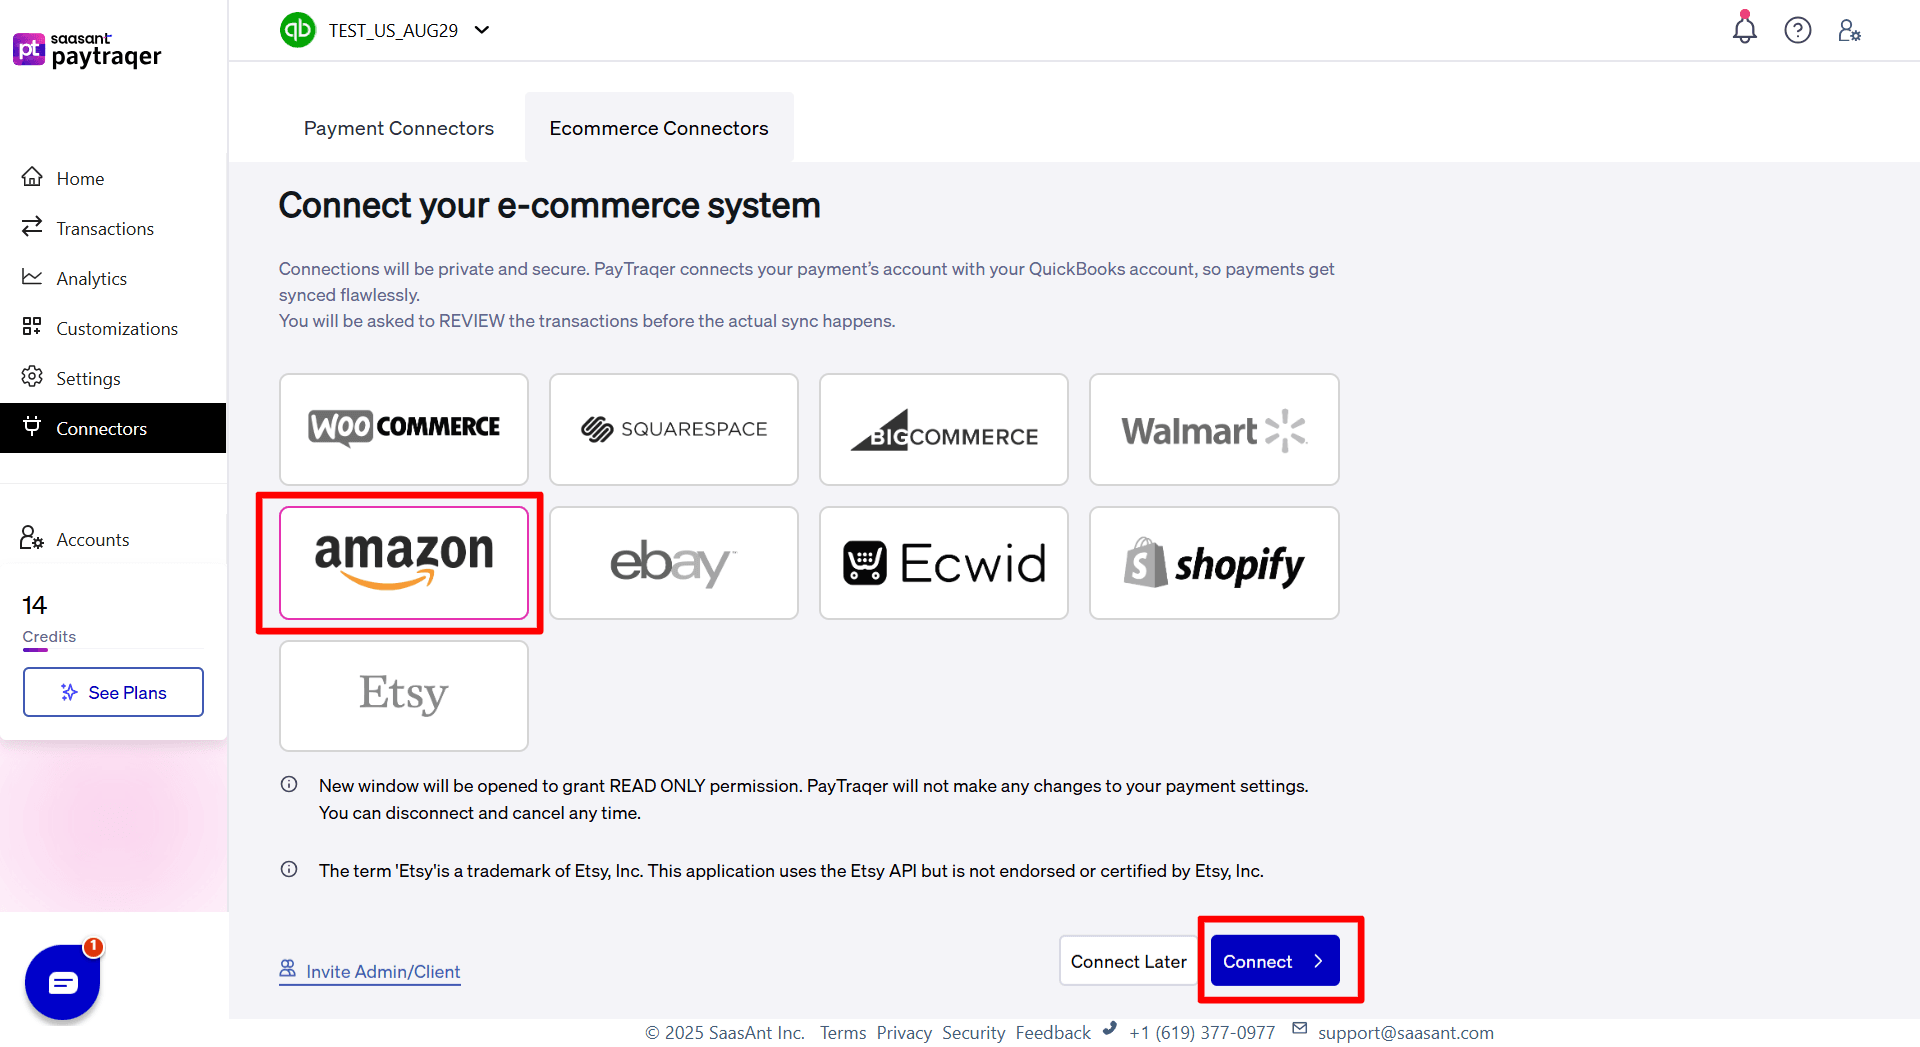
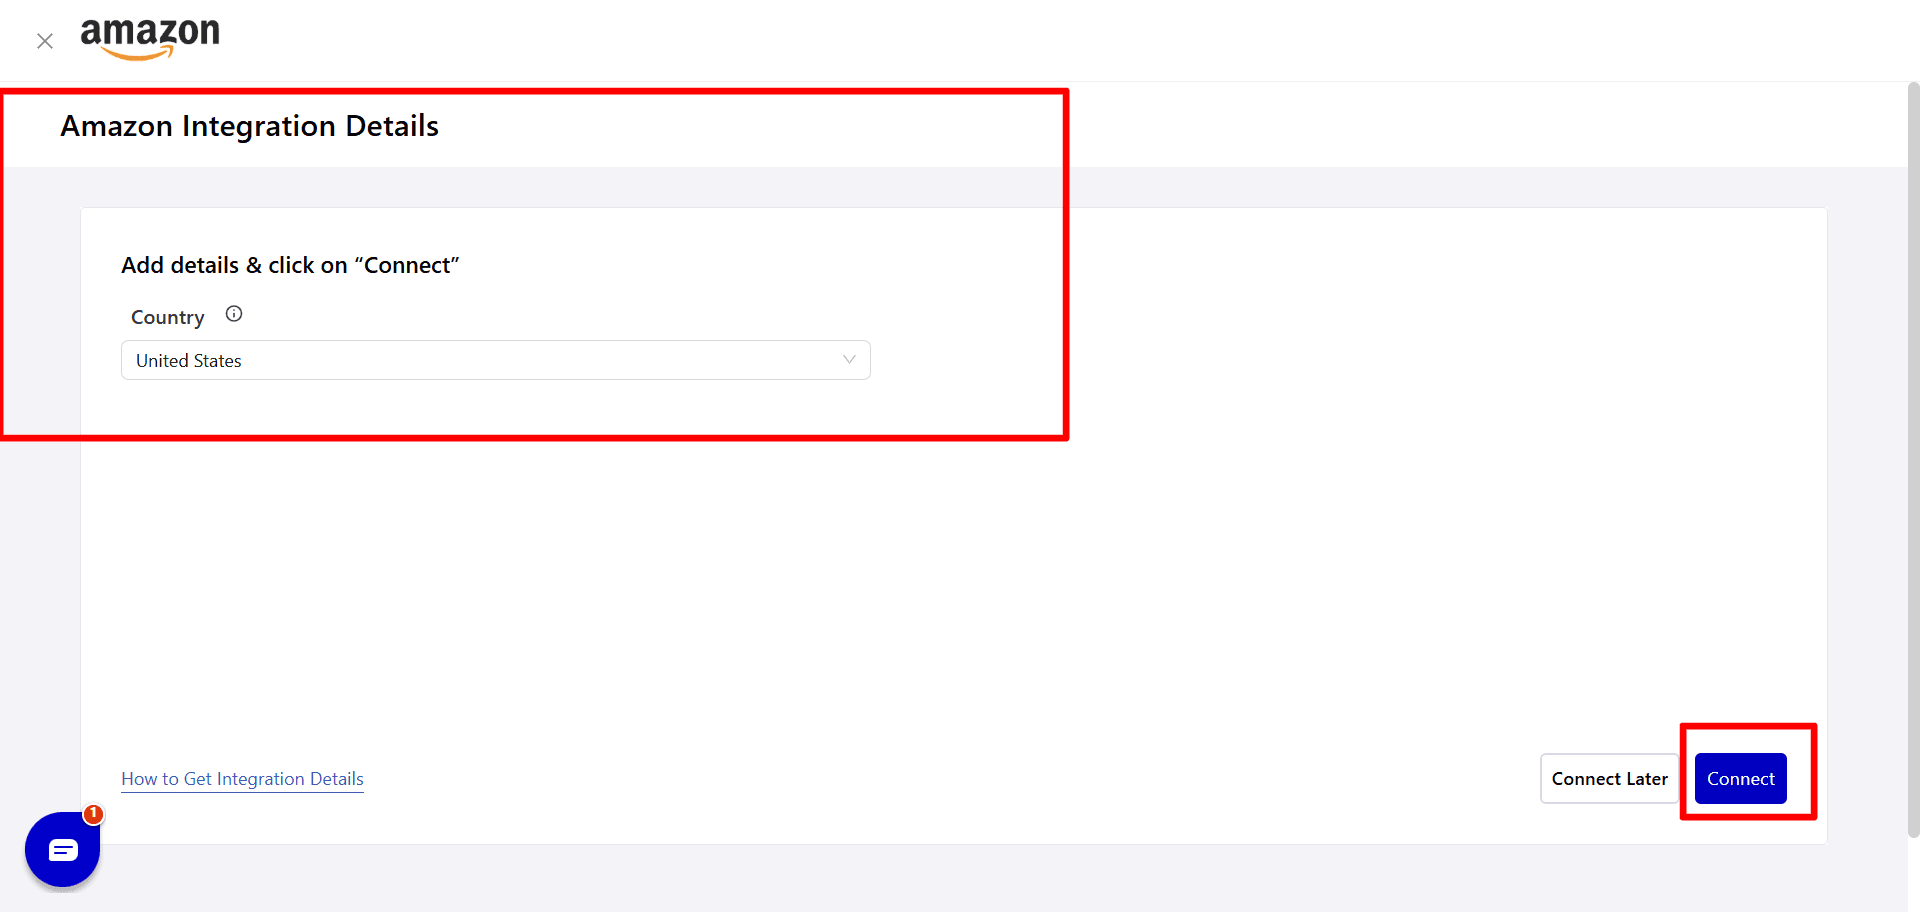
Sign in to your Amazon account when prompted and approve access.
After a successful connection, you will see Amazon Account listed under Ecommerce Connectors.
Configure Express Settings for Amazon
Right after connecting, PayTraQer shows the Express Settings screen for Amazon. This is a quick way to get started with the most common settings.
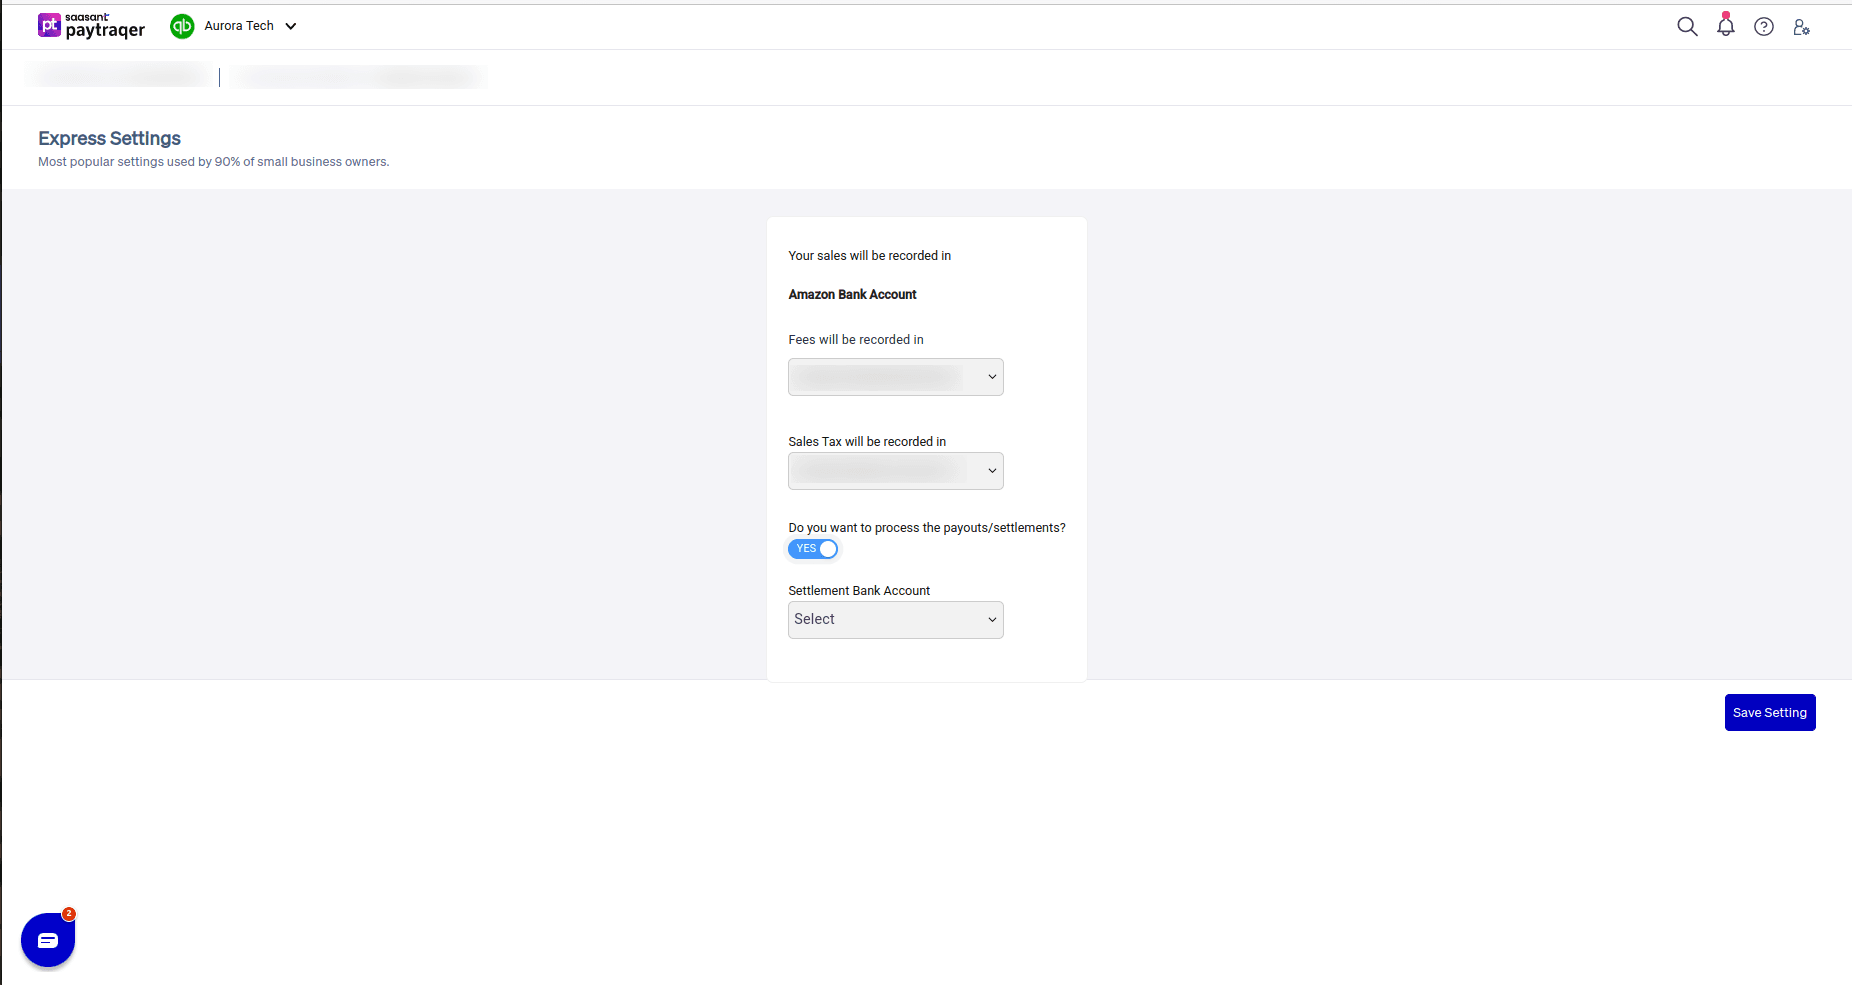
Here you can choose:
Amazon Bank Account
The bank or clearing account where your Amazon sales and payouts will be recorded.
Fees will be recorded in
The expense account to store Amazon fees, such as Amazon Advertisement Fees.
Sales Tax will be recorded in
The account used for Amazon tax components, such as your Amazon Reserve Account.
Do you want to process the payouts / settlements?
Turn this on if you want PayTraQer to create transfer entries that move funds from your Amazon clearing account to your actual checking account.
Once enabled, choose the Settlement Bank Account where payouts land in QuickBooks.
Click Save Setting when you are done.
You can change these later from Settings → Amazon → Payout and Fees.
Download Amazon Transactions
Once your settings are in place, you can bring in your Amazon data.
Download recent and historical data
After connecting, PayTraQer automatically starts downloading your 60 days Amazon transactions.
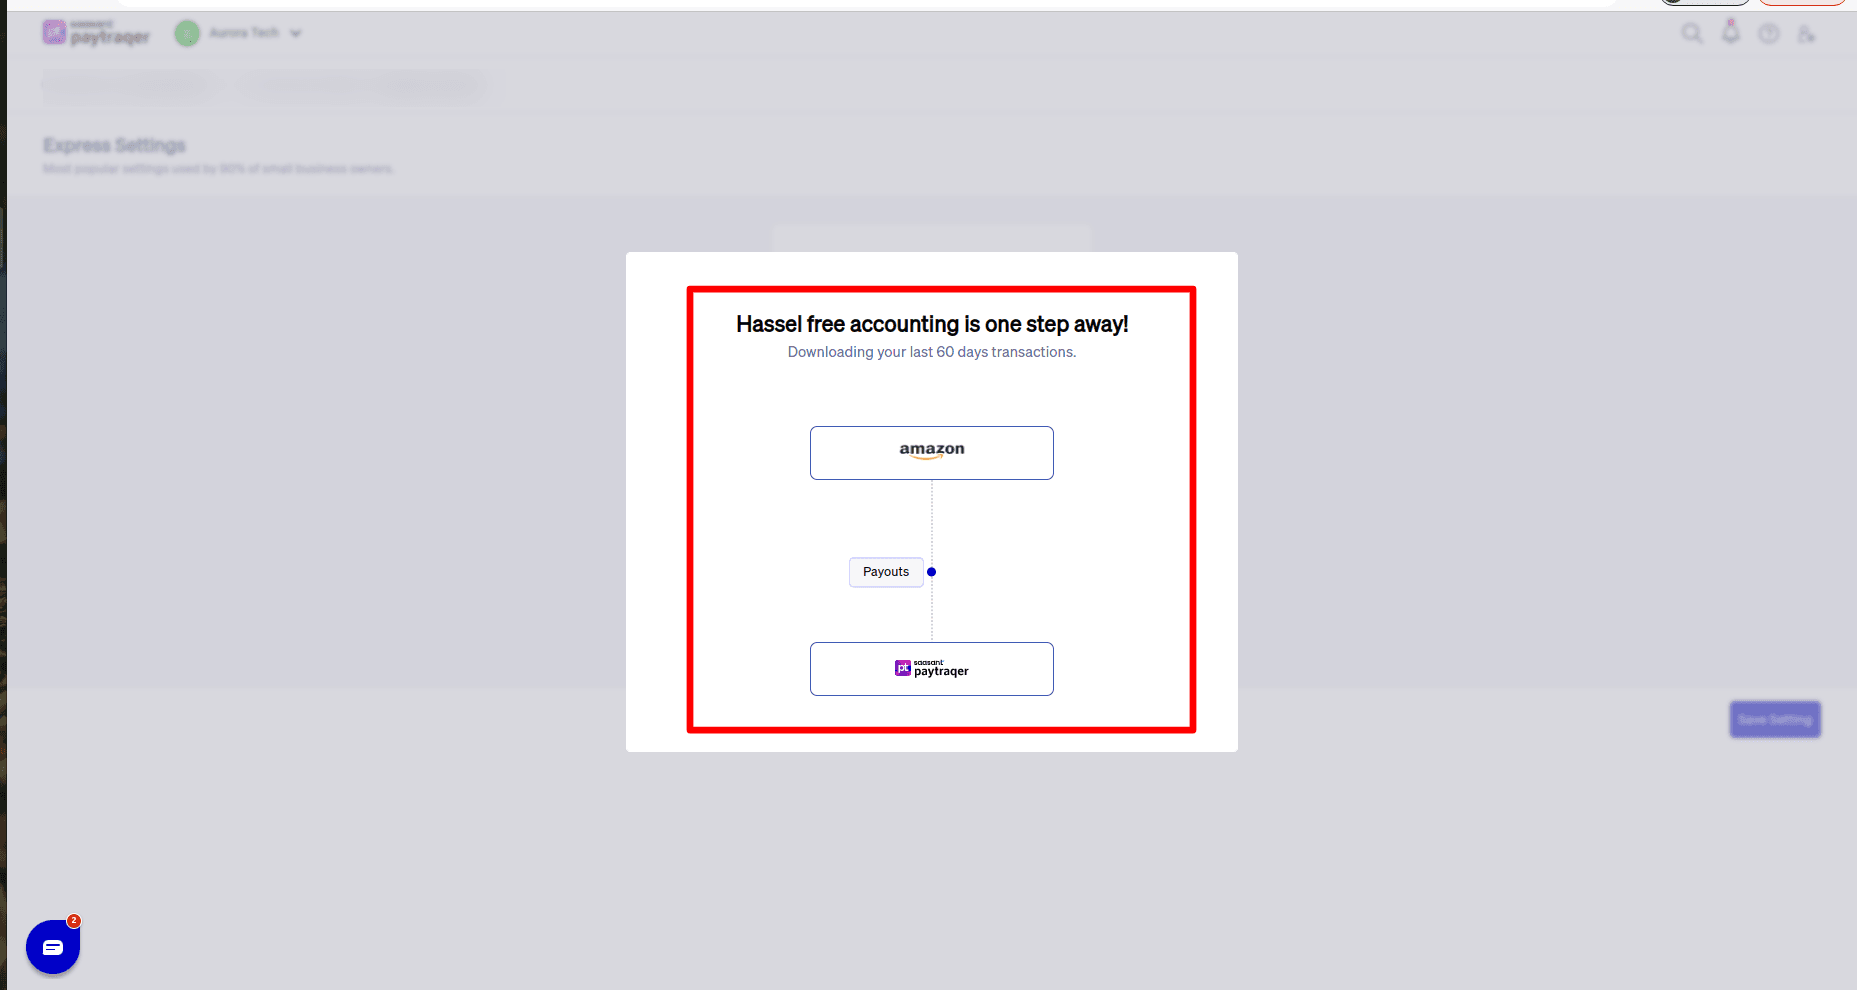
To pull older data, use Download Historical Transactions in the Transactions screen.

Auto Sync
When enabled, PayTraQer regularly downloads and syncs new Amazon transactions with QuickBooks.
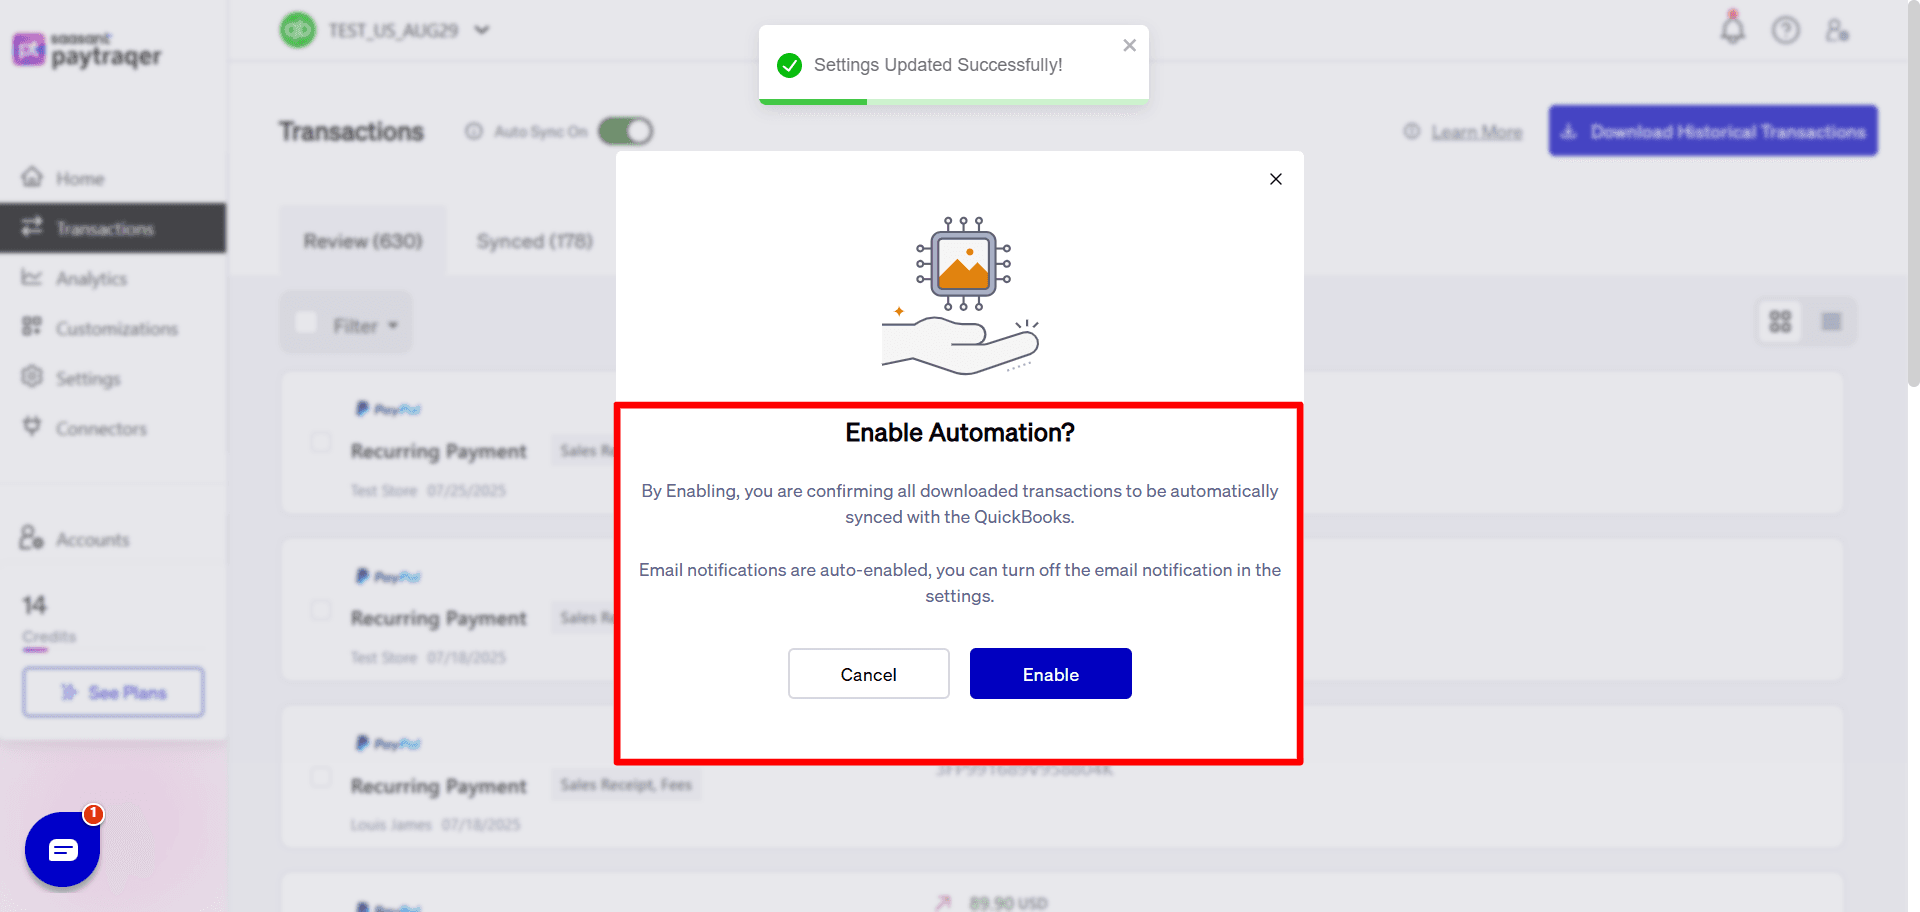
You will see all imported records under Transactions → Review.
Fine Tune Amazon Sync Settings
To access detailed controls:
Go to Settings in the left menu.
Choose Amazon from the connector list.
Use the tabs: Sales, Product & Services, Tax, Fees, Payout, Payment Processors.
5.1 Sales Settings
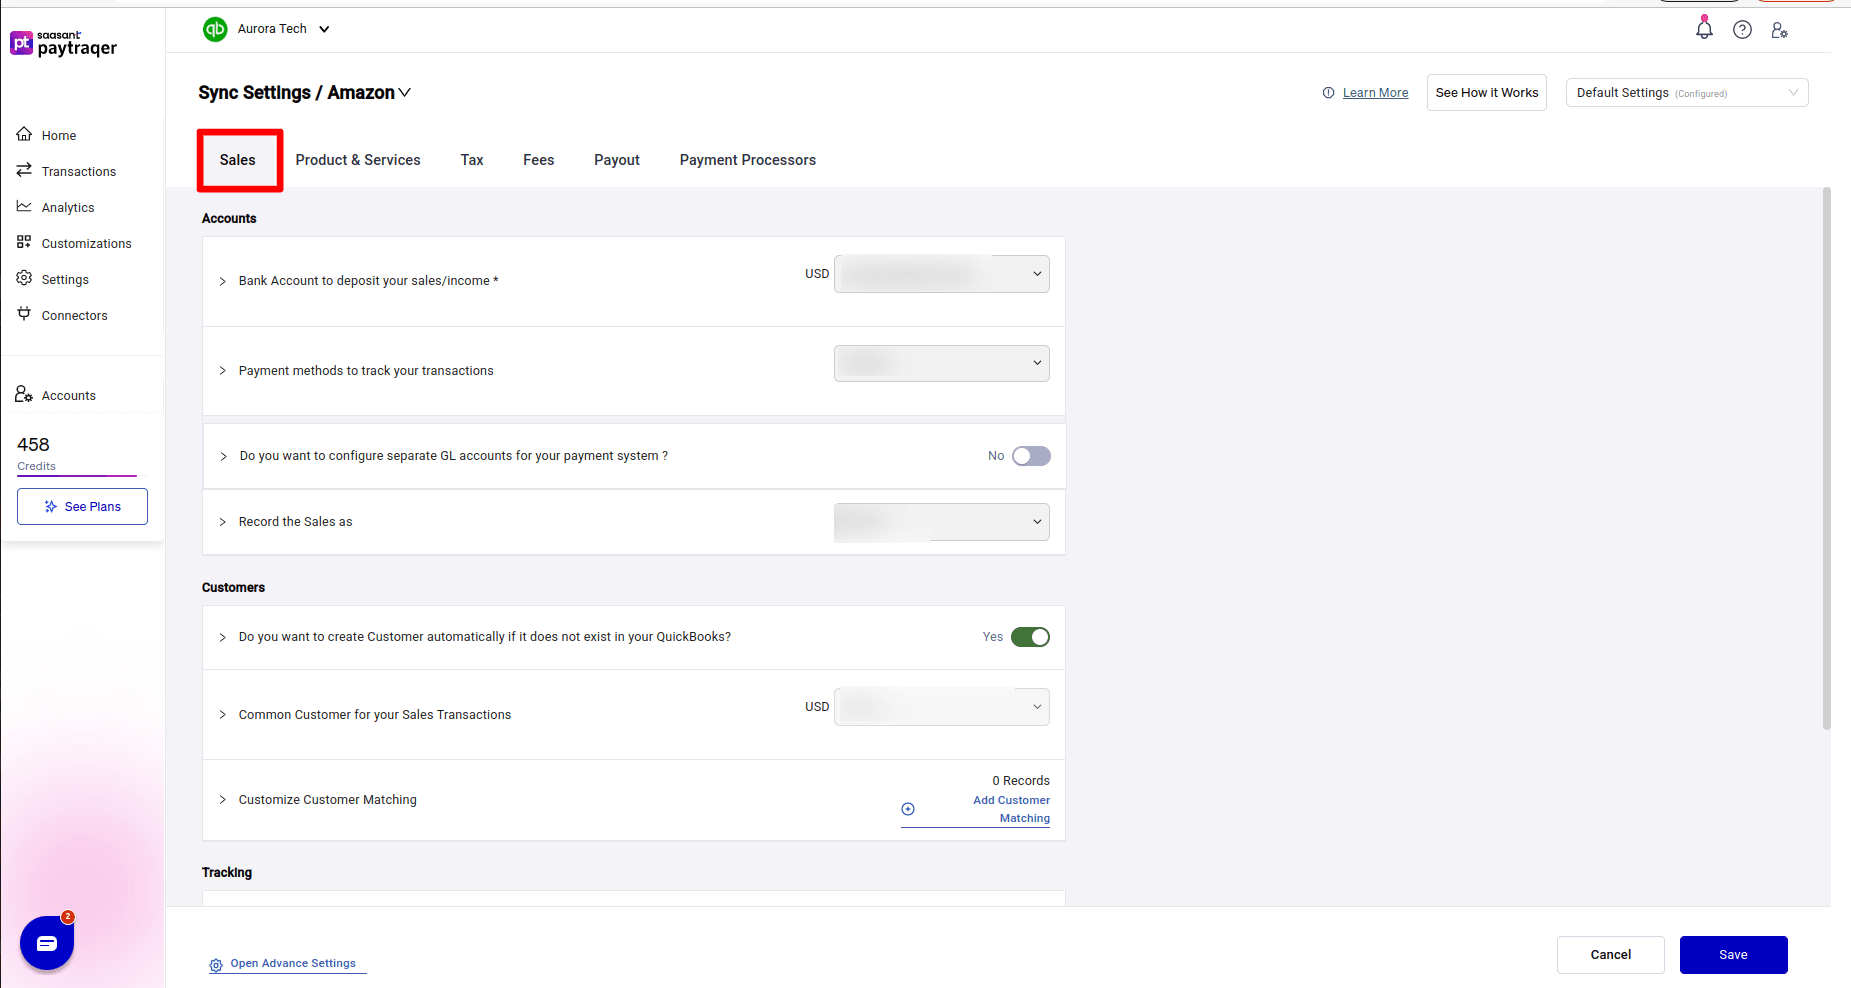
Accounts
Bank Account to deposit your sales/income
Set this to your Amazon clearing or bank account where all sales entries will post.
Payment methods to track your transactions
Choose Amazon so that all Amazon sales use a consistent payment method in QuickBooks.
Record the Sales as
Choose whether PayTraQer posts Amazon sales as Invoice or Sales Receipt based on your workflow.
Customers
Do you want to create Customer automatically if it does not exist in your QuickBooks?
Turn this on to let PayTraQer create new customers when a match is not found.
Common Customer for your Sales Transactions
Use this if you prefer to record all Amazon sales under a single customer (for example “Amazon Marketplace Customer”) instead of separate names for each buyer.
Customize Customer Matching
Add rules to map Amazon buyer names to your preferred customer names in QuickBooks.
Tracking
Location/Department for your Sales transactions
Set a fixed location or department for Amazon sales.
Class for your Sales transactions
Assign a class for easier reporting of Amazon activity.
Sync
Do you want to skip the sales & process the associated fees only?
Turn this on if you only want to sync Amazon fees into QuickBooks and not the sales details.
Product and Service Settings

Auto Creation
Do you want to create Products/Services automatically?
Enable this so PayTraQer can create items when an exact name match does not exist.
Select Products/Services Type to create items automatically when it does not exist
Choose Non Inventory or Service based on how you track your Amazon items.
Select Income Account for the Products/Services associated with your transactions
Choose the income account for auto created items, such as Sales of Product Income.
Match Product
Match Product by
Choose Name (or SKU if available in future) for item matching between Amazon and QuickBooks.
Customize Product Matching
Add mapping rules if your Amazon item names differ from QuickBooks item names.
Common Item
Do you want to use common product/service for all your sales?
Enable this if you want to post all Amazon sales to a single default product or service in QuickBooks.
Select common product/service
Pick the item to use as this default.
Tax Settings
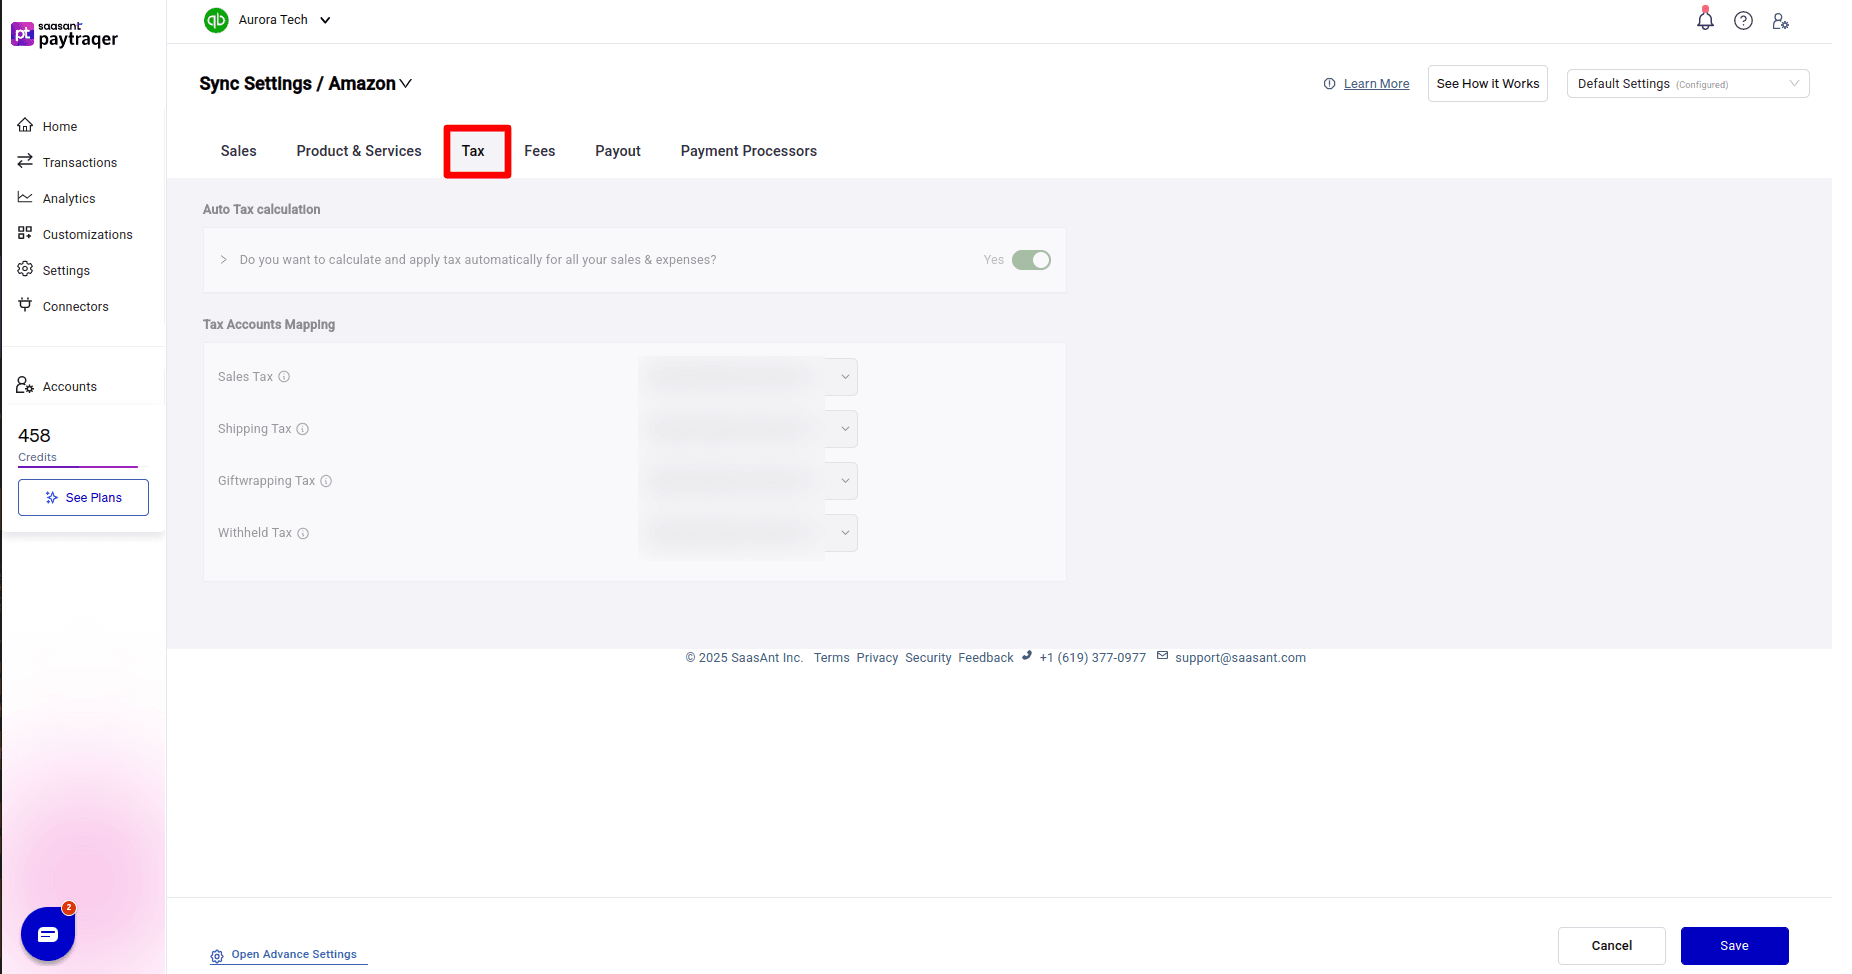
Auto Tax calculation
Do you want to calculate and apply tax automatically for all your sales & expenses?
Turn this on to let PayTraQer handle tax for Amazon sales and related expenses.
Tax Accounts Mapping
Map different tax components that appear in Amazon settlements:
Sales Tax
Shipping Tax
Giftwrapping Tax
Withheld Tax
For each, choose the correct account in QuickBooks (for example an Amazon reserve or tax liability account). This keeps your tax reporting accurate.
Fees Settings
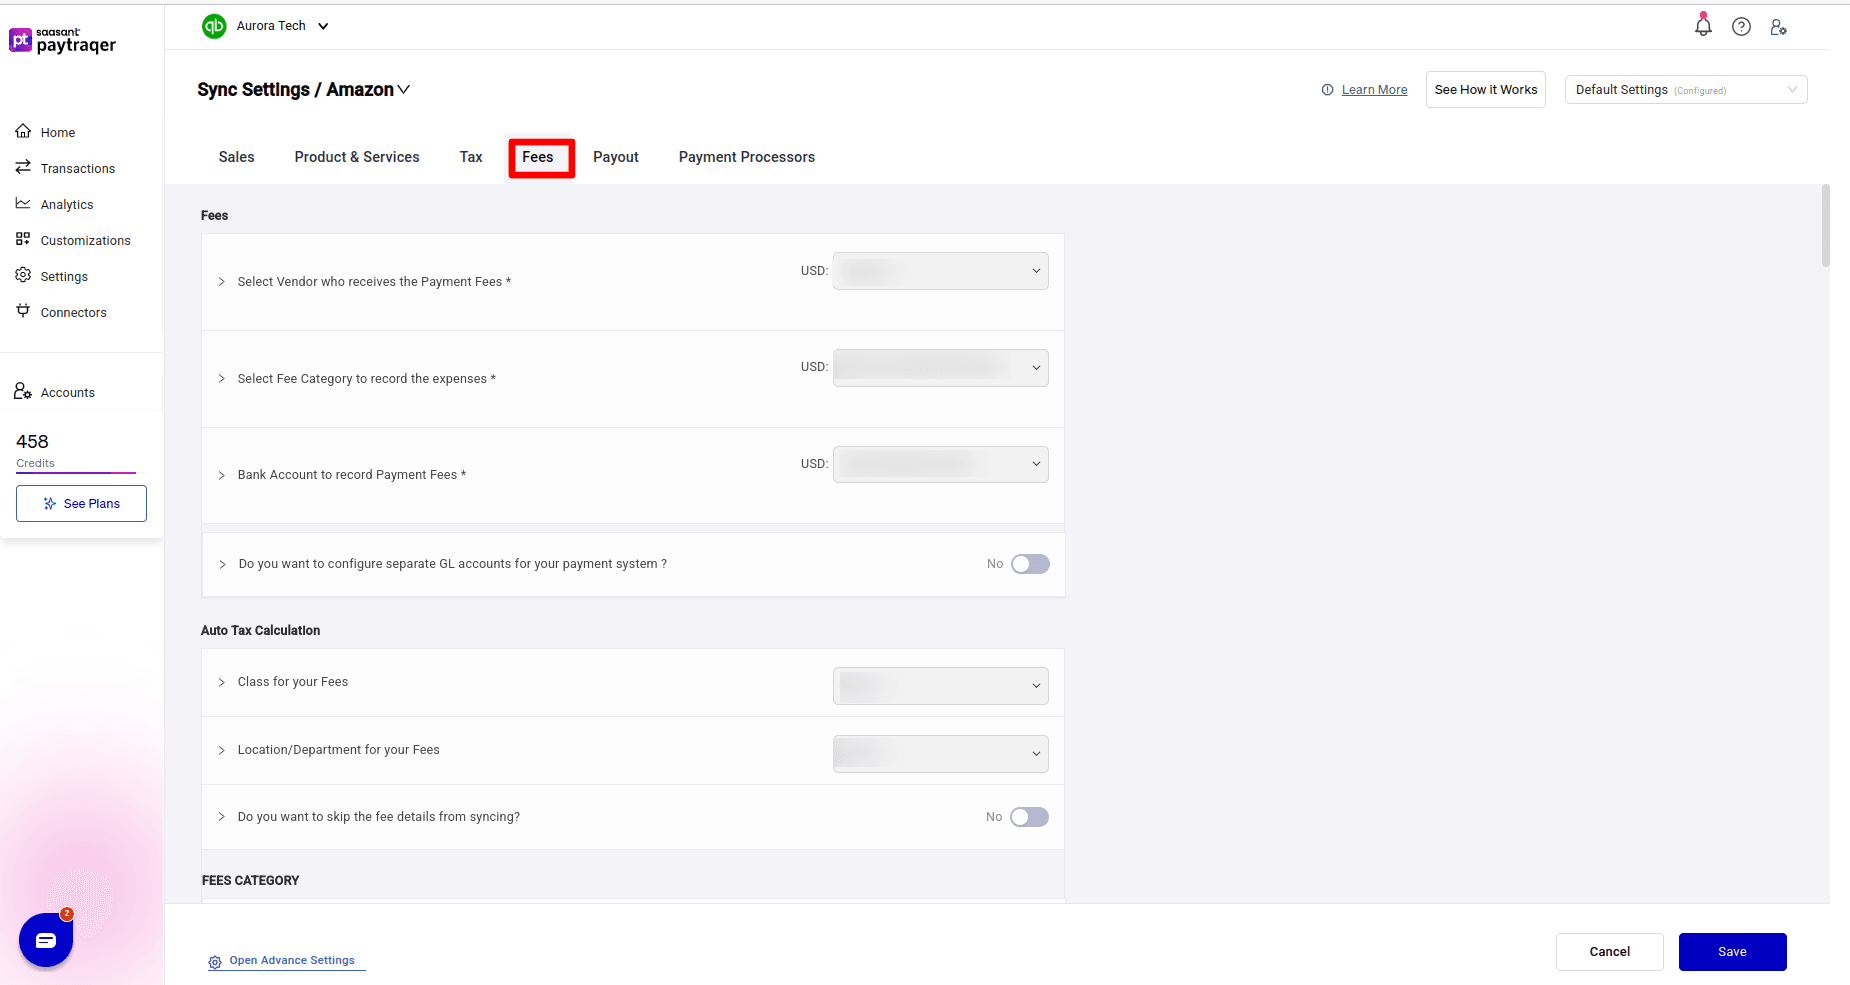
Fees
Select Vendor who receives the Payment Fees
Set this to Amazon so all fees are tied to the Amazon vendor.
Select Fee Category to record the expenses
Choose the expense account such as Amazon Advertisement Fees or a general Amazon Fees account.
Bank Account to record Payment Fees
Select the bank or clearing account used to hold fee entries.
Do you want to configure separate GL accounts for your payment system?
Turn this on if you want detailed accounts per fee type.
Auto Tax Calculation
Class for your Fees
Assign a class for all Amazon fee expenses.
Location/Department for your Fees
Assign a location or department for fee entries.
Do you want to skip the fee details from syncing?
Enable this if you only want summary level data and do not need each fee broken out.
Fees Category Mapping
For detailed mapping, you can assign different accounts for specific Amazon fee types such as:
Commission Fee
Fixed Closing Fee
Referral Fee
Variable Closing Fee
Subscription
Choose the right expense account for each category.
Payout Settings
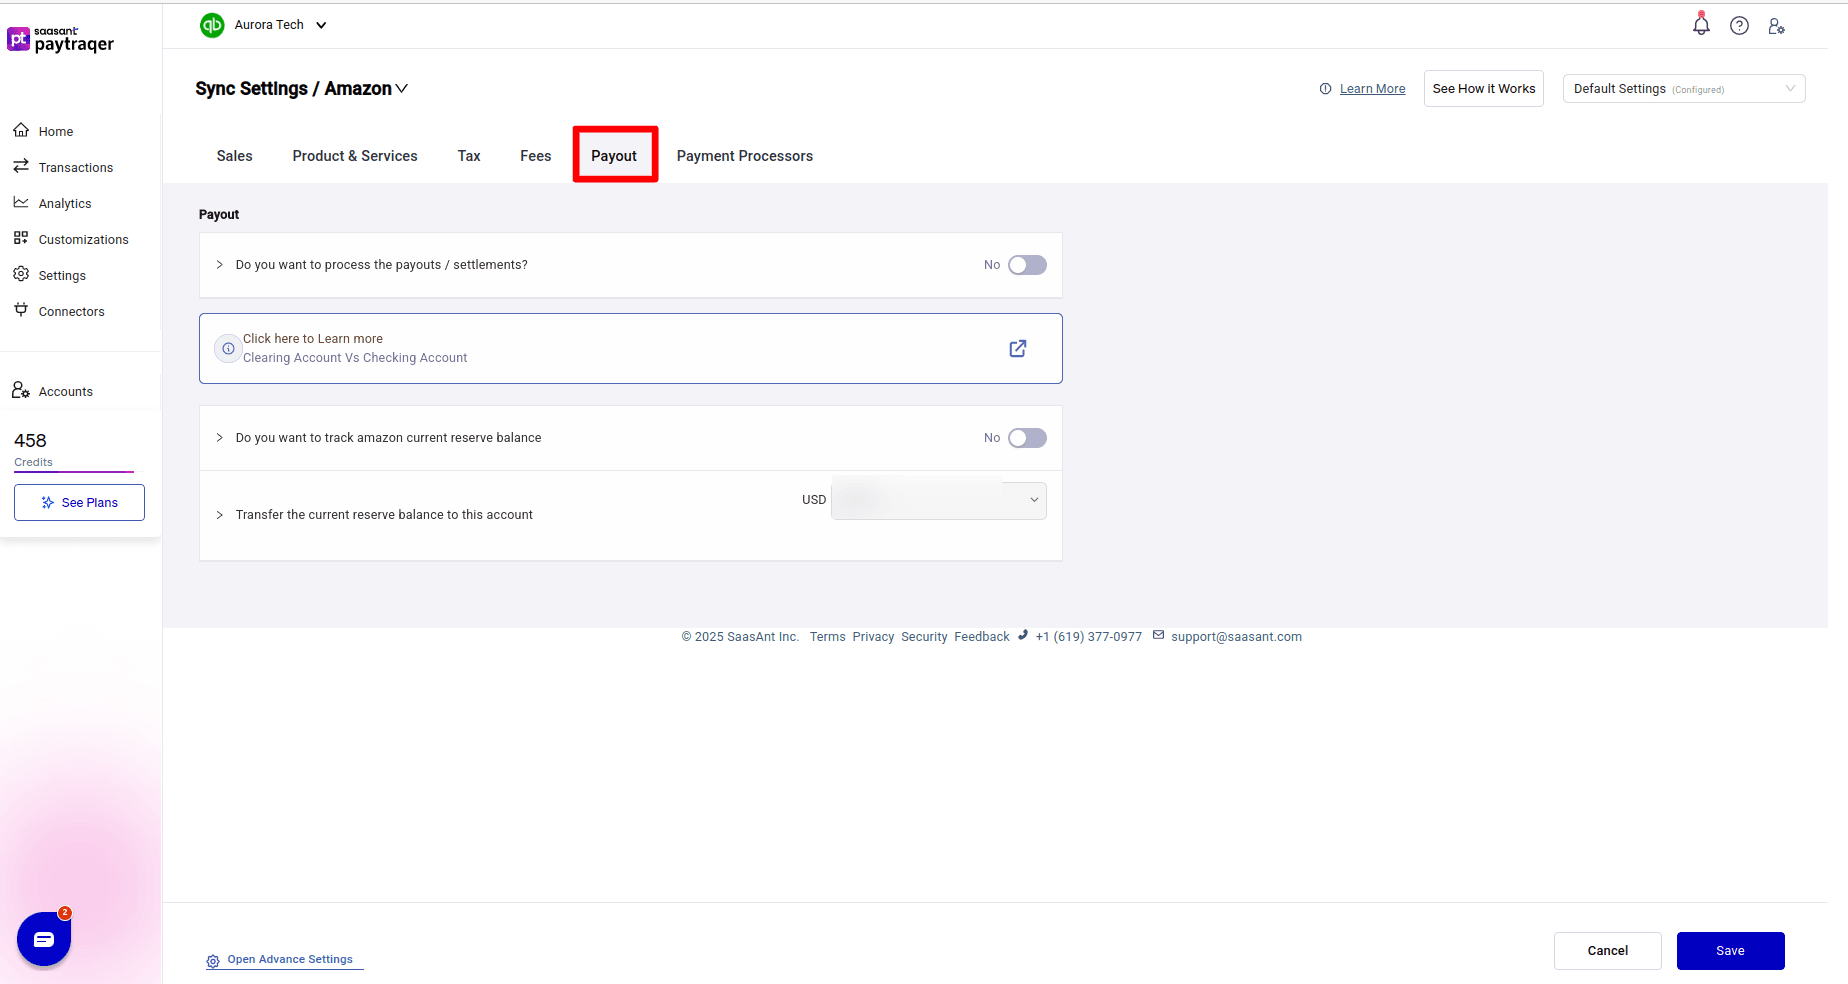
Control how Amazon payouts and reserve balances are recorded.
Do you want to process the payouts / settlements?
Enable to sync each settlement as a transfer from your Amazon clearing account to your settlement bank account in QuickBooks.
Do you want to track amazon current reserve balance
Turn this on to track the running reserve balance Amazon holds.
Transfer the current reserve balance to this account
Choose the account where reserve transfers should be posted when Amazon releases funds.
Review and sync
Go to Transactions → Review.
Use the filter to view specific transaction types such as Invoice Payment, Expense, or Customer Refund.
Select one or more transactions.
Click Sync.
A pop up confirms what was created, for example:
Payment
Invoice
Fees
with successful and failed counts.
Check synced results
Open the Synced tab to see all synced Amazon transactions.
Use the Details button to open the right side panel.
In the Synchronization Details panel you can see:
Invoice created
Payment created
Individual fee entries created
Links to Open in QuickBooks for each transaction
If you need to roll back a sync, use the Undo button on the Synced list to delete the related QuickBooks entries that PayTraQer created.
Track sync history
The Sync History tab shows daily totals:
Number of transactions synced
Total sales, fees, and other components
Any failed sync counts
Use this to confirm everything from Amazon is flowing into QuickBooks as expected.
Best Practices
Keep QuickBooks banking rules disabled for the same Amazon bank account to avoid duplicate entries.
Review Express Settings first, then adjust detailed mappings once you see a few synced settlements.
Use Sync History regularly to spot any mapping issues early.