How to Sync Authorize.Net Transactions with QuickBooks Online Using PayTraQer
January 1, 2025
Syncing your Authorize.Net Transactions with QuickBooks Online is no more a time-consuming task. You can sync your Authorize.Net transactions with a click of a button using PayTraQer. This read will show you how.
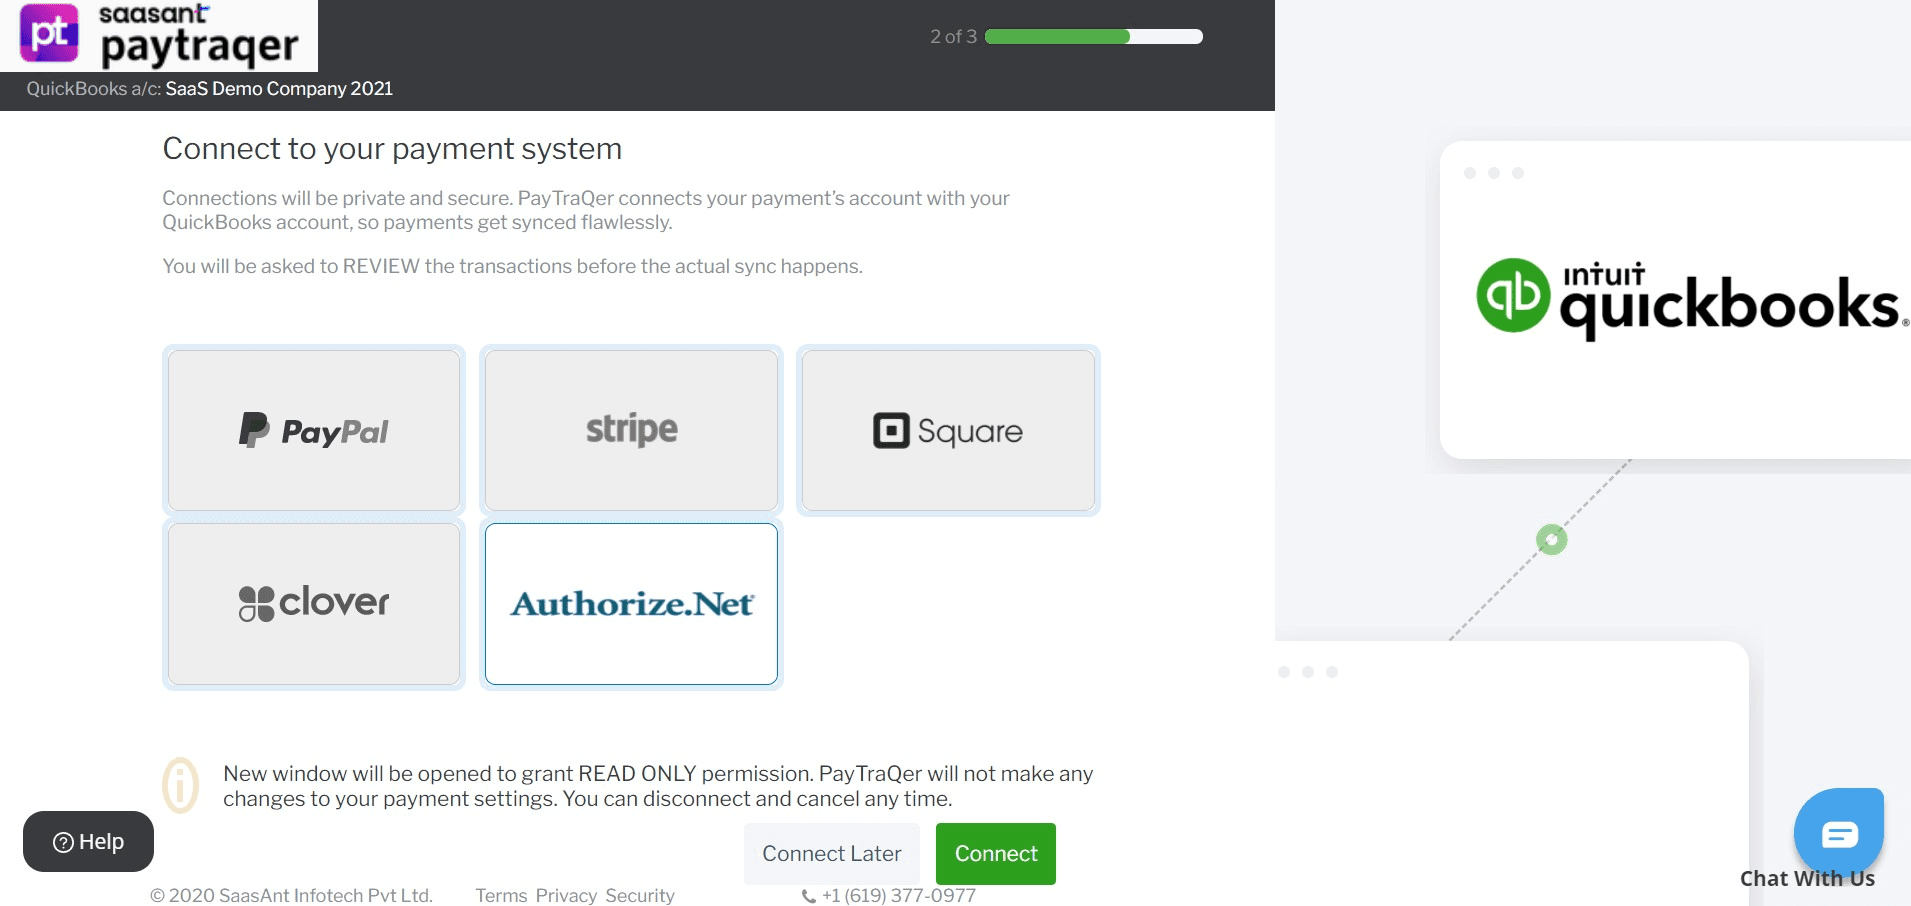
Connect Your Authorize.Net Account
To sync your Authorize.Net transactions to QuickBooks Online, you have to connect your Authorize.Net account with PayTraQer. This article will explain in detail how to connect your Authorize.Net account to PayTraQer.

Download Historical Transactions
Once you hit the dashboard after setting up, your previous Authorize.Net transactions for the past 60 days will appear on the screen.
If you want to download your Authorize.Net transactions older than 60 days, you can do it by clicking the ‘Download Historical Transactions’ button on the top right of your screen.
Select the date range and hit ‘Search’.
All your Authorize.Net transactions available in the given date range will appear on the screen.
Choose the transactions that you want to sync or select all and hit the ‘Sync to QuickBooks Online’ button. All the selected transactions will be synced to QuickBooks Online.

If you want to know in detail about each tab in the dashboard and its functionality, this article will help you.
QuickBooks Online Authorize.Net Sync Settings
You have a wide range of settings to make your bookkeeping sweat-free. To know more about the configuration, read this article.
Synchronize Authorize.Net with QuickBooks Online
There is a couple of ways in which you can sync your Authorize.Net transactions with QuickBooks Online.
Let us break down each in detail.
Automatic Sync
By enabling this feature, you let PayTraQer automatically sync your ongoing Authorize.Net transactions to QuickBooks Online every 30 minutes.
Click the gear icon at the top right corner of the screen and select Settings under Sync Settings.
You can turn ON the automatic sync here.
Manual Sync
You can also sync your Authorize.Net transactions manually by selecting each transaction or selecting all before you click the sync button. This way you can sync only selected transactions to your QuickBooks Online account.
The status of the synced transactions will be available in the Synced/ Error tab of the Transactions dashboard with more information on the sync context. More on the Transactions Dashboard is available in this article.
Rollback Synced Authorize.Net Transactions
If you want to undo a sync, you can do it with a click of a button.
You can either rollback the whole transactions or remove only selected transactions in QuickBooks Online. Here is how to do it.
Step 1: Click on the ‘Synced’ tab. All the synced transactions will appear on the screen.
Step 2: Select the transactions that you want to rollback or select all.
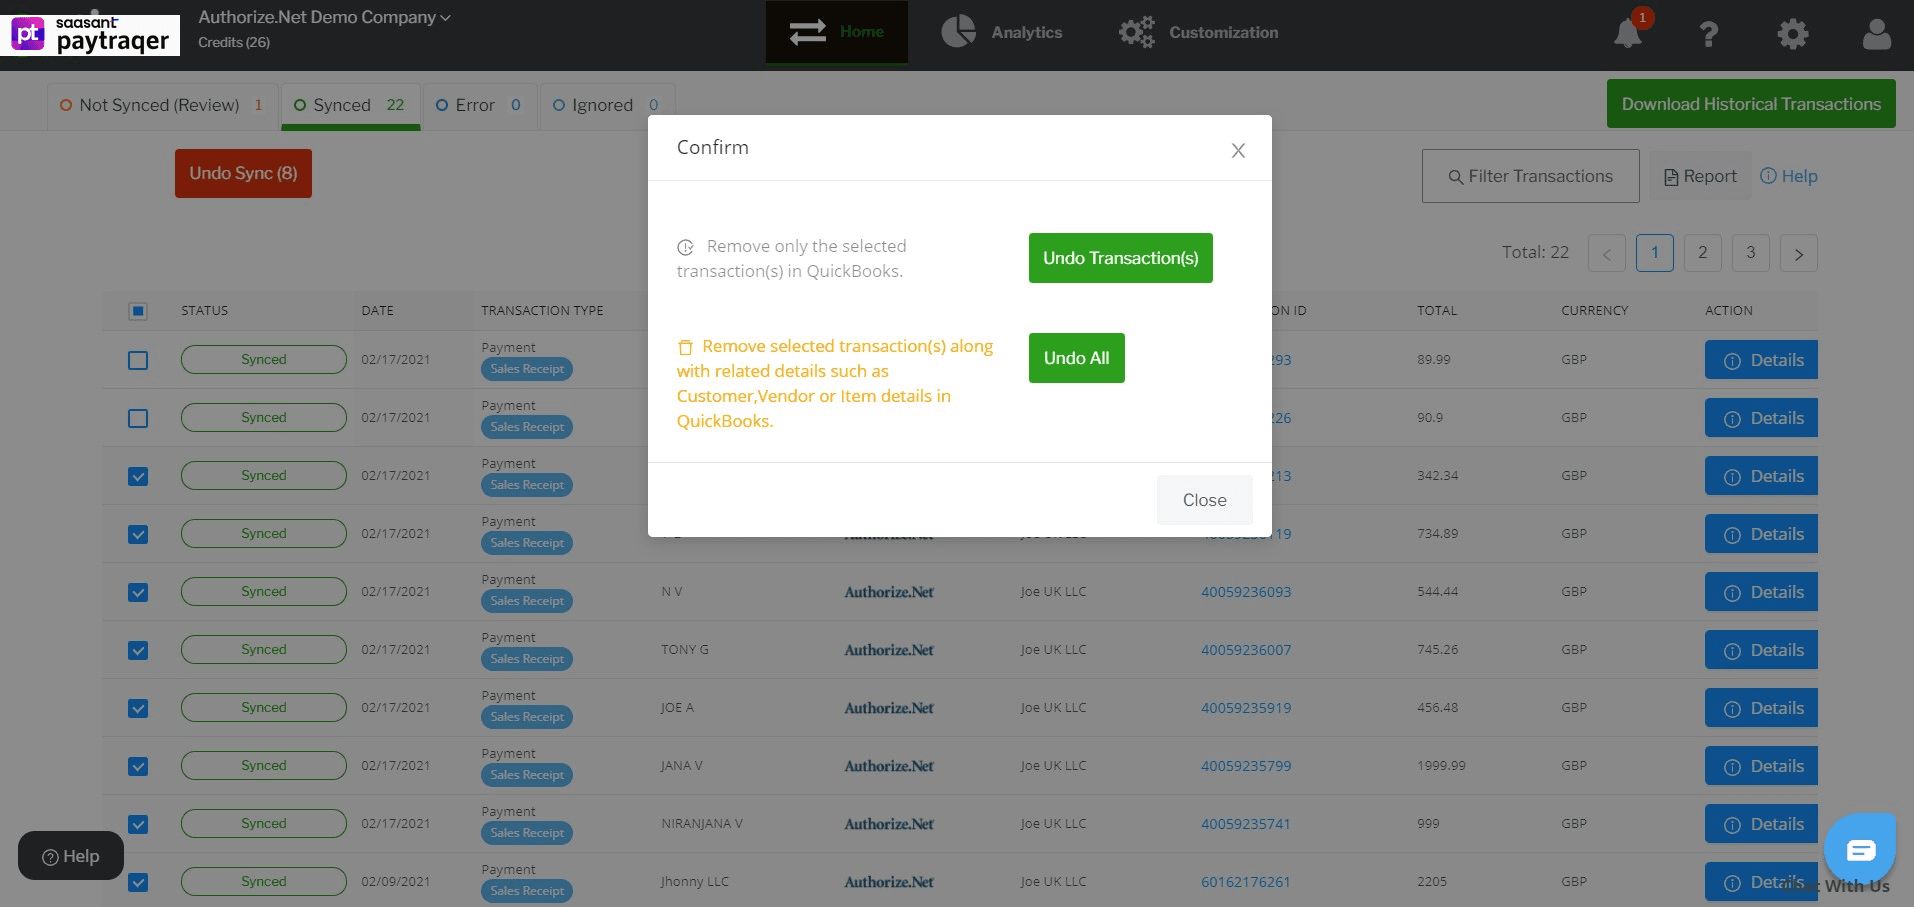
Step 3: Click the ‘Undo Sync’ button.
You will be asked to choose either Undo Transactions or Undo All.
Undo Transactions - This will remove only the selected transactions in QuickBooks Online. Customer, vendor and item details of the transactions will be retained.
Undo All - This removes the selected transactions along with related details. Customer, vendor and item details will be deleted.
Step 4: Select one of these buttons to undo your sync.
All the selected transactions will be removed from QuickBooks Online, leaving no trace.
Reconcile Authorize.Net Transactions in QuickBooks Online
Now, reconciling your Authorize.Net transactions in QuickBooks Online is made very simple and hassle-free using PayTraQer. Read this article for detailed steps for reconciliation.