How to Obtain your Authorize.Net API Key
January 1, 2025
Step 1: Log in to your Authorize.Net account
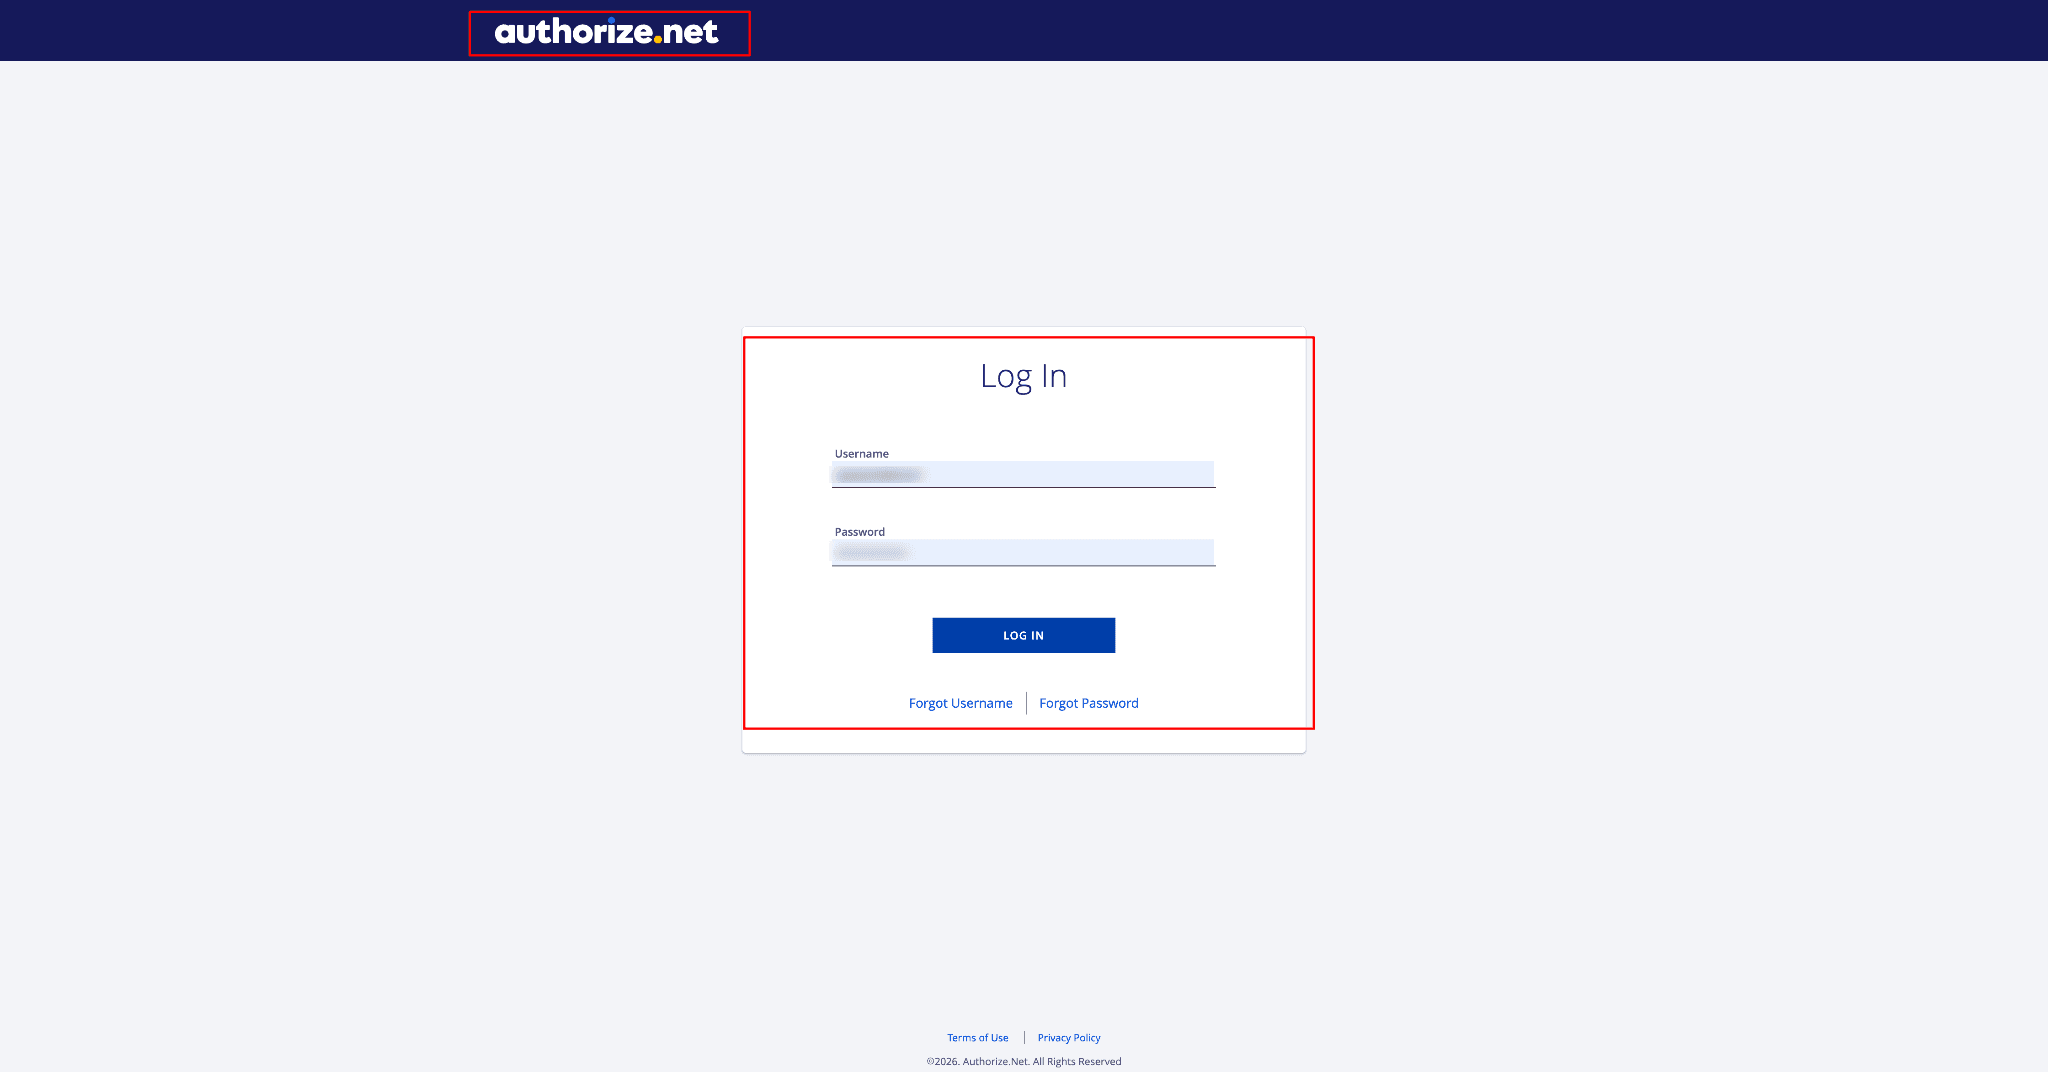
Go to the Authorize.Net login page and enter your Username and Password in the appropriate fields.
Ensure you are logging in with the right merchant account that you wish to link with PayTraQer.
Press Log In to reach your Authorize.Net account dashboard.
Step 2: Open the Authorize.Net dashboard
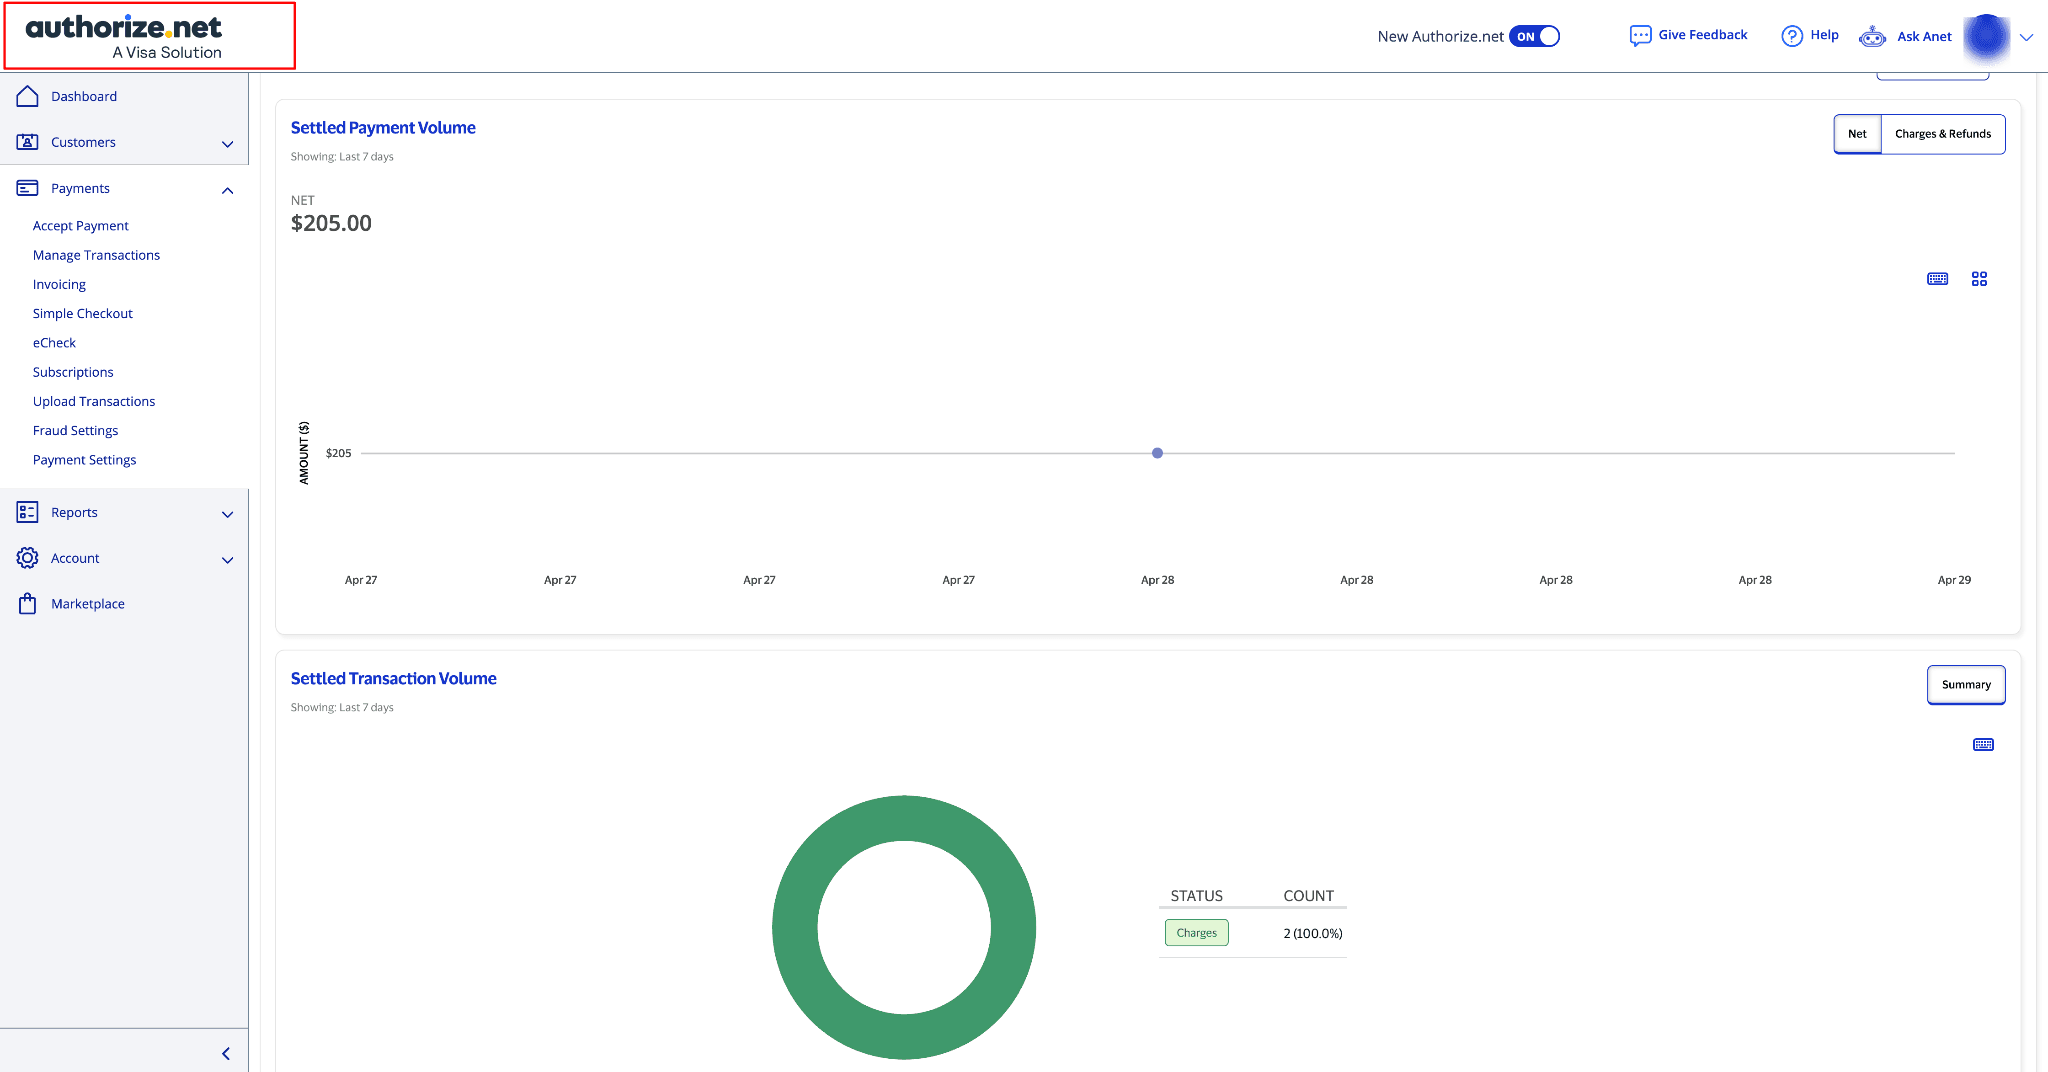
After you log in, you will reach the Authorize.Net dashboard.
This dashboard presents payment-related metrics, including Settled Payment Volume and Settled Transaction Volume.
You can use the left-side menu to navigate to different areas like Dashboard, Customers, Payments, Reports, Account, and Marketplace.
Make sure you are logged in to the correct Authorize.Net account before continuing.
Step 3: Open the Account menu
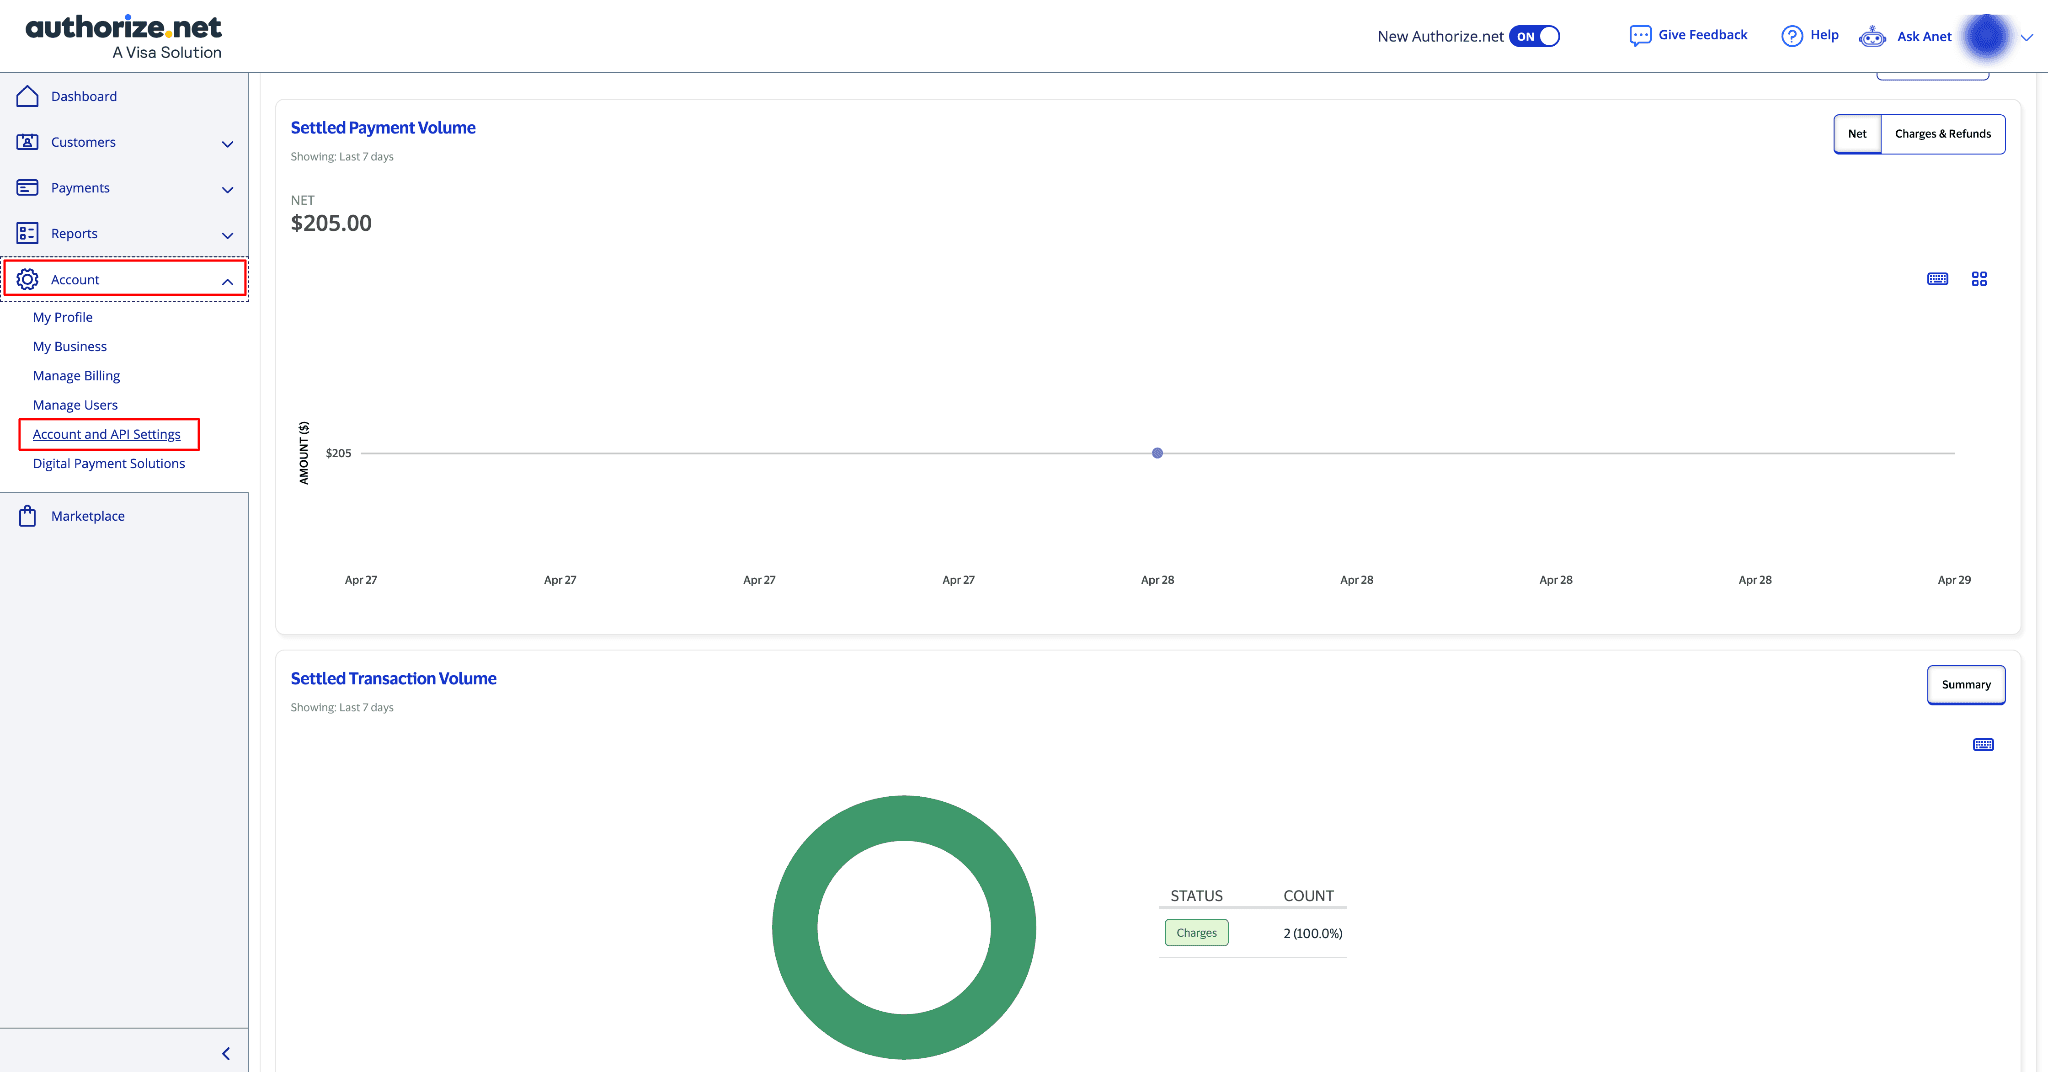
From the left navigation menu, select Account to view the options related to your account.
Click on Account and API Settings to navigate to the settings page, where you can find API-related options.
This section is for managing account-level settings and generating credentials necessary for linking Authorize.Net with external applications.
Step 4: Select API Credentials and Keys
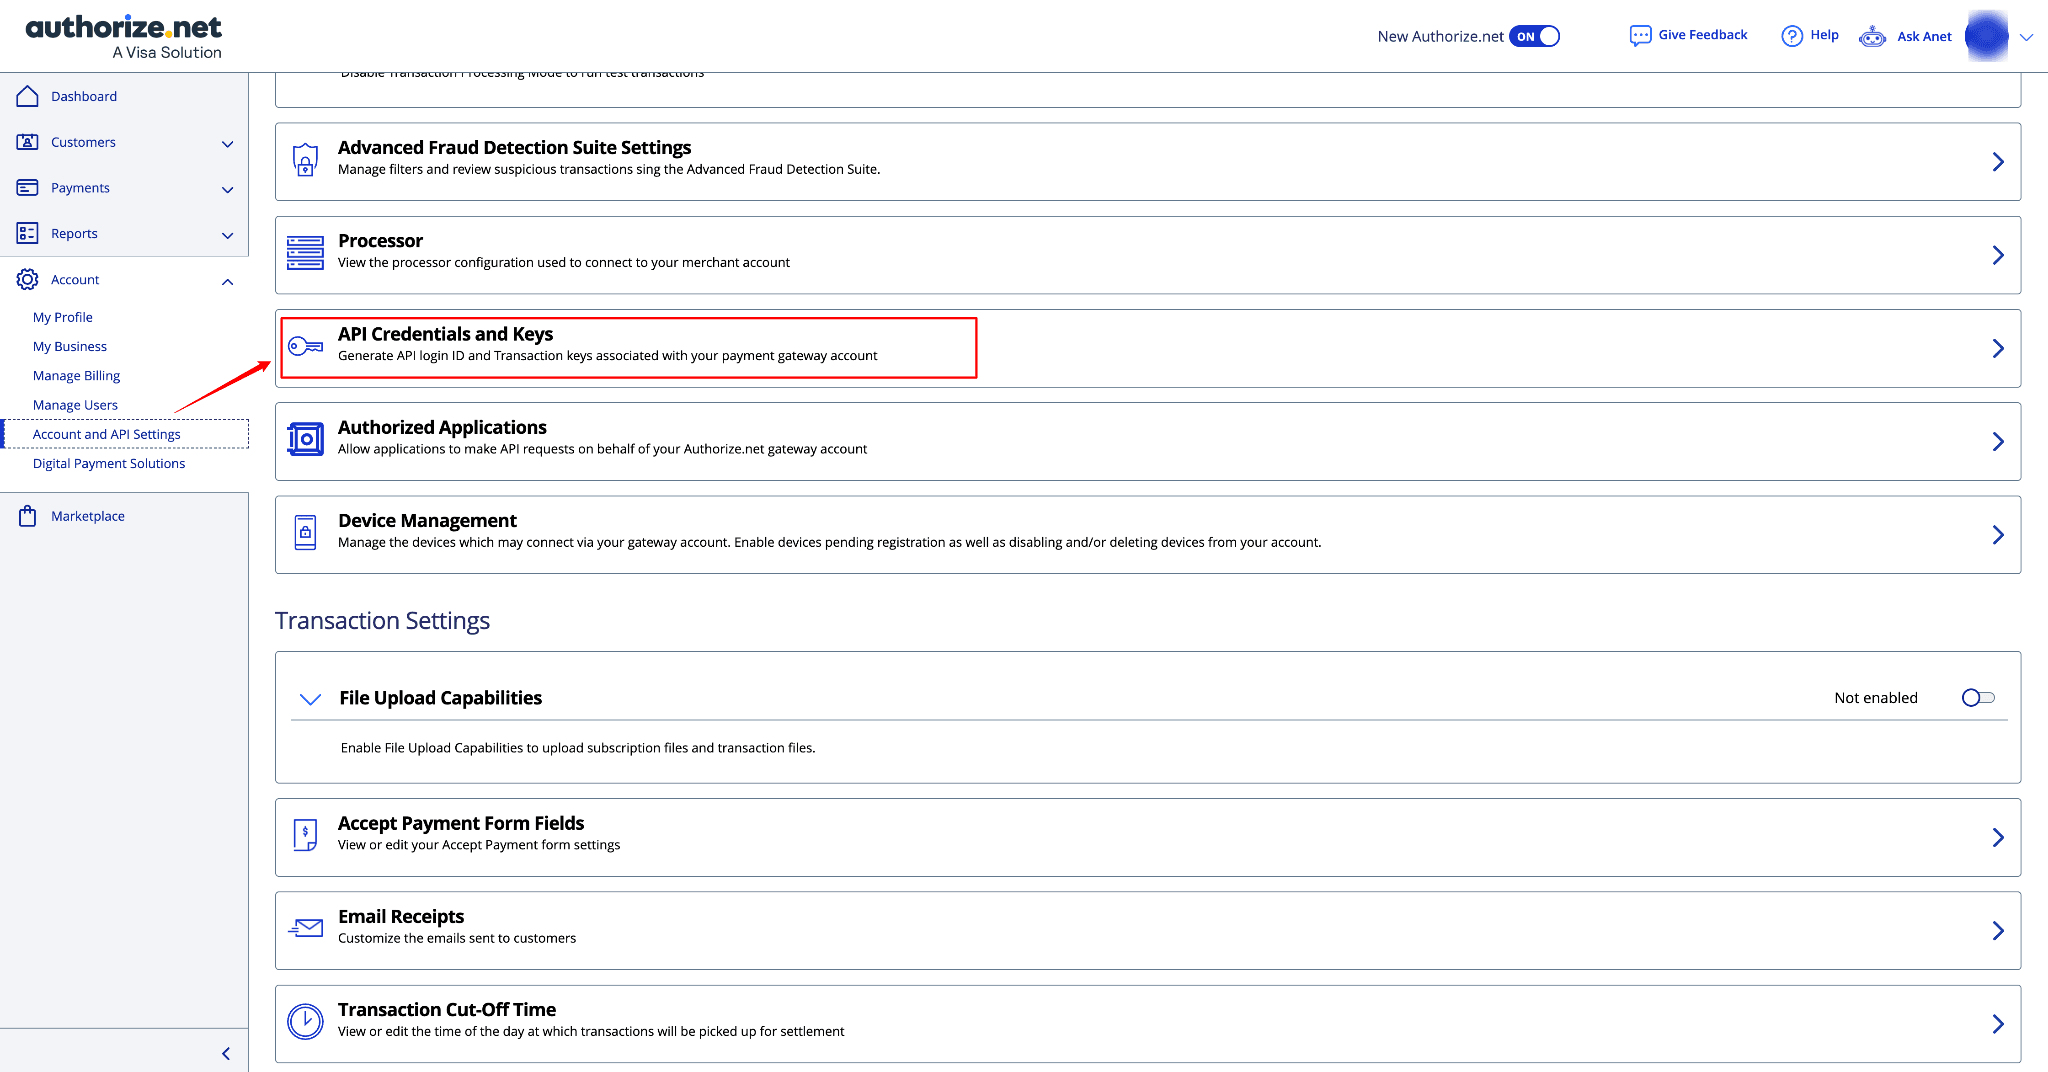
The Account and API Settings page has various configuration options for your Authorize.Net gateway account.
Find the API Credentials and Keys option, which allows you to generate or view the API details required for integration.
Step 5: Select API Credentials and Keys
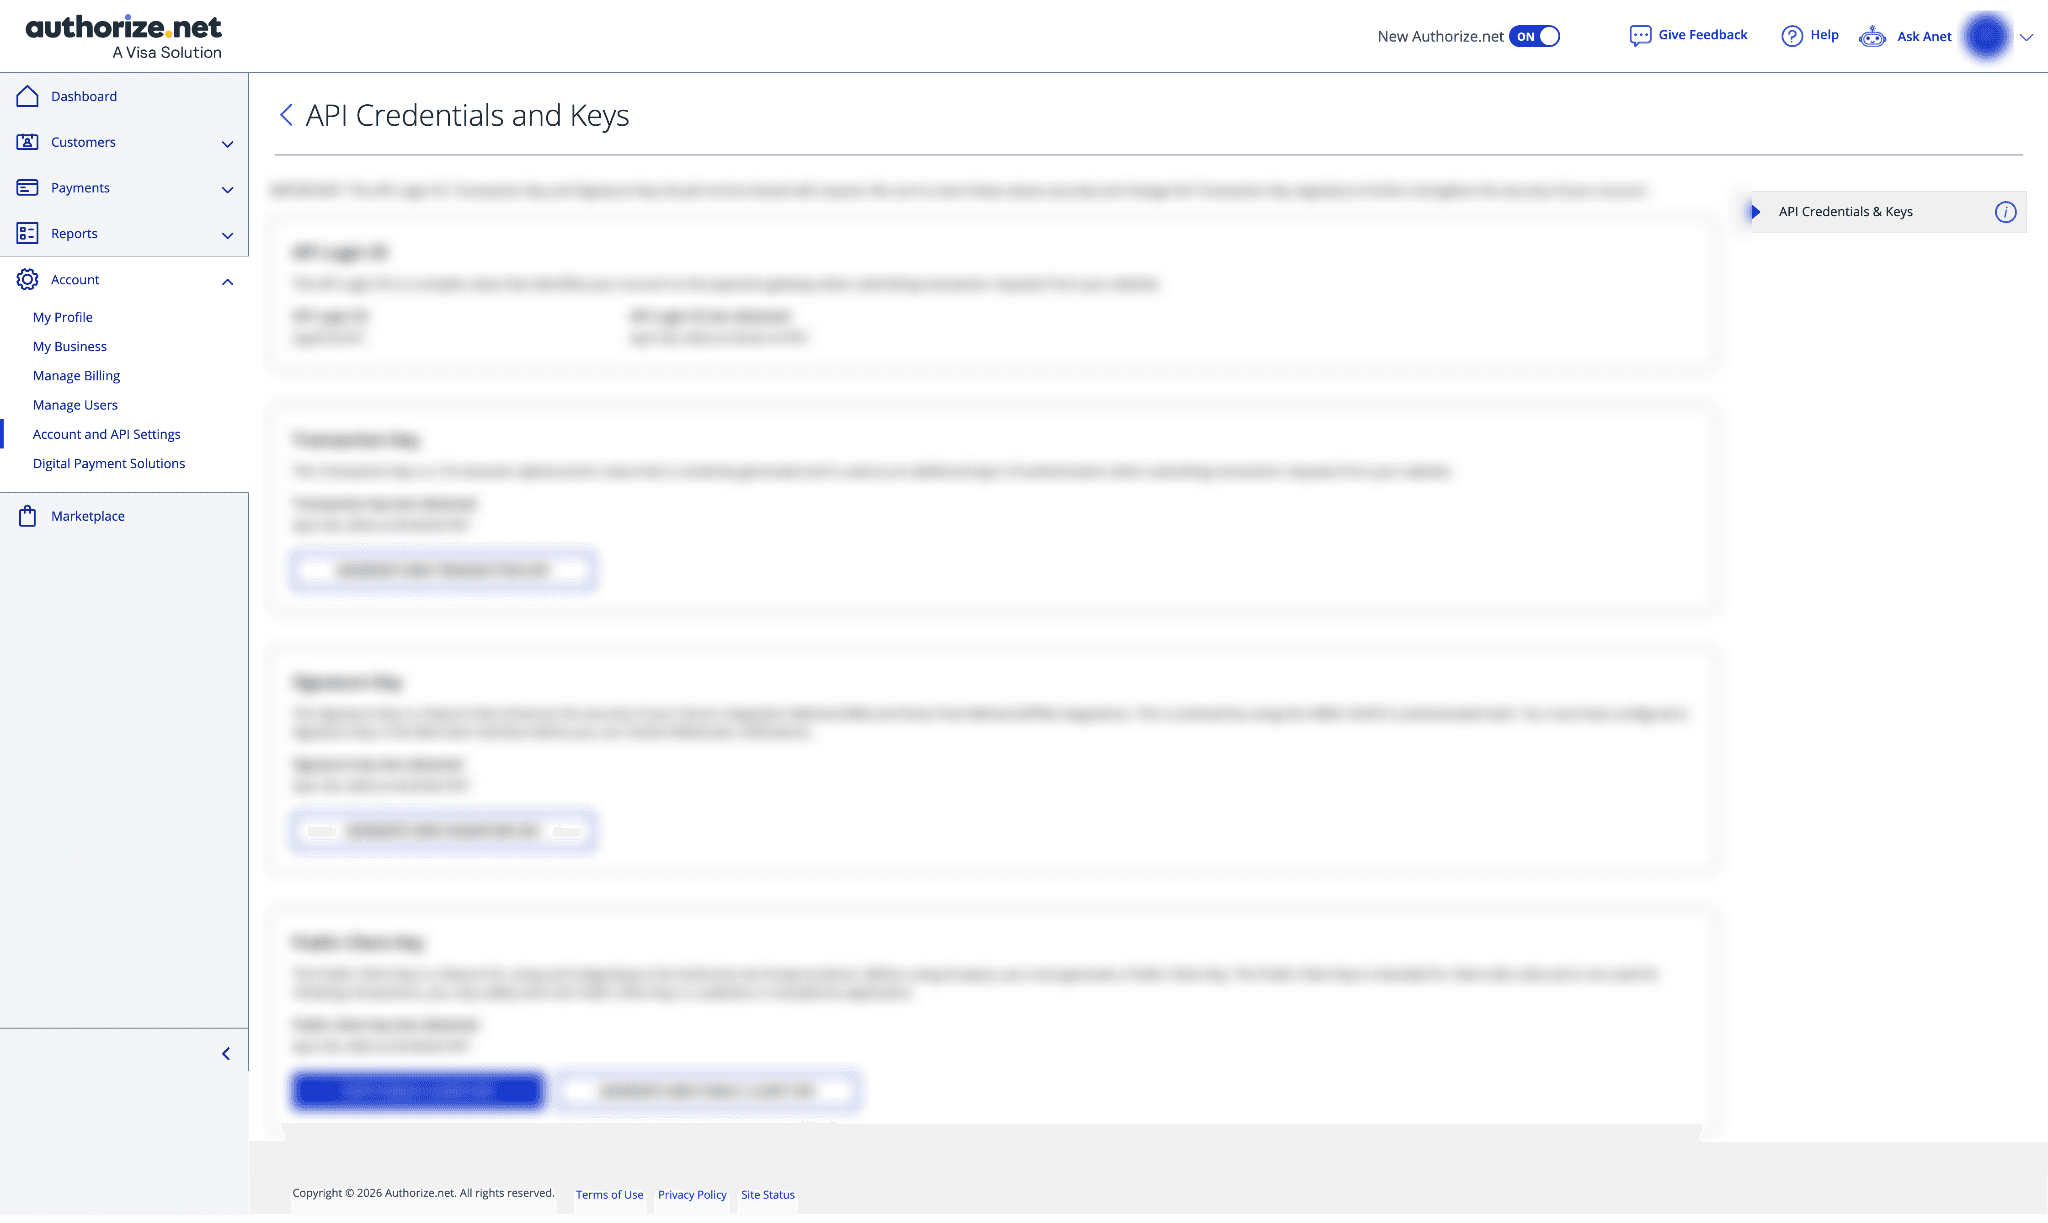
Select API Credentials and Keys from the Account and API Settings page.
This part is for accessing the API Login ID and creating keys linked to your Authorize.Net payment gateway account.
These credentials are generally required when integrating Authorize.Net with any application or accounting tool.
On the API Credentials and Keys page, check the available credential sections like API Login ID, Transaction Key, Signature Key, and Public Client Key.
If you need a new transaction key or signature key, use the request or generate option available on the page.
Step 6: Enter the API Key in PayTraQer
Open the Authorize.Net Integration Details page in PayTraQer and paste the copied API Key into the API Key field.
Type a clear Account Name so you can easily identify the connected Authorize.Net account in PayTraQer.
After entering the information, click Connect to link your Authorize.Net account with PayTraQer.
Video Tutorial for How to Connect and Sync Authorize.Net Transactions with QuickBooks Online using PayTraQer: