How to Connect Clover with QuickBooks Online Using PayTraQer
October 17, 2025
PayTraqer needs special permissions to read your Clover transactions. Follow the below steps to connect your Clover with PayTraQer.
Setup
Connect your QuickBooks Online Account with PayTraqer.
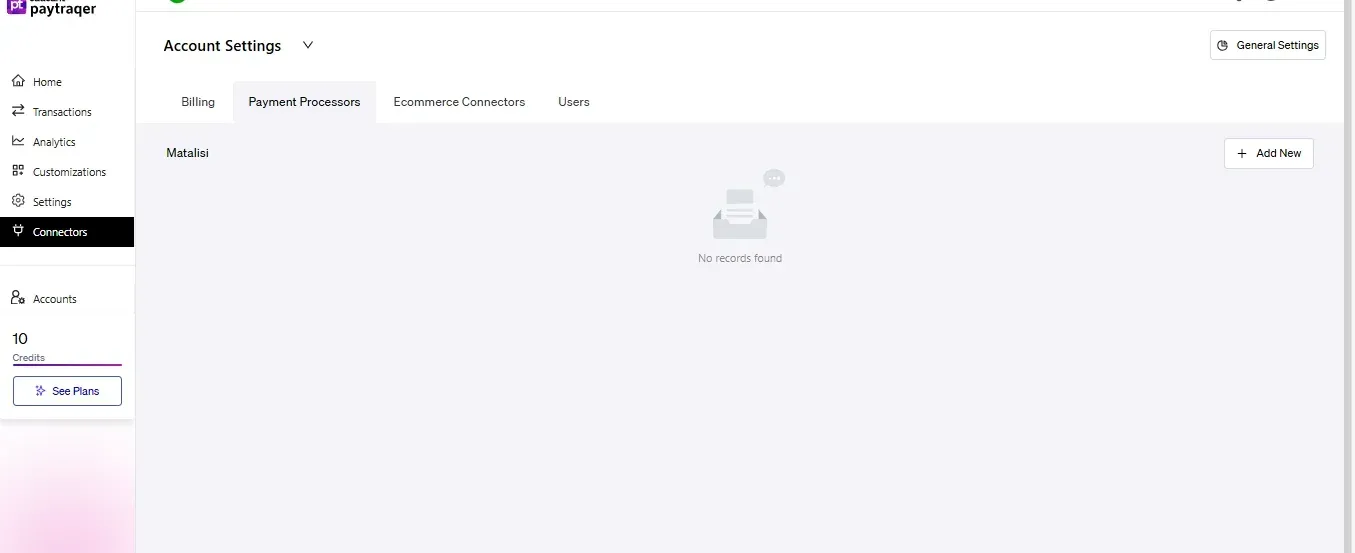
In PayTraQer, Navigate to Payment Processors Page and click on "Add".
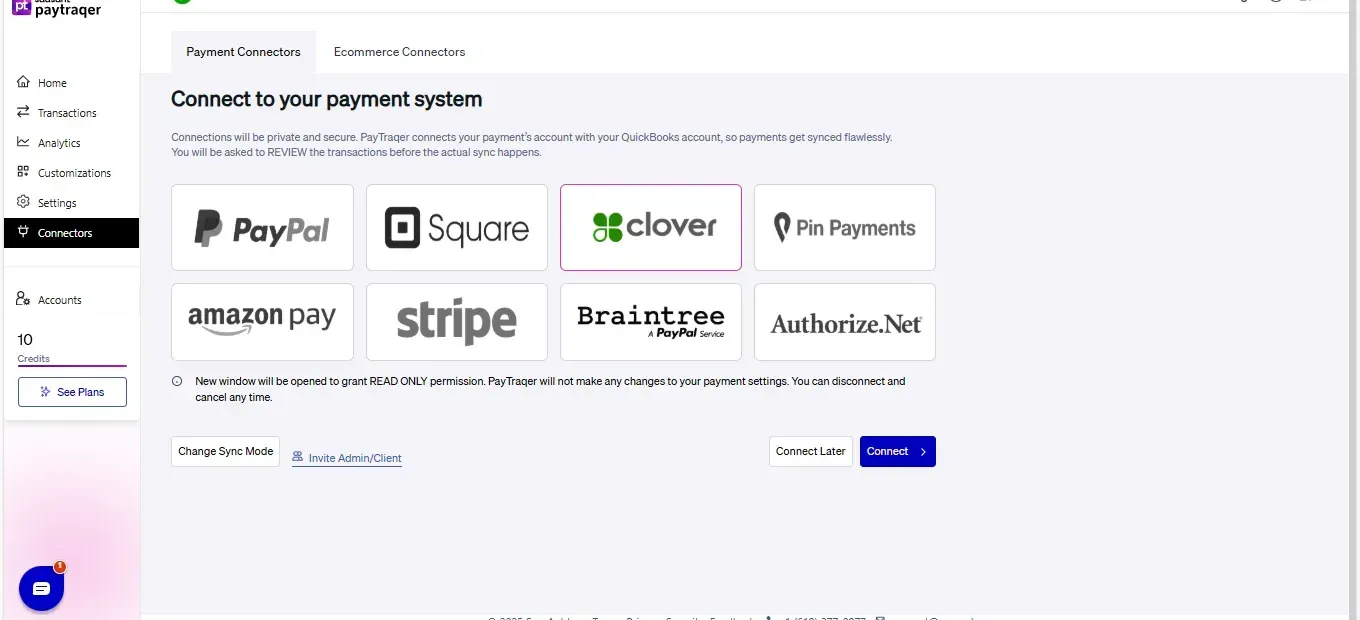
In Payment Processors Screen, Click on the "Clover" tile.
"Clover" Integration Screen will be opened and you need to follow the below instructions carefully.


You will need to submit your Clover API Token and Merchant ID to PayTraQer to get access to download and sync your Clover transactions to your QuickBooks Online company.
Here are the steps to get your Clover API Token.
Step 1: Log in to your Clover account.
Step 2: Navigate to Setup. Your merchant ID can then be found in the URL address, after '/m/'

Step 3: Select ‘API Token’ under the Setup Settings.

Step 4: Click 'Create New Token' button & select all READ Permissions.

Step 5: Copy the generated API Token & merchant Id to PayTraQer Screen.

Click on Connect after entering the API Token & Merchant ID on the PayTraQer Screen.