How to Import transactions into QuickBooks Online from SaasAnt Transactions (Online)
August 29, 2025
Please follow the below steps to import the transactions into QuickBooks Online using our SaasAnt Transactions (Online)
Connect SaasAnt Transactions with your QuickBooks Online!Step 1: Bulk Import
Once you log in to the app, it provides an option to click on 'New Import' on the left side of the screen under the Dashboard.
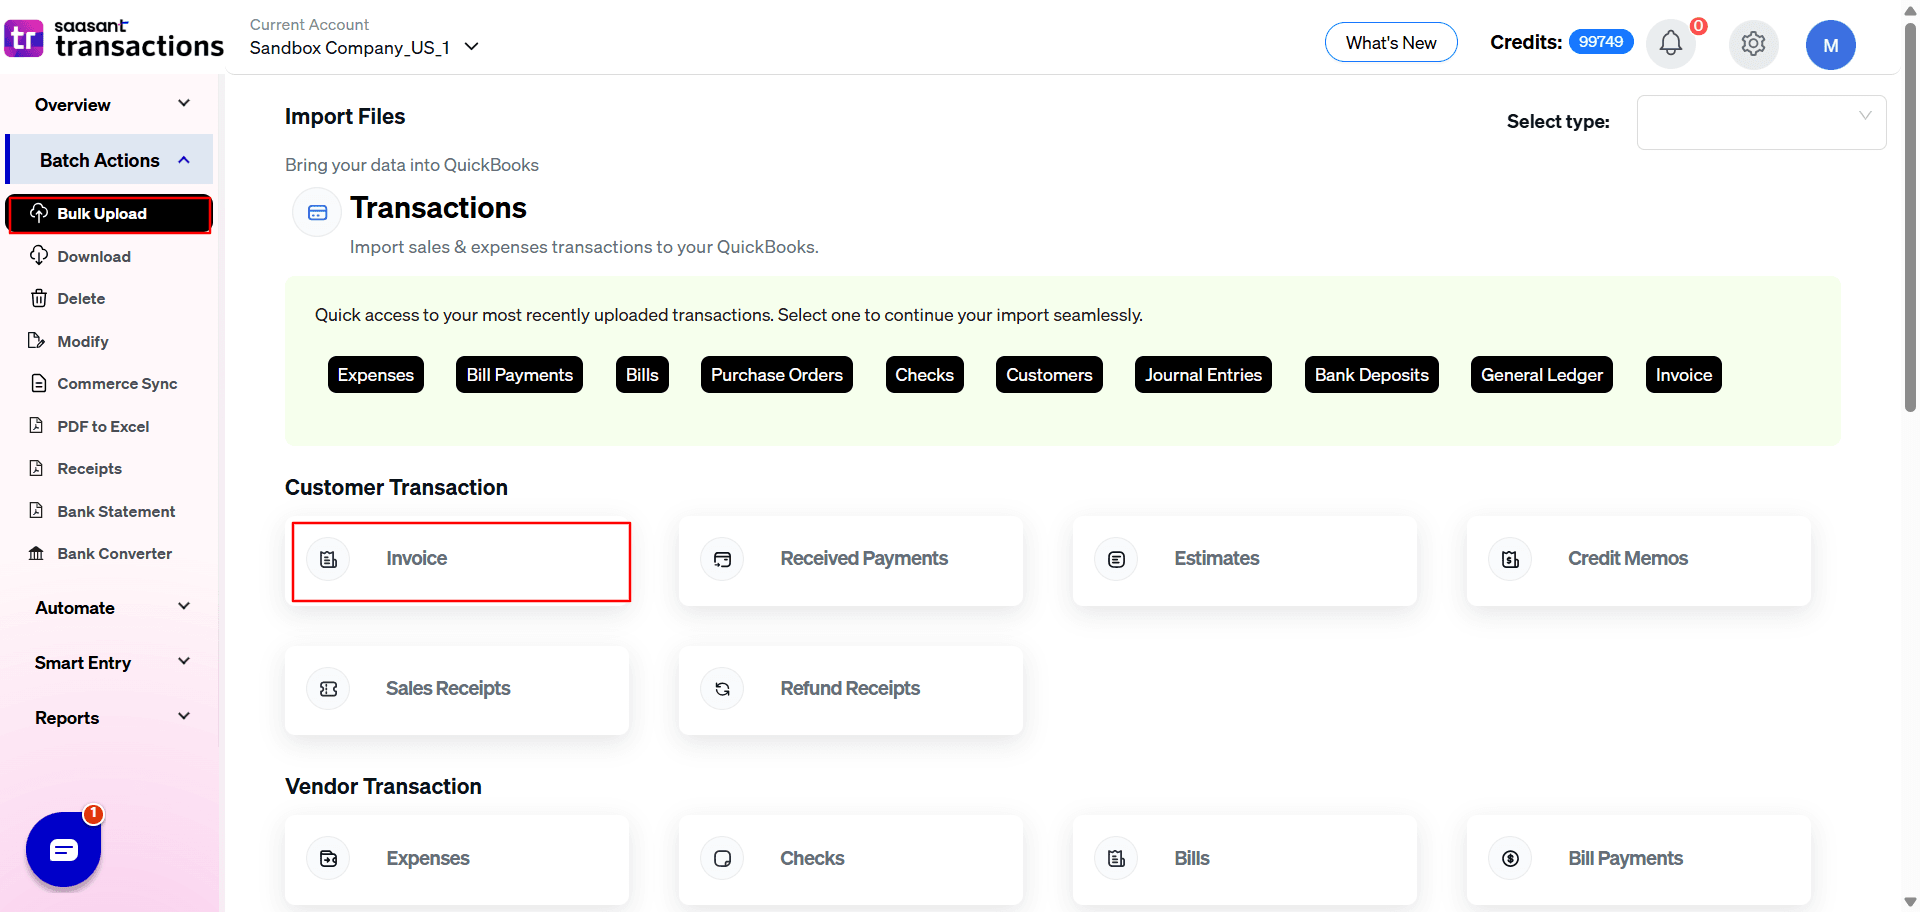
Step 2: Select the QuickBooks Entity
Click on the drop-down under Select QuickBooks Entity and select the respective transaction that you are trying to import. For example, Invoices, Bills, Journal Entries, etc.
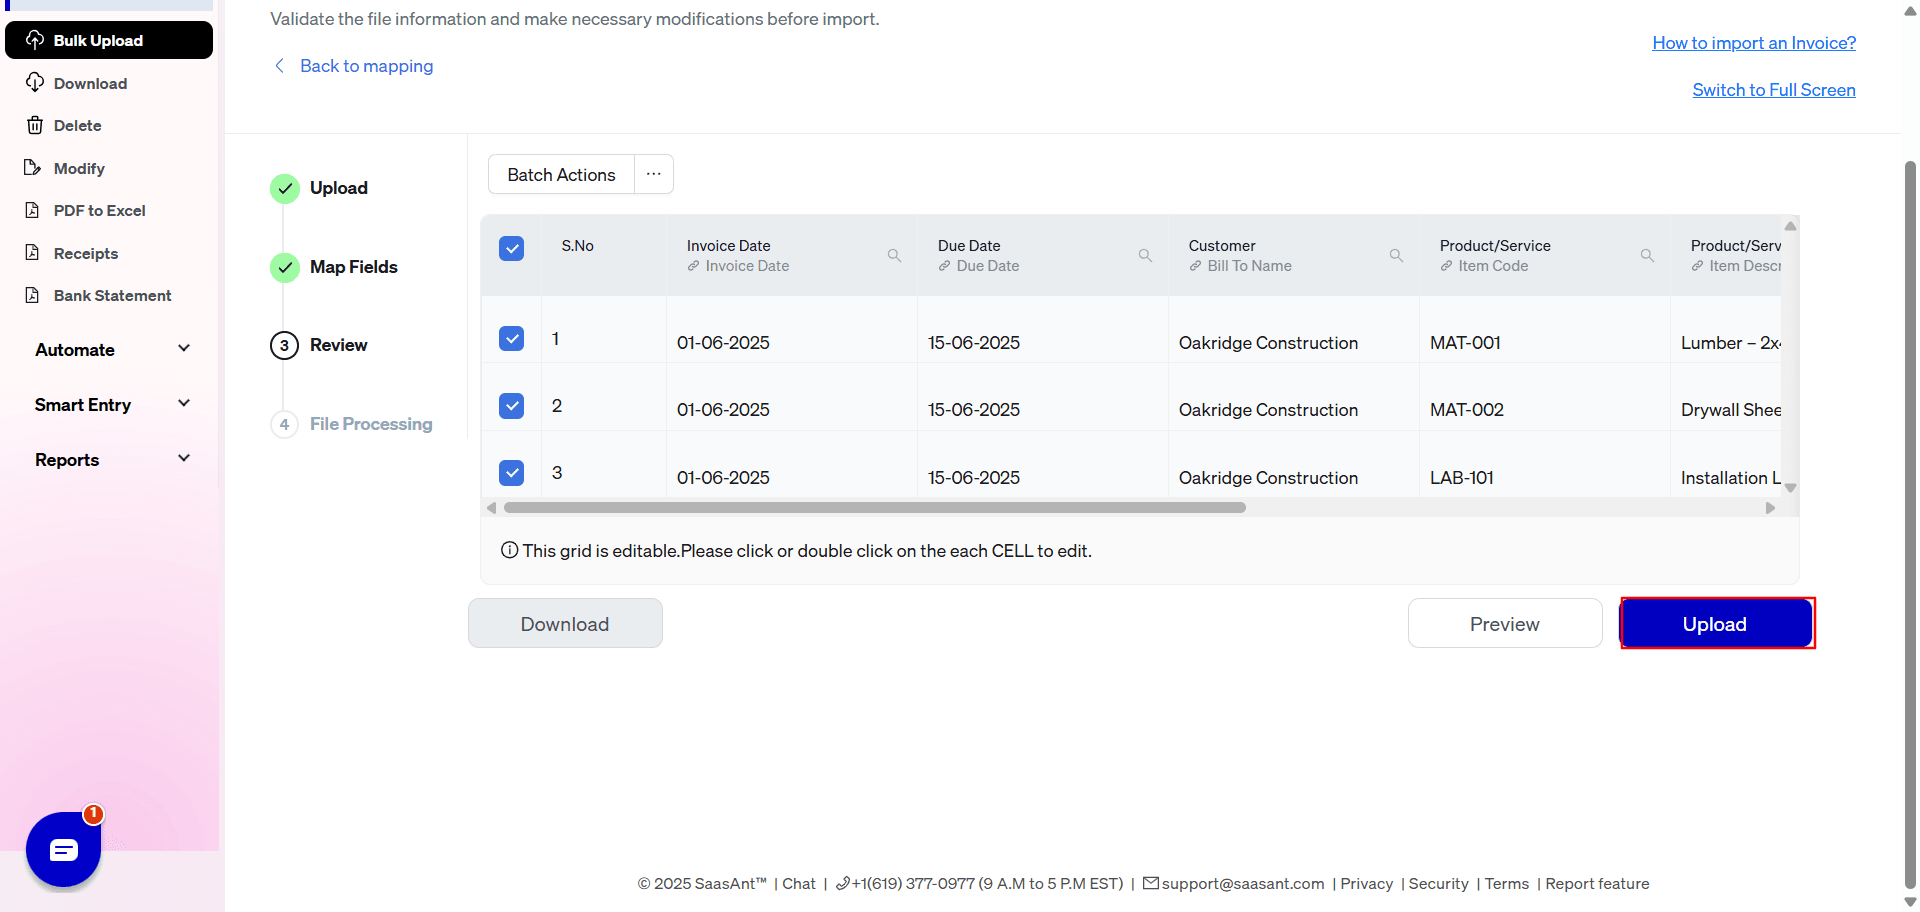
Step 3: Choose the File header & QuickBooks Field in the Mapping screen
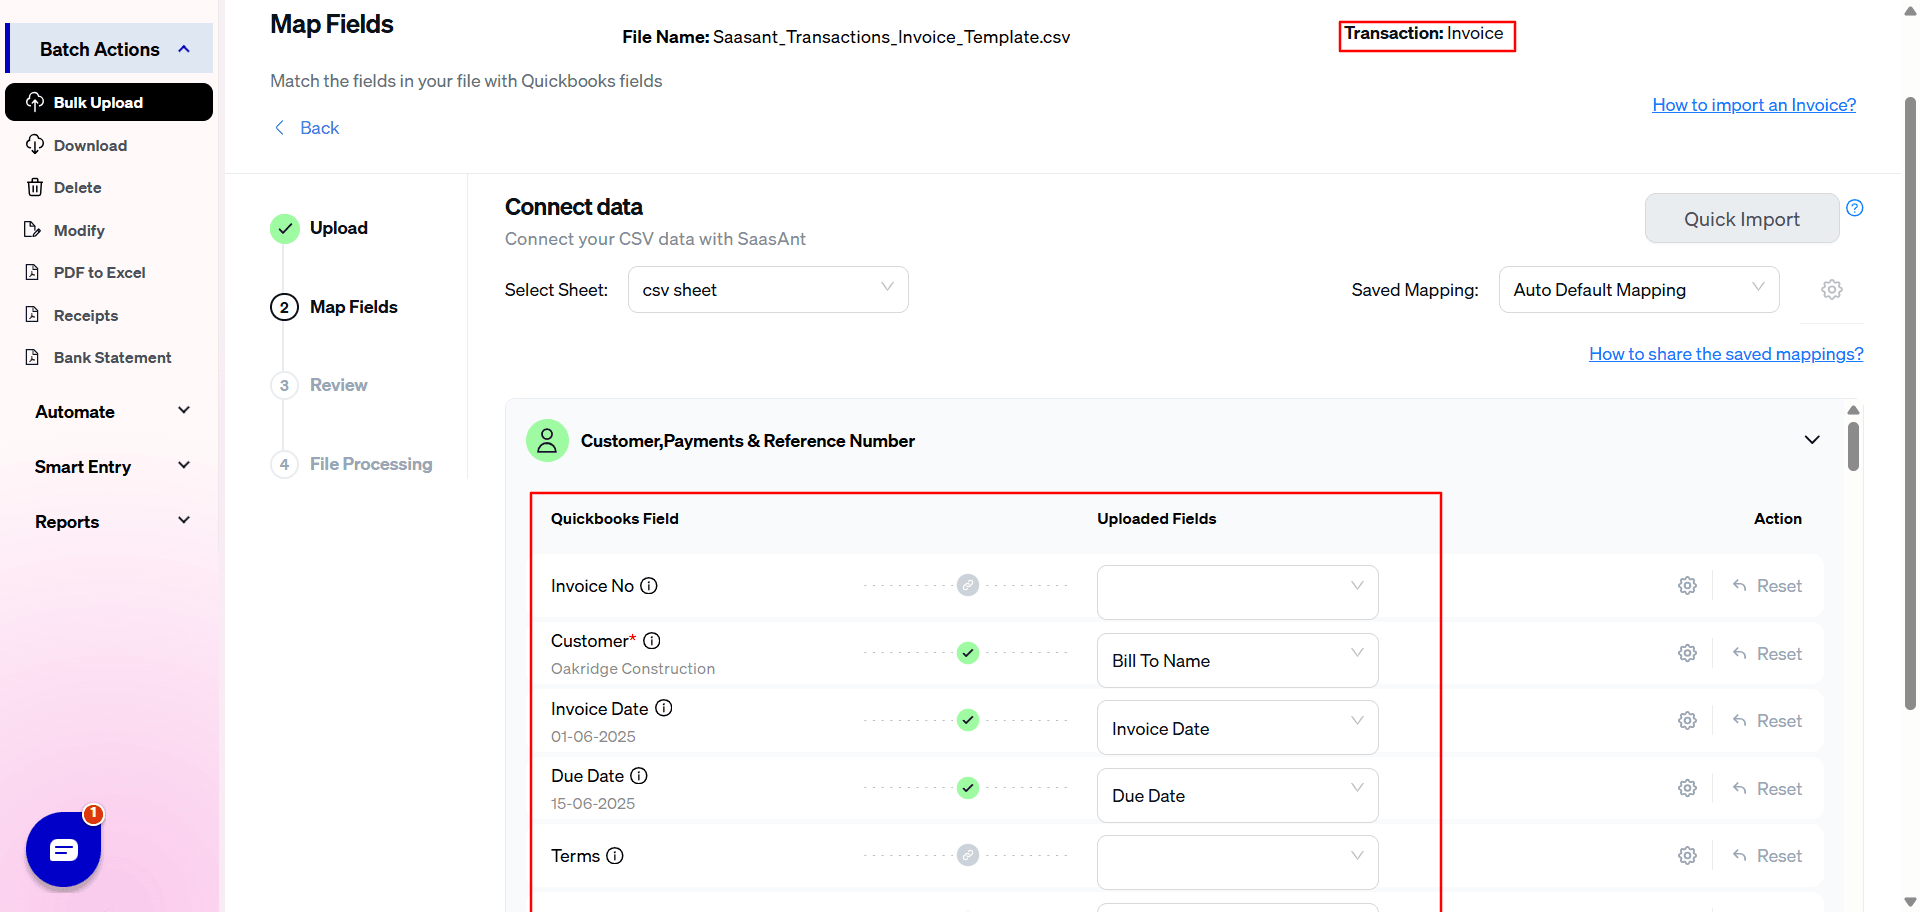
Please click on the drop-down and select the File header for the respective QuickBooks field in the mapping screen. And once you are done with the mapping, please click on Import to QuickBooks at the bottom right corner of the screen.
Learn more about the mappings.
Step 4:To check the imported transaction in your QuickBooks
After the successful import, please click on Show Results. It will show you the total number of success and error records that you have imported recently. Please click on the QuickBooks response ID to open that particular transaction in your QuickBooks.
Learn more about the import settings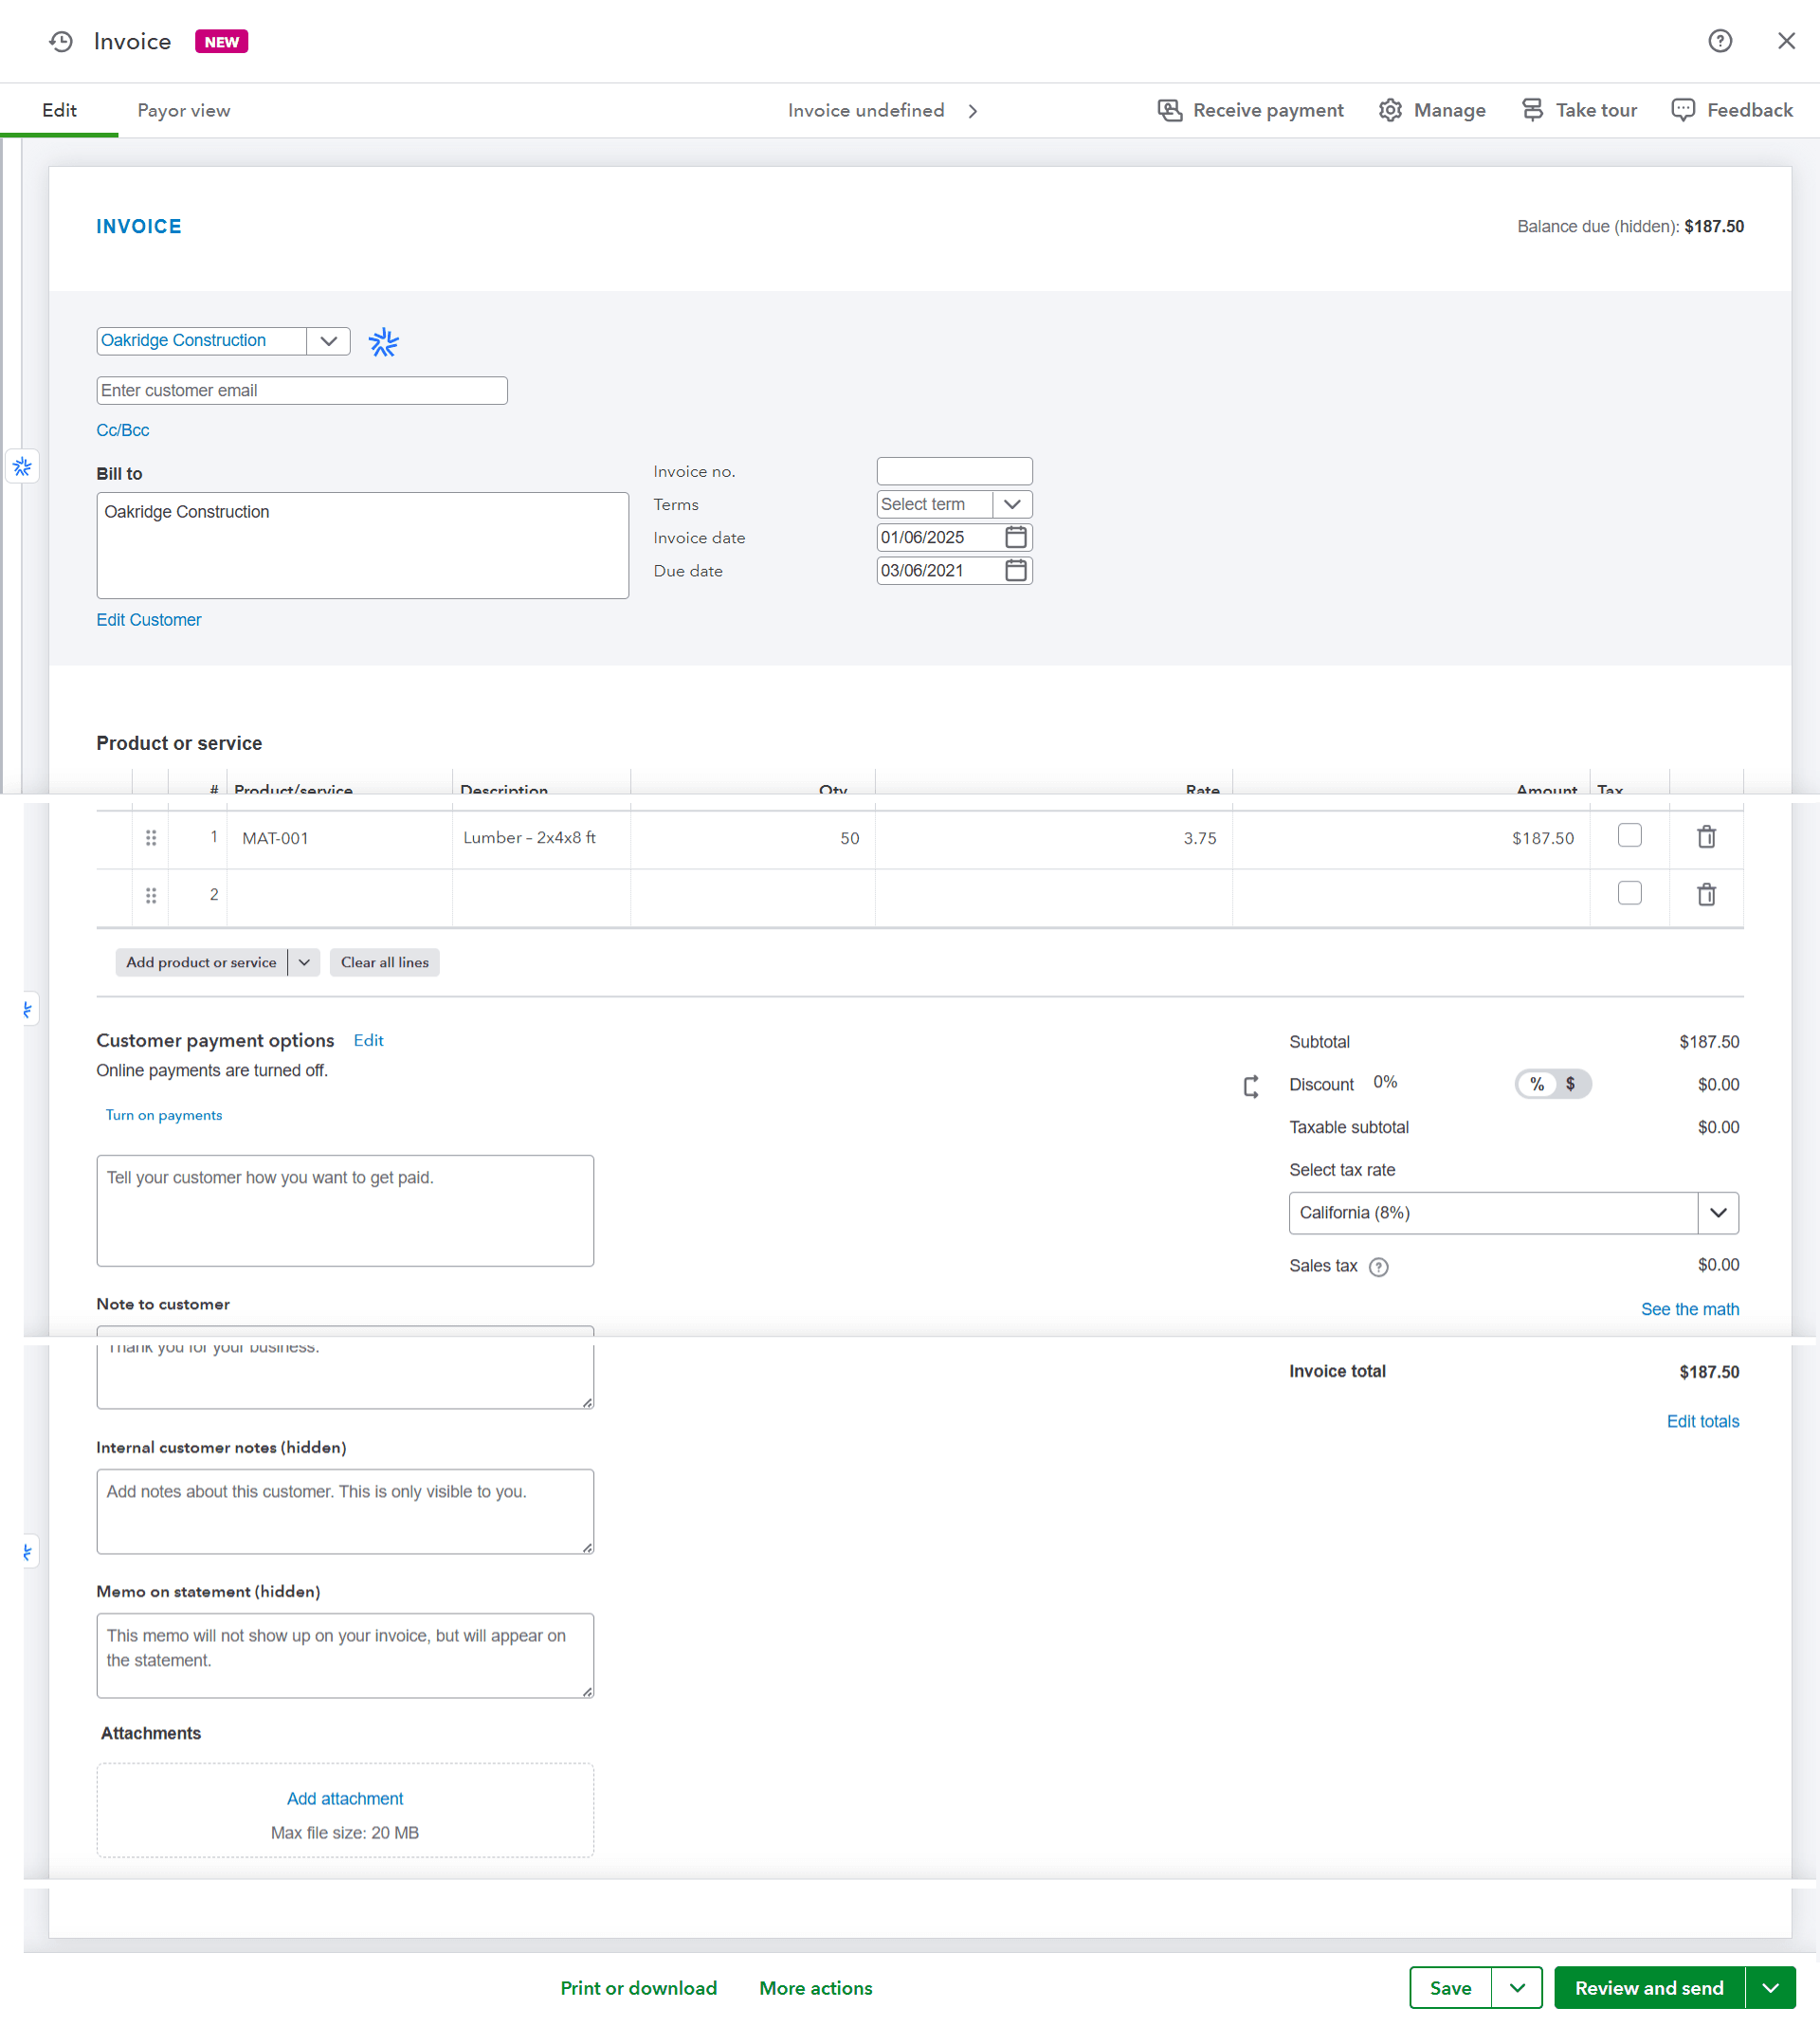
FAQs
What file types does SaasAnt Transactions Online support for QuickBooks Online imports?
For almost all entities in QuickBooks Online, SaasAnt Transactions Online supports XLS, XLSX, XLSM, CSV, TXT, Google Sheets, and IIF. Additionally, PDF, PNG, and JPEG are supported only for Receipts, Invoices, Bank Statements, Checks, and Expenses.
Video tutorial: