Import the transactions into QuickBooks Online using SaasAnt Transactions (Online)
August 19, 2025
Learn how to import your transactions using our app SaasAnt Transactions for Quickbooks Online into your Quickbooks.
SaasAnt Transaction Online lets you import your bulk data into your QuickBooks Online. This article will help you to see how our app is performing in importing data. Here are the steps on how you do it.
Video tutorial for Import CSV into QuickBooks Online using SaasAnt Transactions Online:
Video tutorial for Import Excel into QuickBooks Online using SaasAnt Transactions Online:
Steps to Import Transactions into QuickBooks Online Using SaasAnt Transactions Online
Step 1: Connect SaasAnt Transactions with your QuickBooks Online
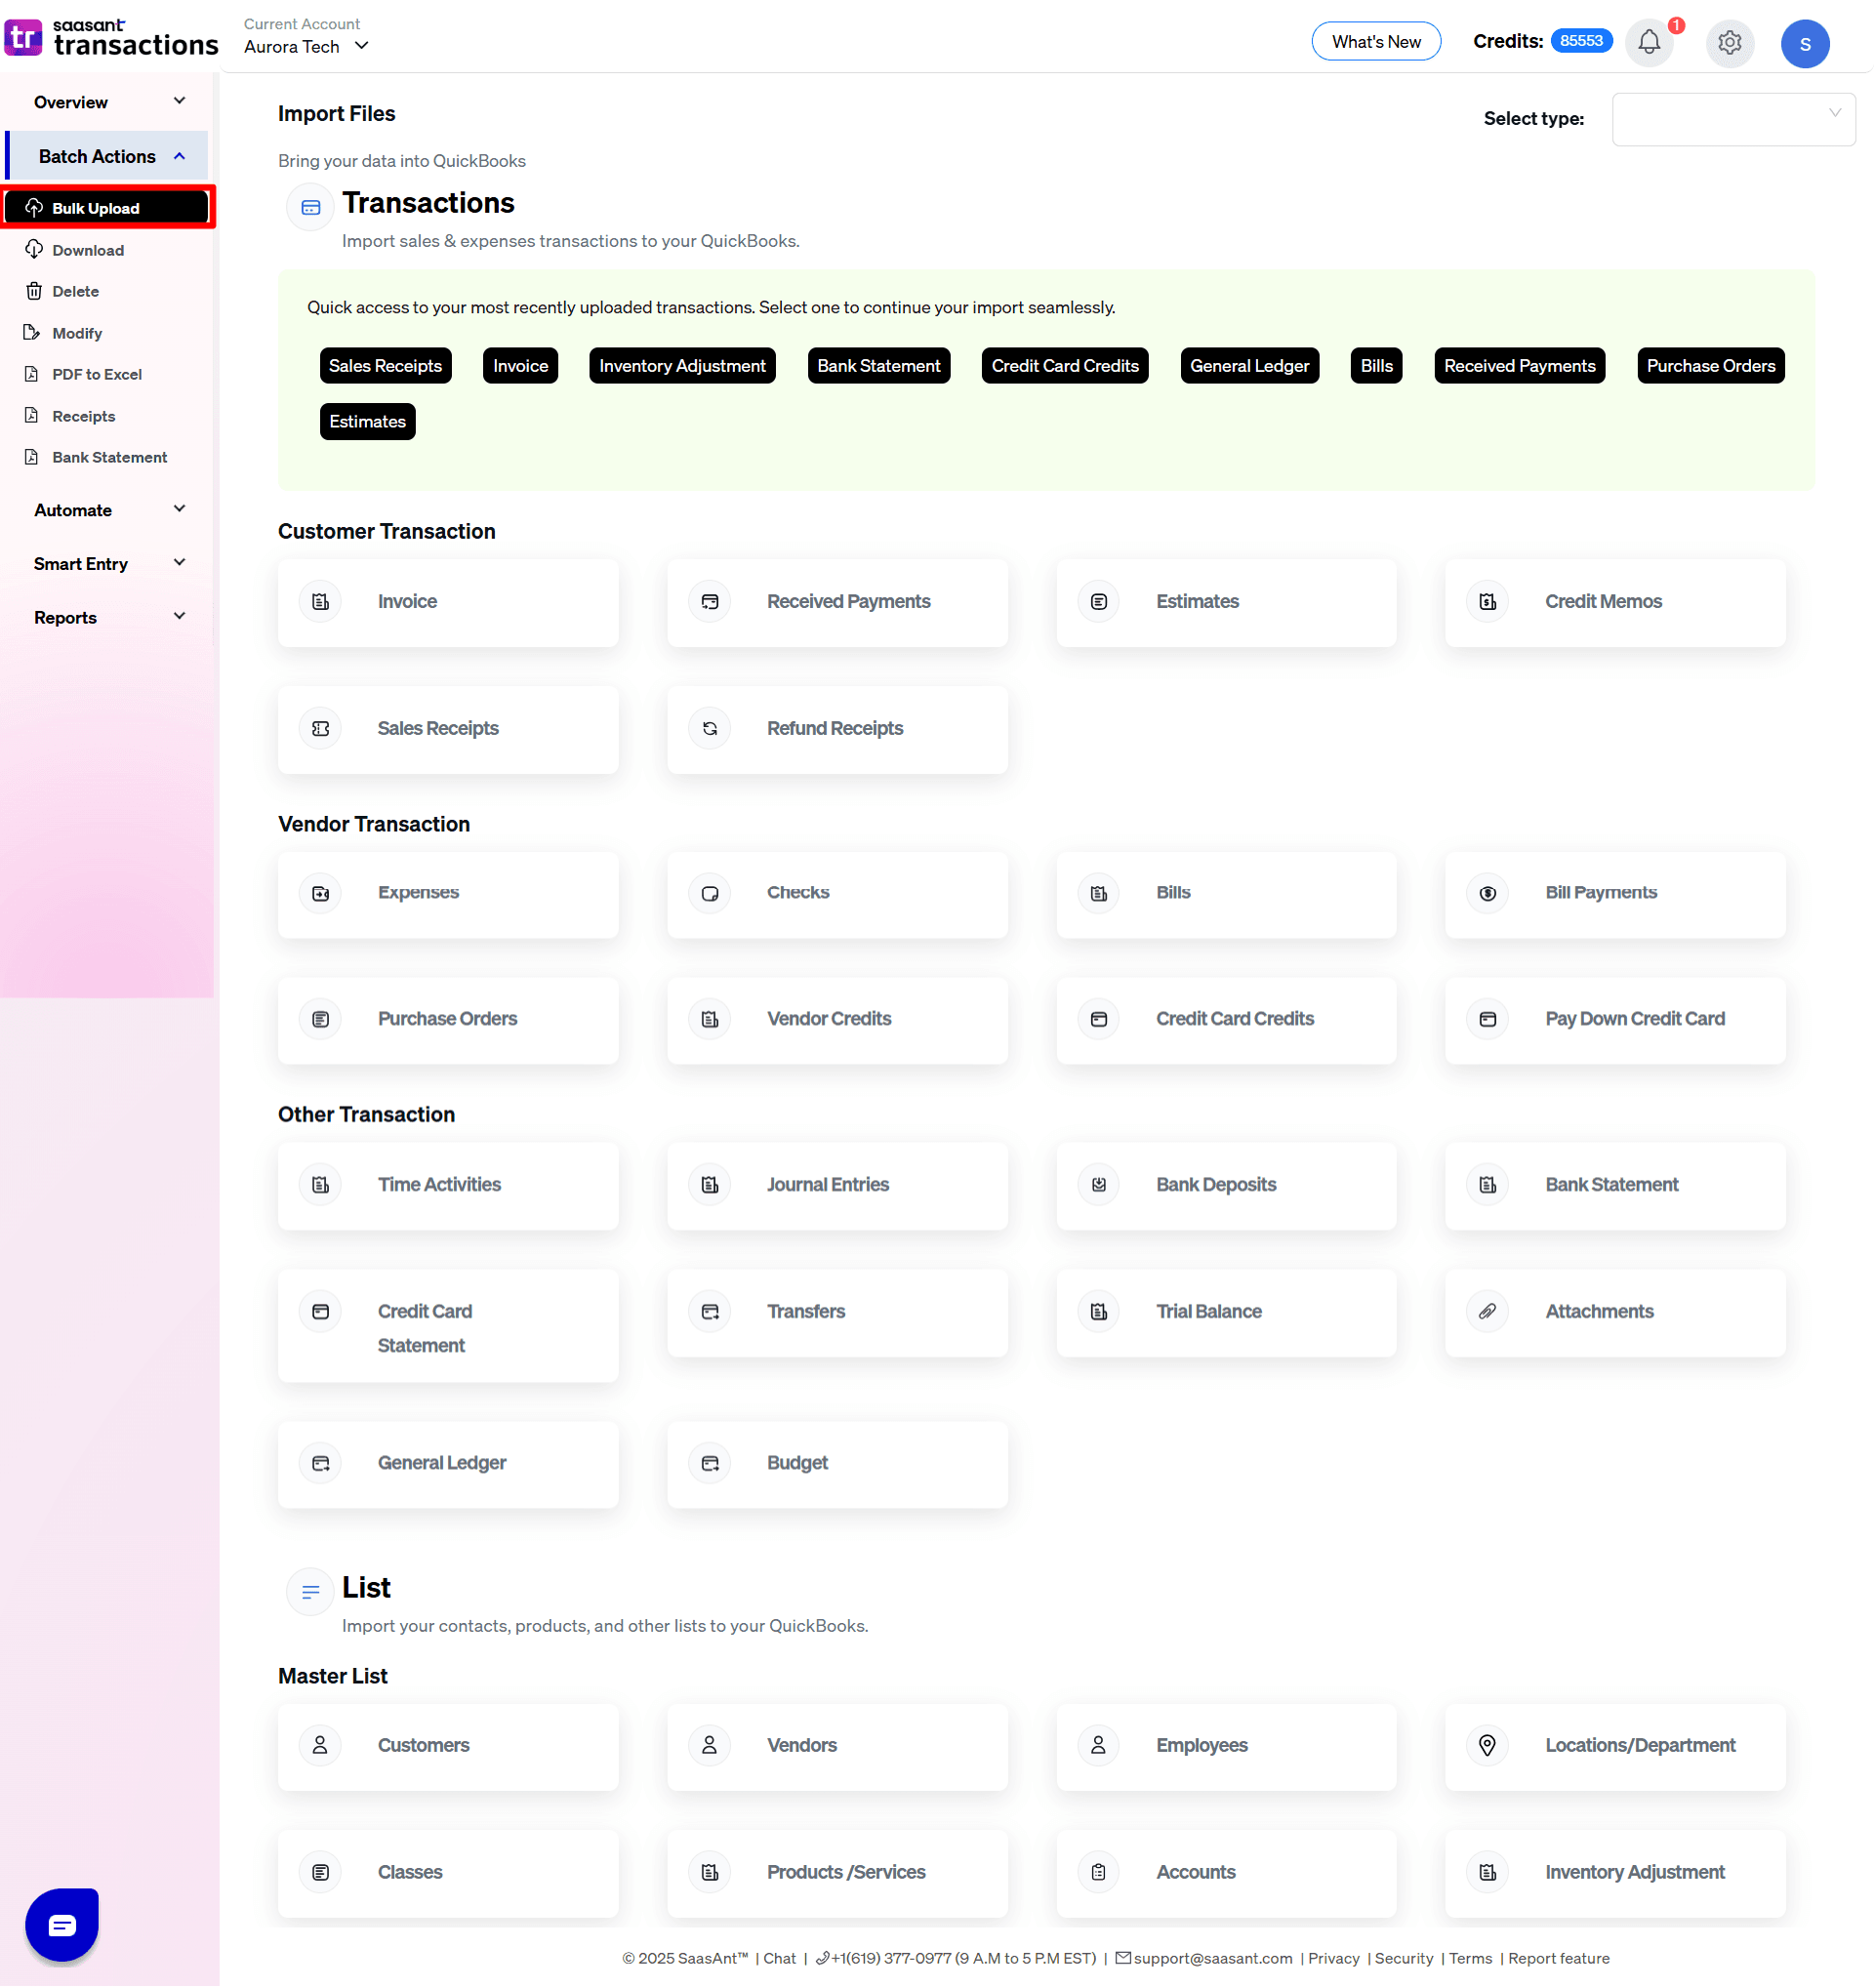
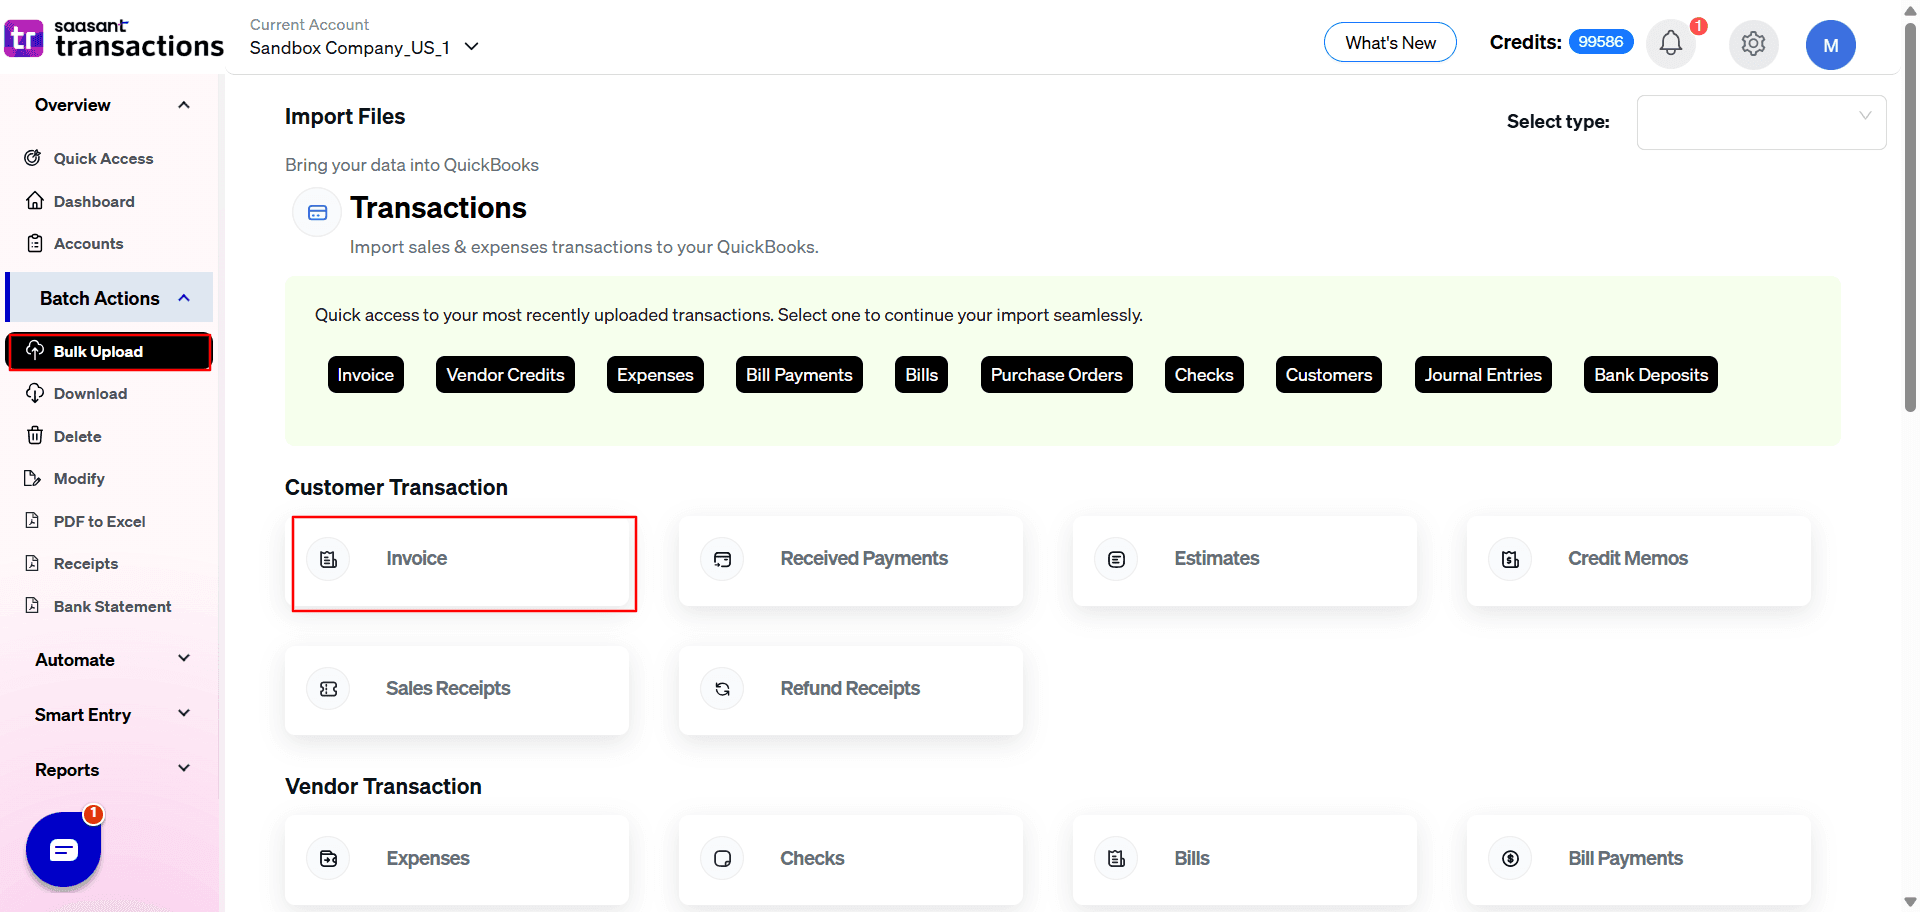
Step 2: Select the Bulk Upload and choose the transactions you want to import.
The example chosen here is "Invoices."
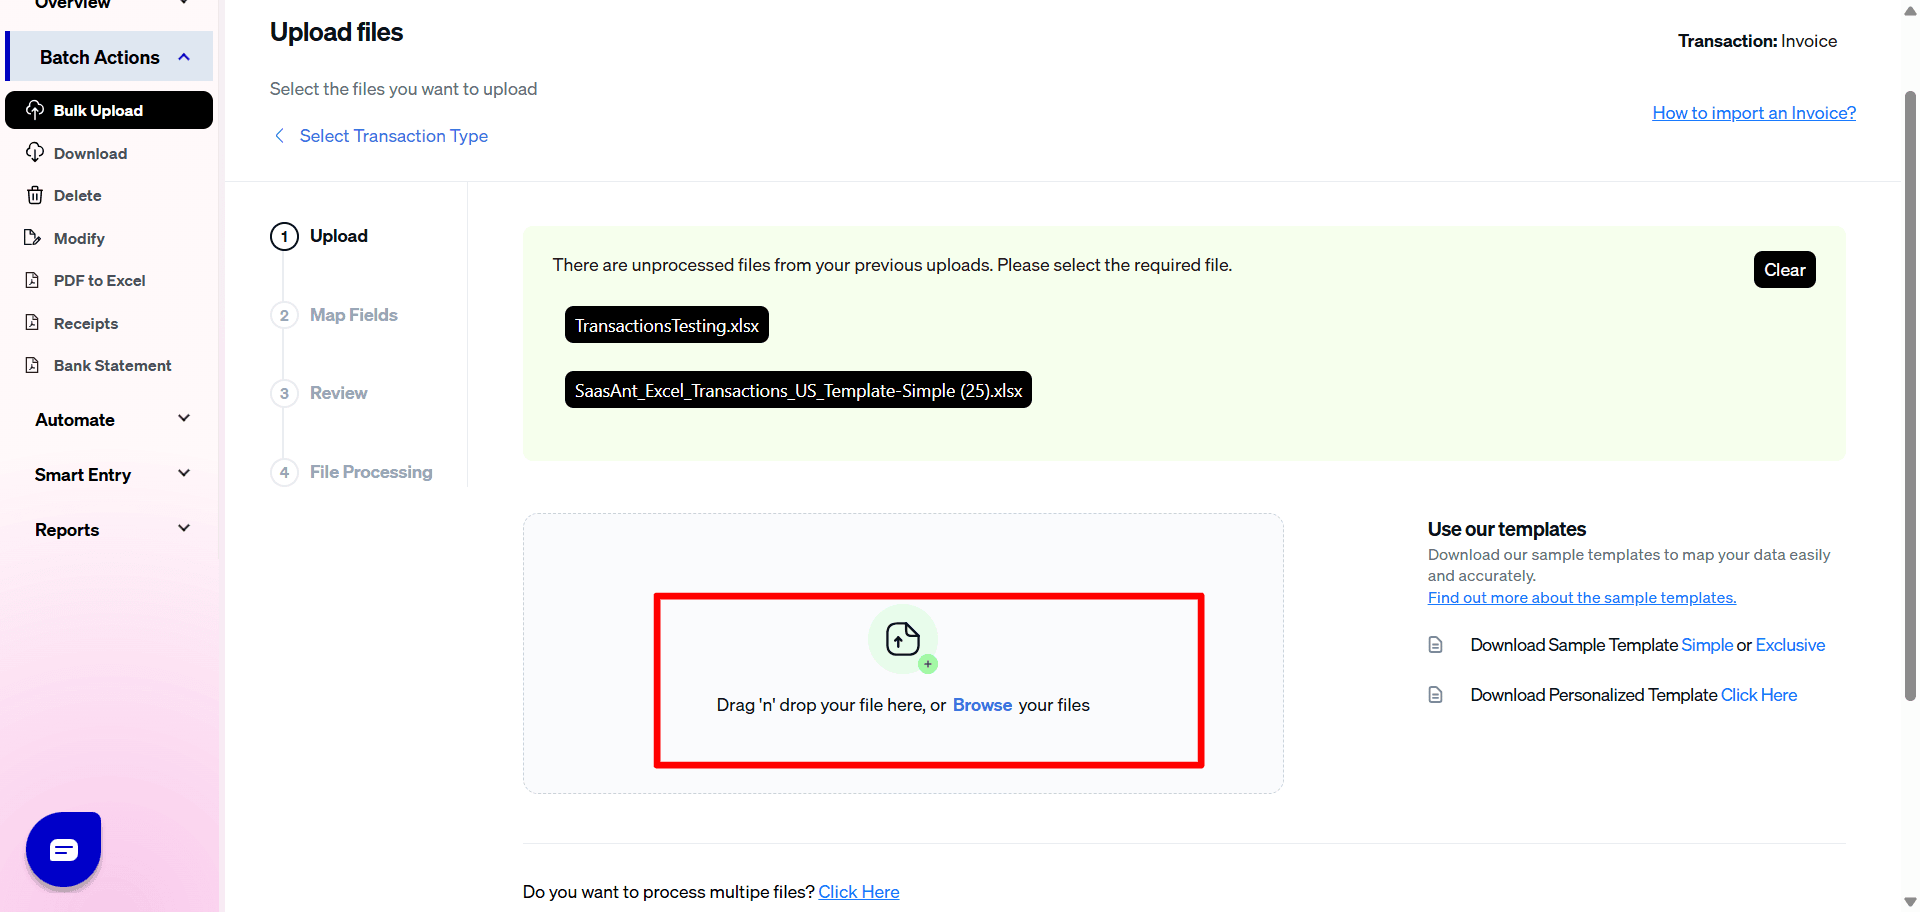
Step 3: Select the file to upload
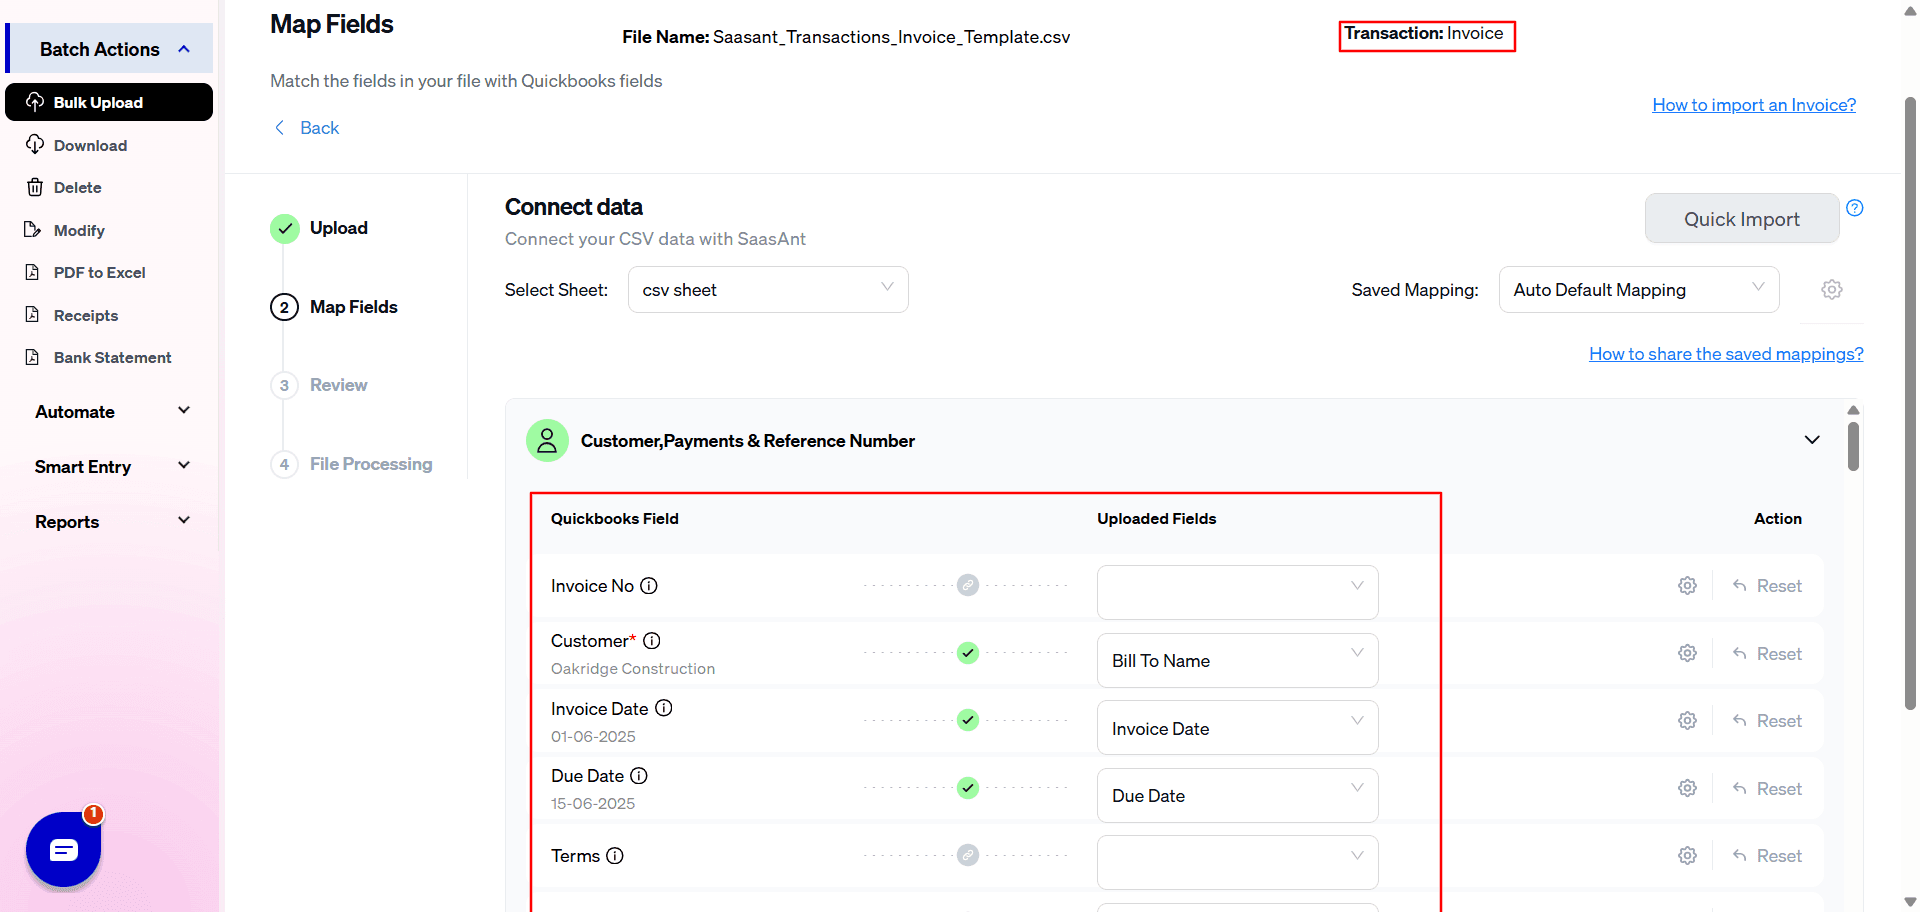
Step 4: Map the fields with your QuickBooks fields.
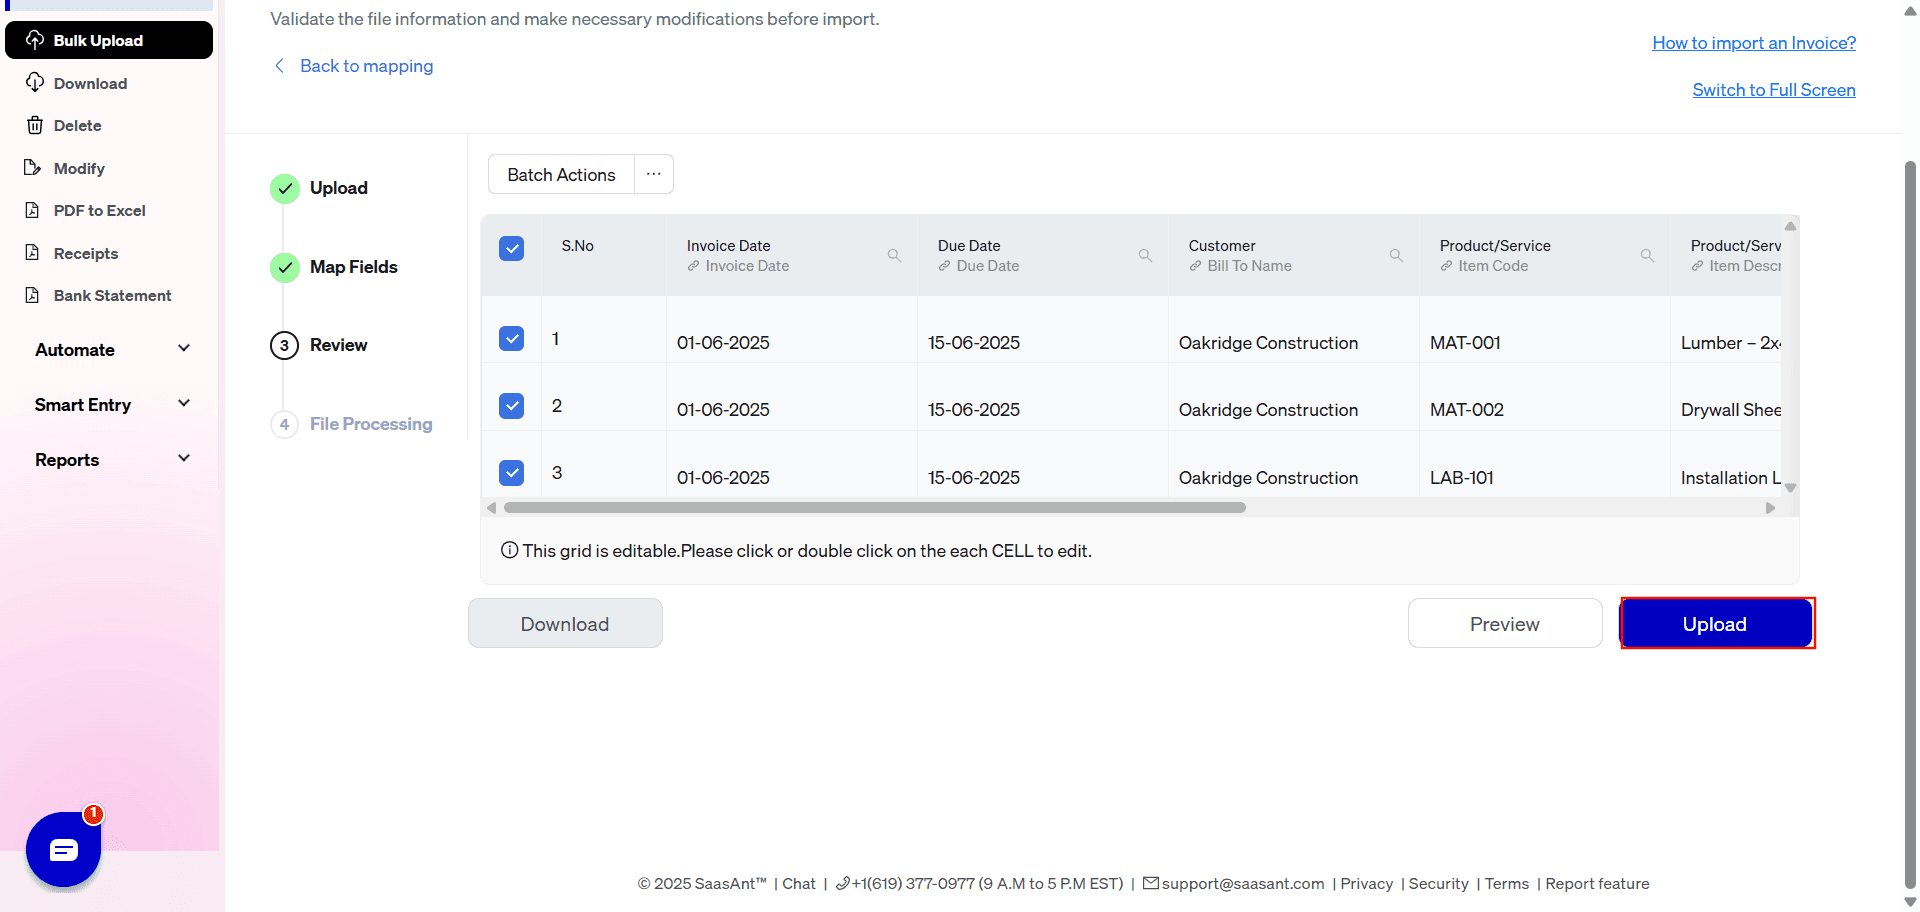
Step 4: Review data before import
Step 5: Upload the data
Step 6: Successful Upload Notification Displayed.
You will receive a notification to confirm the successful upload of your transactions that can be checked in your connected QuickBooks Online Account.