How to Connect or Add New QuickBooks Online Company to PayTraQer?
November 21, 2025
Connect or Add New QuickBooks Online Company to PayTraQer
This article explains how to:
Connect your first QuickBooks Online company to PayTraQer
Add an additional QuickBooks Online company to the same PayTraQer account
Check that the connection is working as expected
Use this if you are setting up PayTraQer for the first time or if you manage multiple QuickBooks companies for clients.
Video Tutorial for How to Set Up PayTraQer in QuickBooks Online for E-commerce Bookkeeping:
Before you start
Make sure you have:
An active QuickBooks Online subscription
QuickBooks Online login with Company Admin or Master Admin access
At least one supported payment or e-commerce account that you plan to connect later
(for example Stripe, PayPal, Square, Shopify, Amazon, Etsy, etc.)
Note: You can connect multiple QuickBooks Online companies to the same PayTraQer login. Each company will have its own settings and sync history.
Connect your first QuickBooks Online company from the QuickBooks App Store
Sign in to QuickBooks Online
Log in to the QuickBooks Online company you want to connect.Open the QuickBooks App Store
In QuickBooks, go to Apps
Click Find Apps
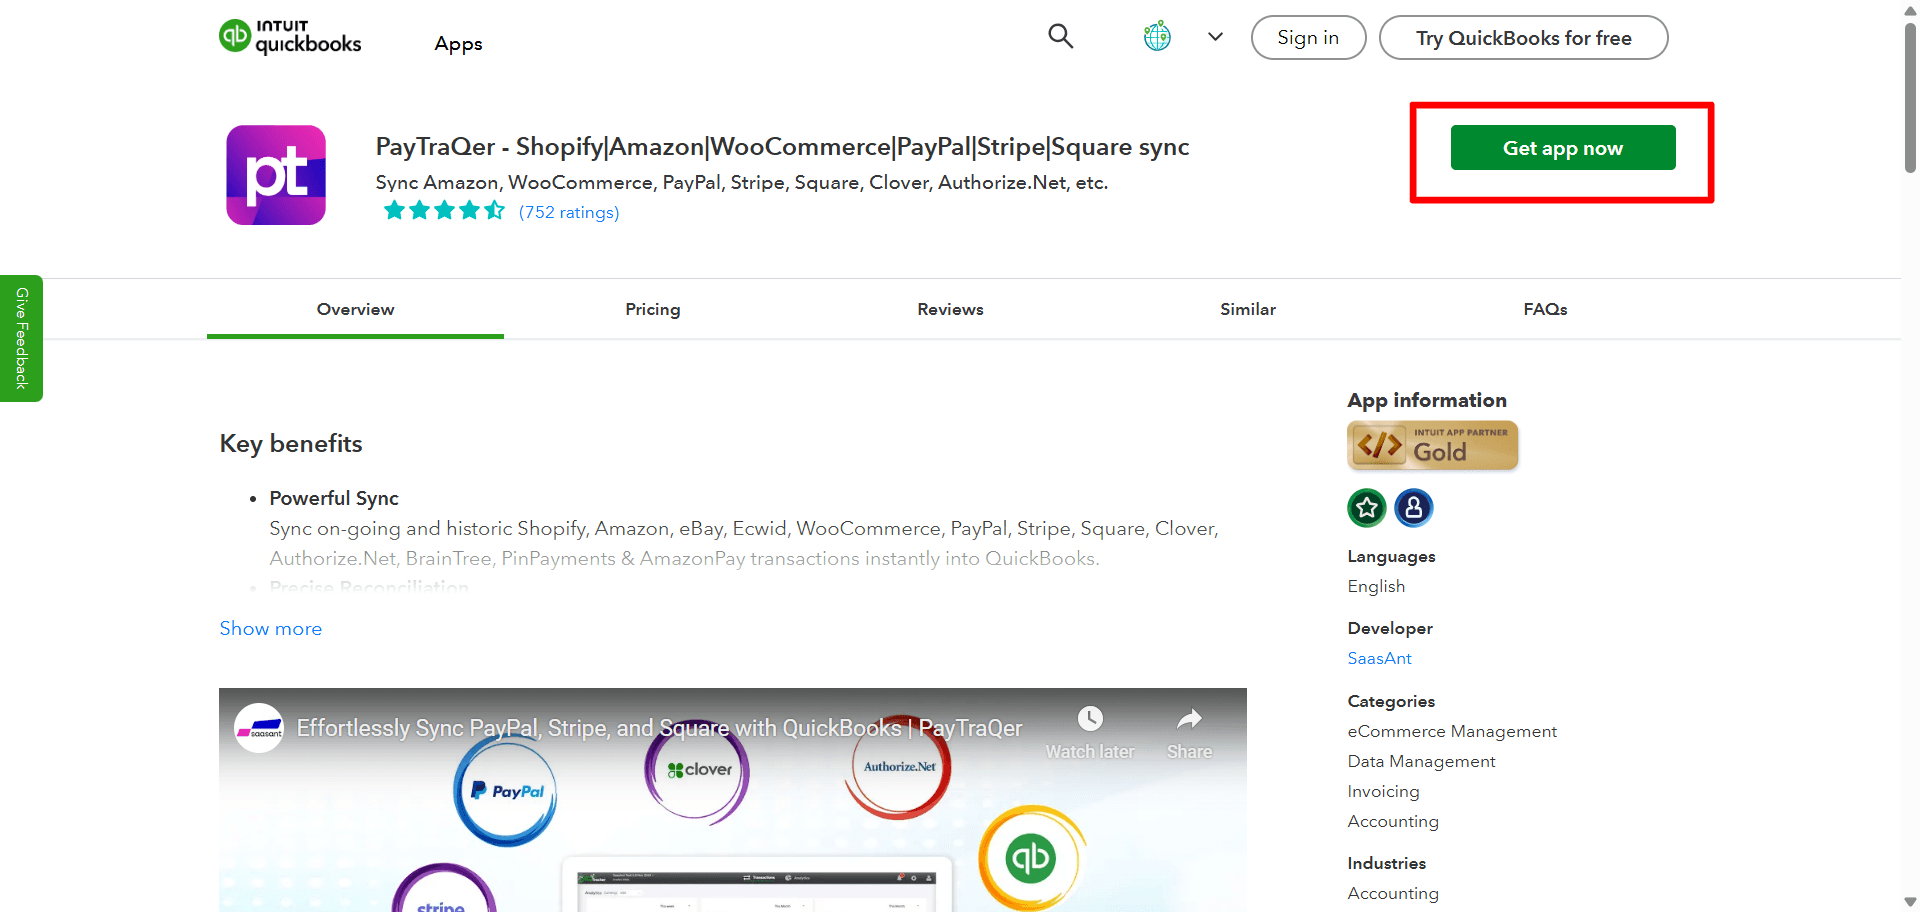
Search for PayTraQer
In the search bar, type “PayTraQer”
Select PayTraQer from the results
Start the connection
Click Get app now
Confirm the QuickBooks company you want to connect if prompted
Authorize PayTraQer to access QuickBooks
A QuickBooks authorization window will appear
Review the permissions
Click Connect to allow PayTraQer to read and create transactions in your QuickBooks company
Create or sign in to your PayTraQer account
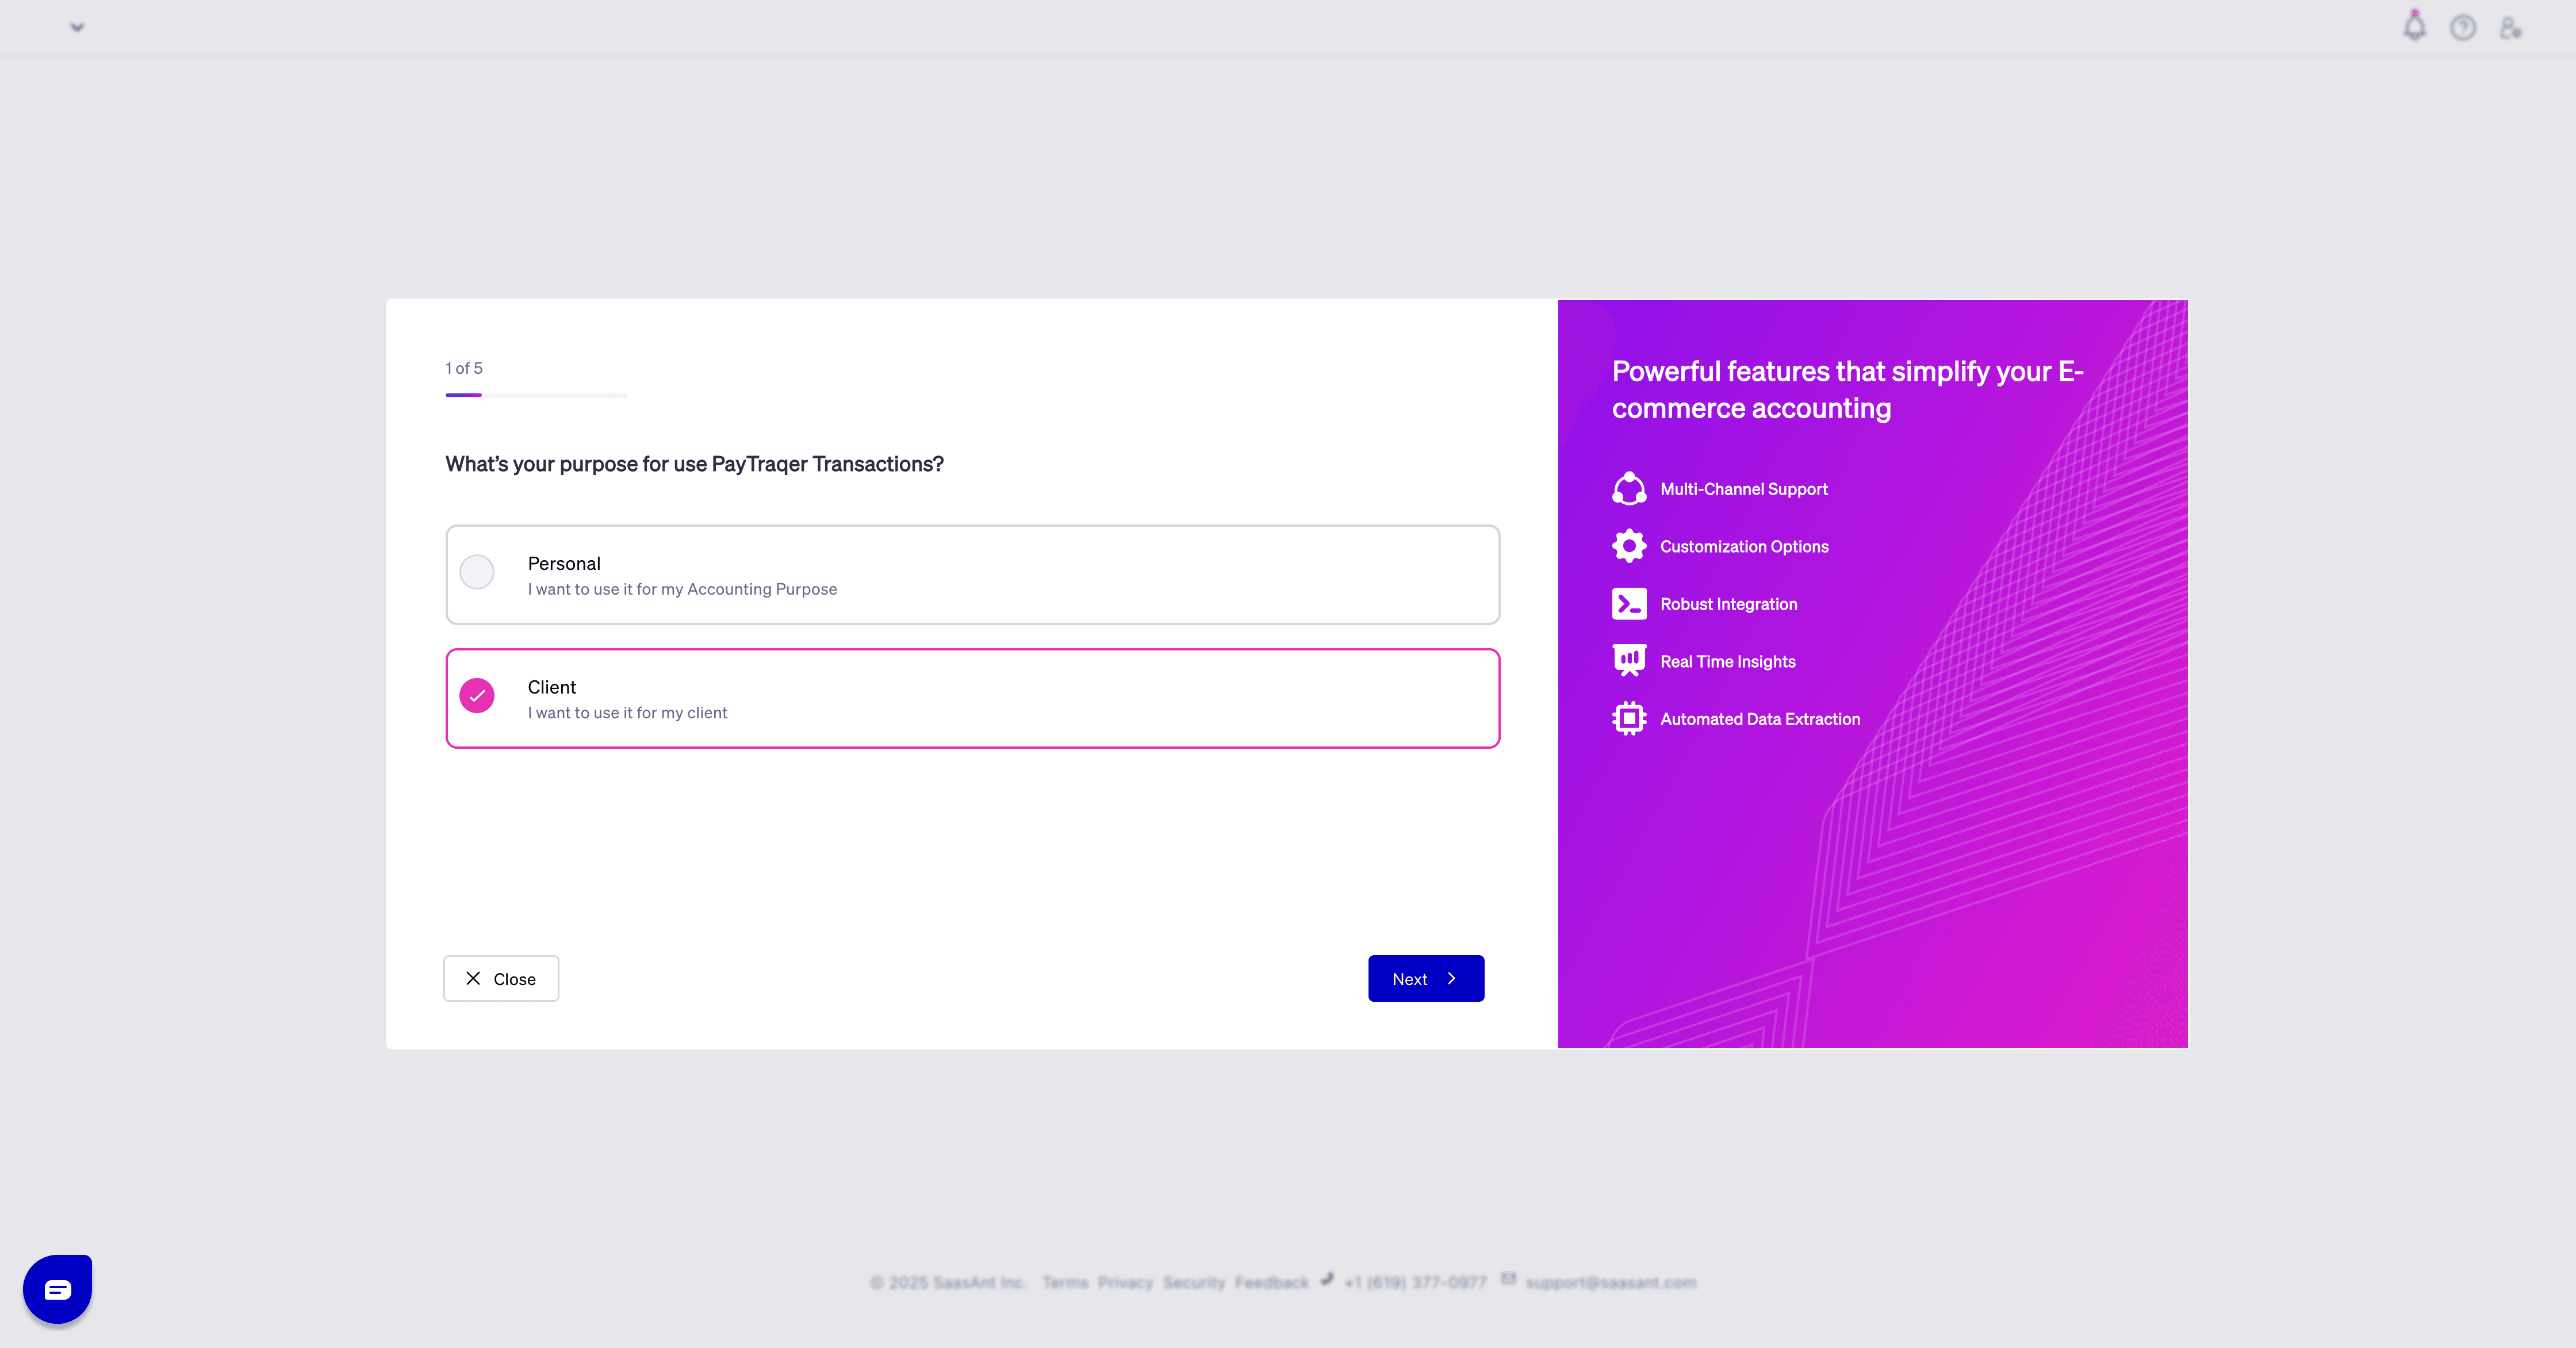
If you are a new user, complete the simple sign-up flow
If you already have a SaasAnt / PayTraQer login, sign in with your existing credentials
Confirm success and continue to setup
After authorization, you will be redirected to PayTraQer.
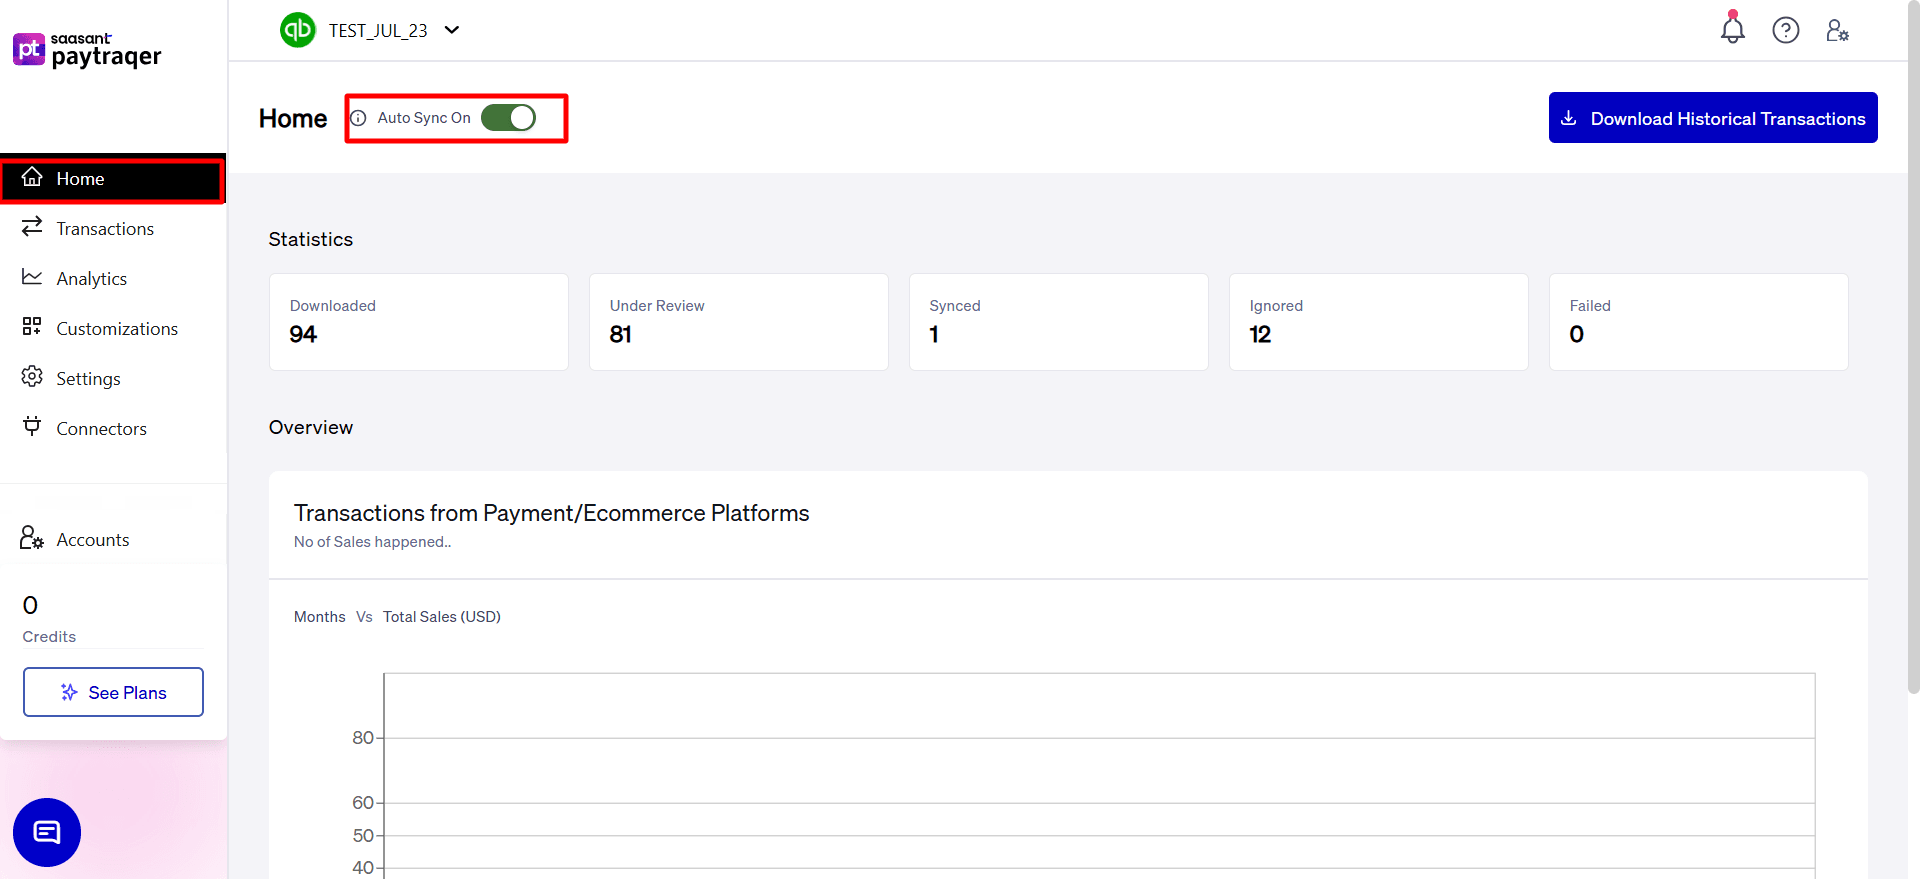
You should now see your QuickBooks company name at the top of the PayTraQer dashboard.
From here you can:
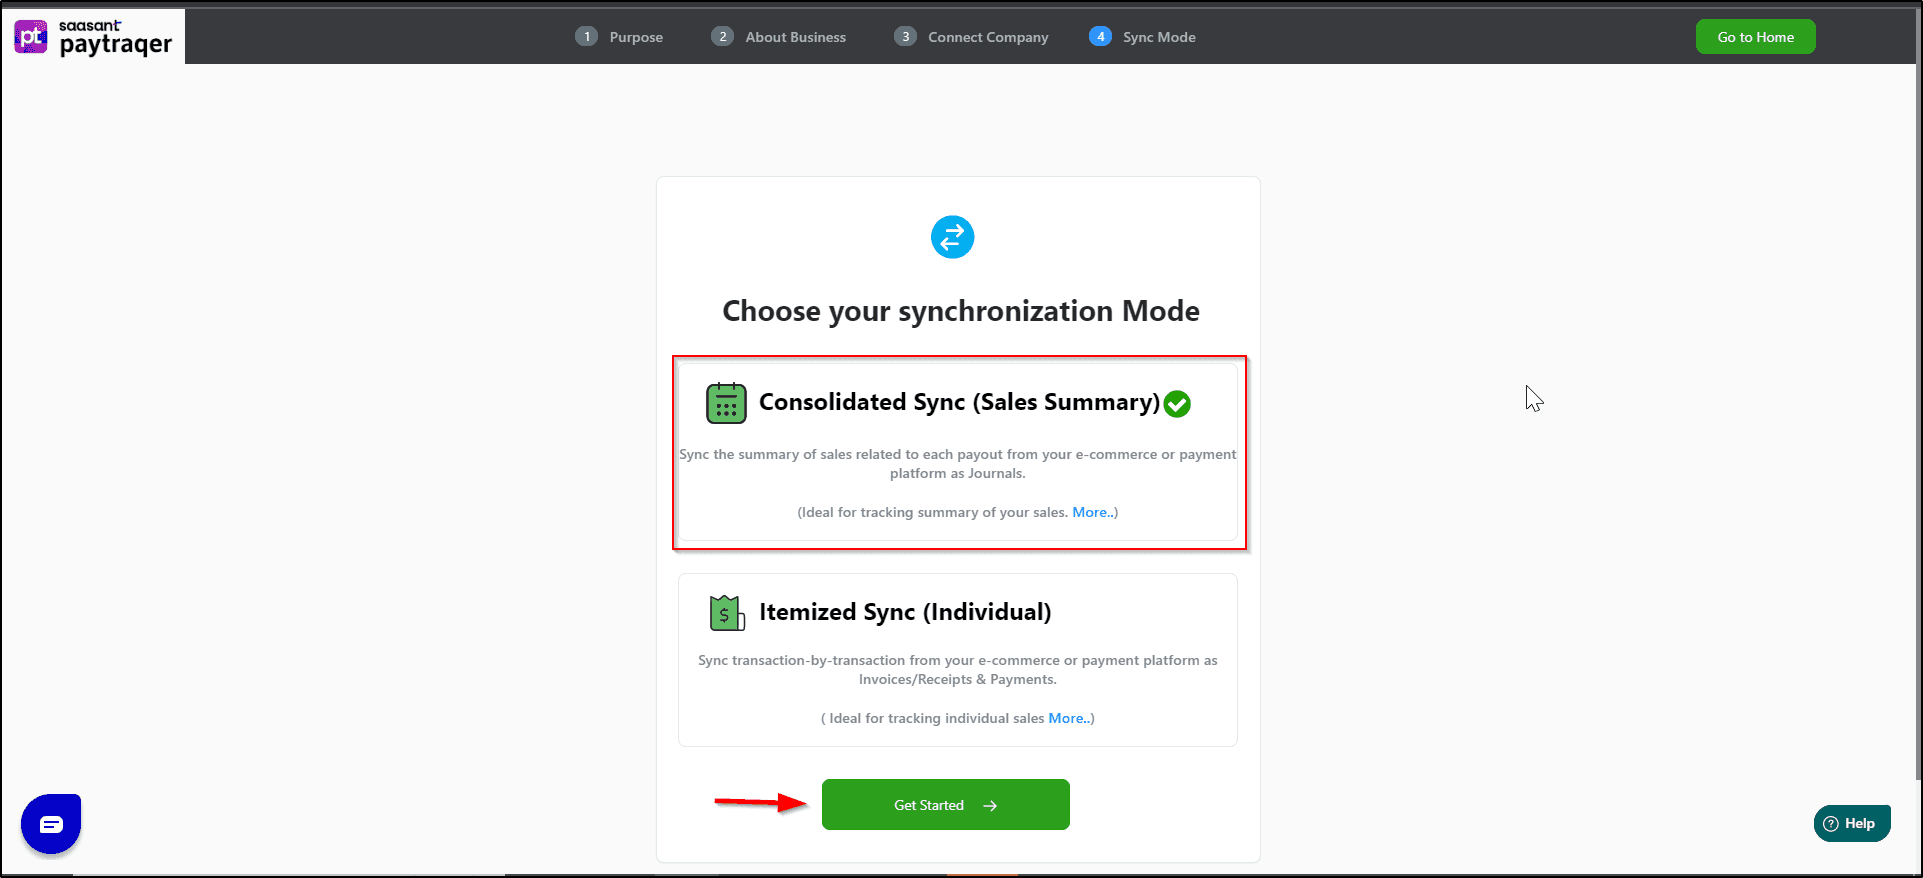
Choose your sync mode (Individual or Summary, depending on product)
Connect your payment or e-commerce channels
Configure Sales, Products, Tax, Fees, Expenses, and Payout settings
Add another QuickBooks Online company to PayTraQer
If you manage more than one QuickBooks company (for example multiple clients), you can connect them one by one to the same PayTraQer login.
Sign in to PayTraQer
Go to PayTraQer and log in with your SaasAnt / PayTraQer credentials.Open the company switcher or add company option
In the top section of PayTraQer, look for your current QuickBooks company name.
There will be an option such as “Add New Company” or “Connect another company”.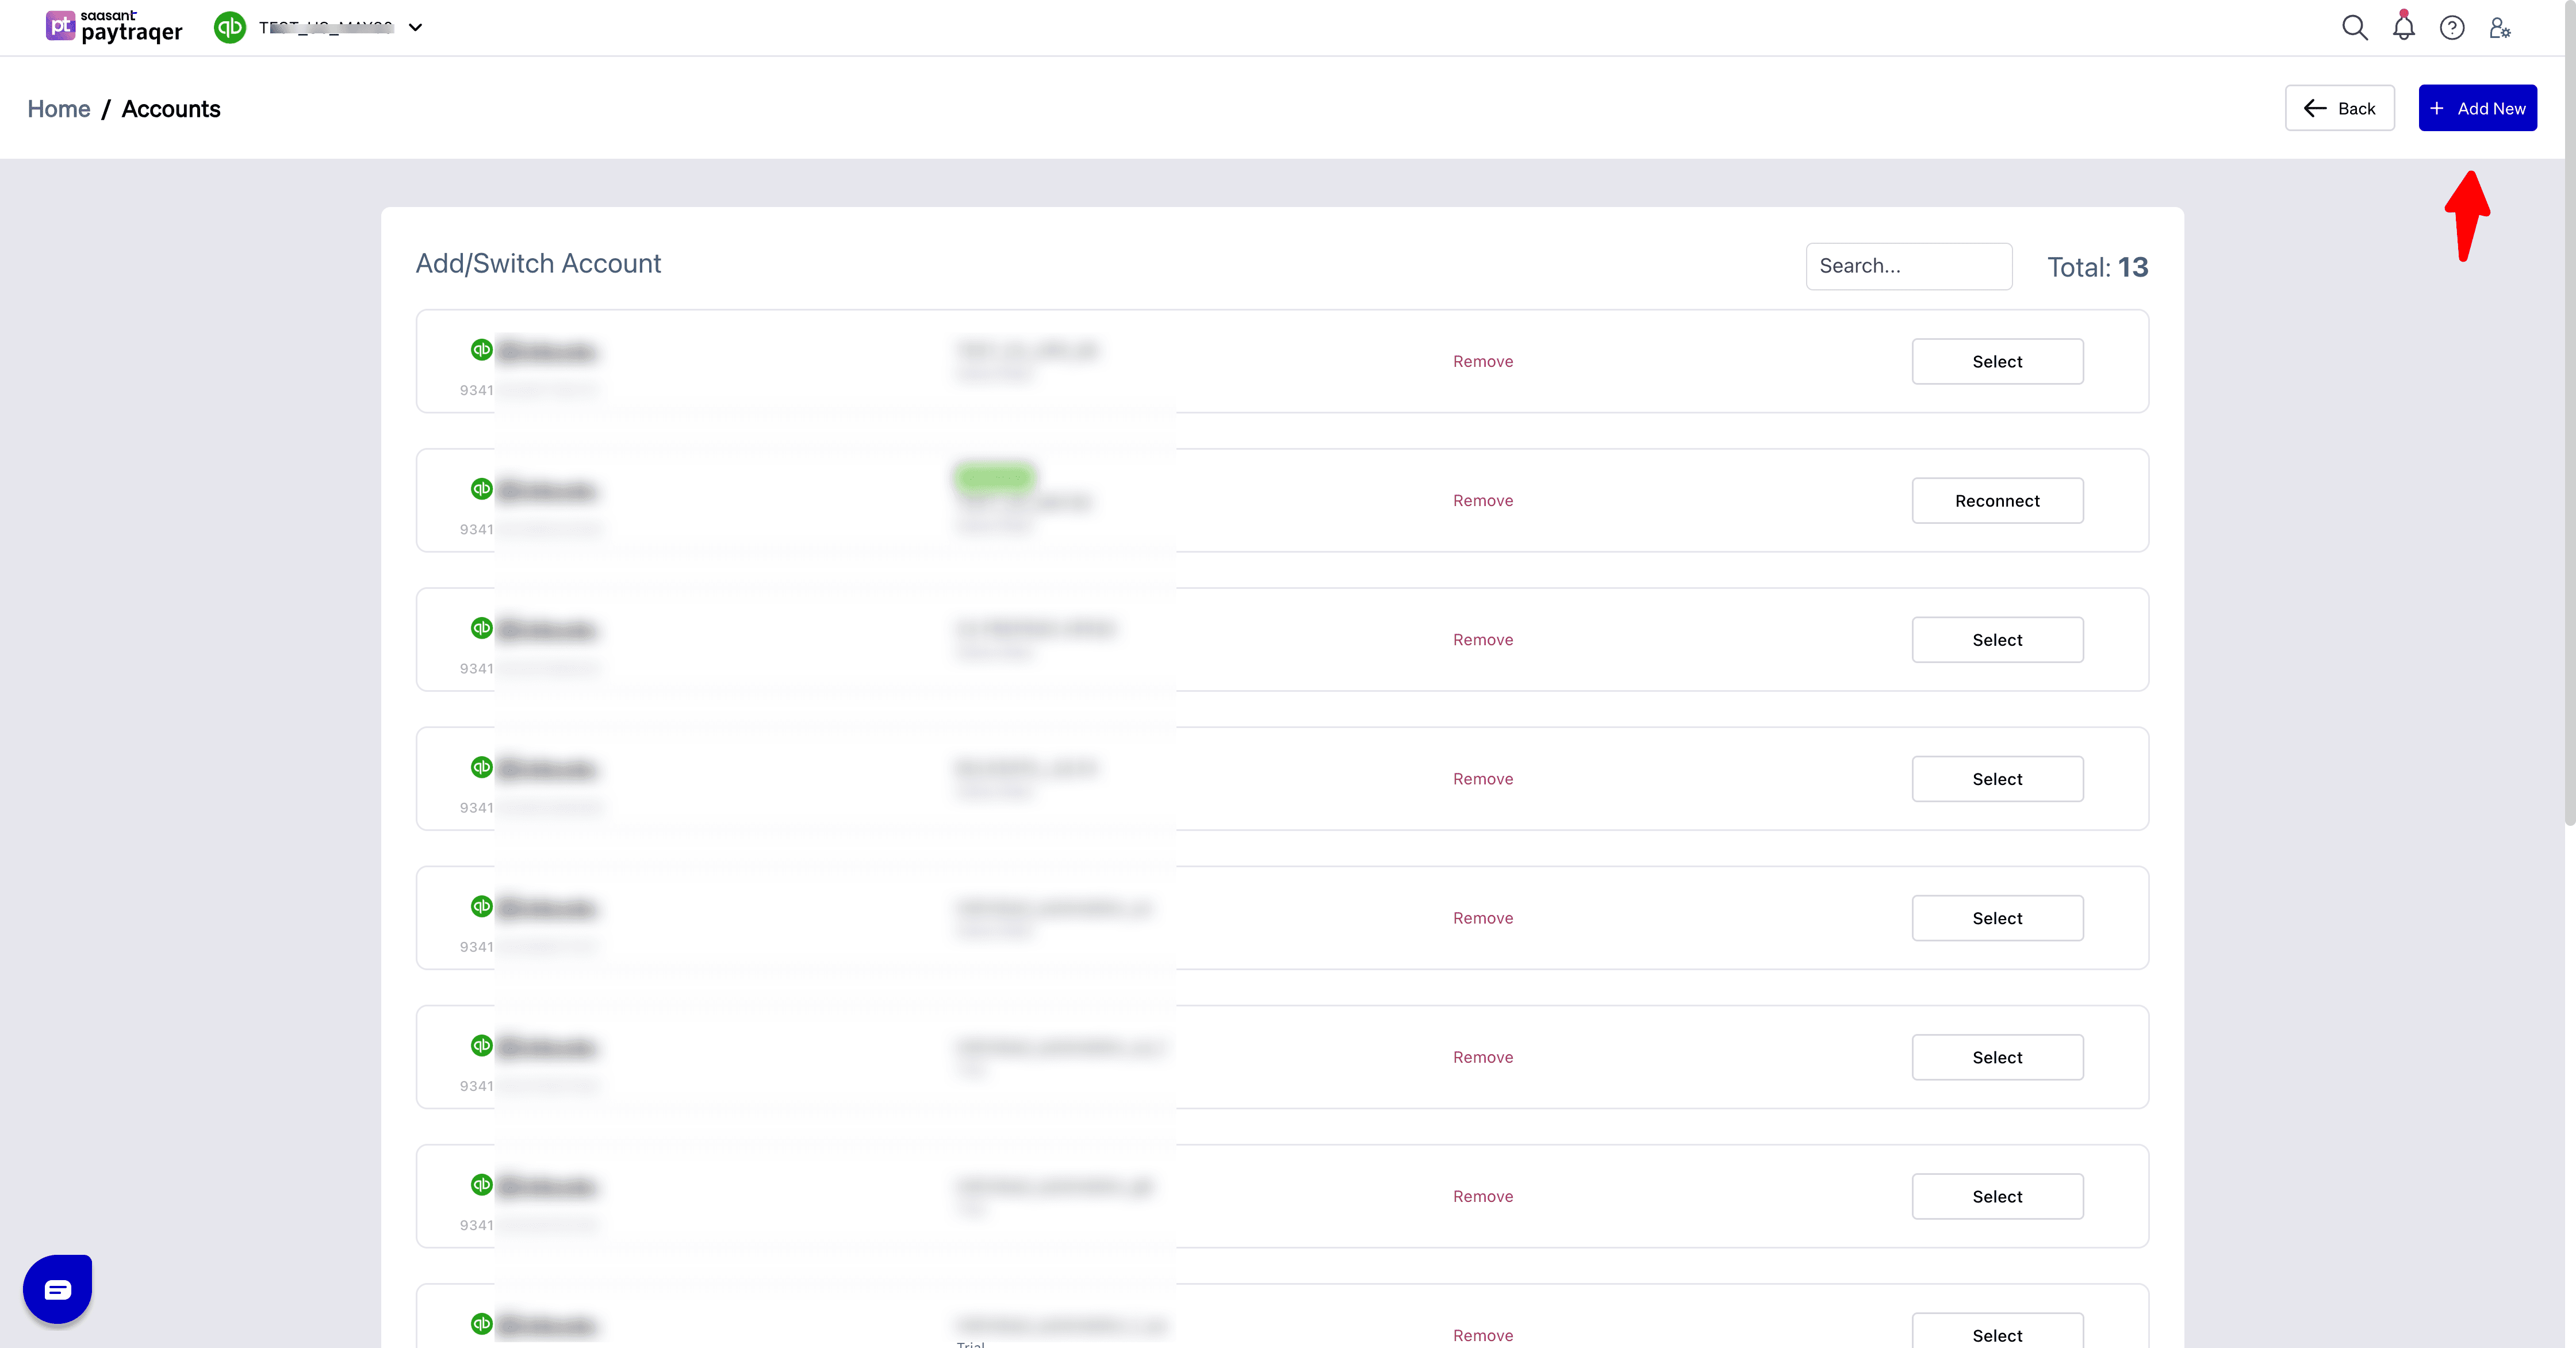
Start the connection for the new company
Click Add New Company (or similar)
You will be redirected to the QuickBooks authorization screen
Sign in to the second QuickBooks company
If you are already signed in to QuickBooks, confirm the new company you want to link
If prompted, log in and choose the correct company file
Authorize access
Click Connect to allow PayTraQer to access this new QuickBooks company
Once completed, PayTraQer will create a separate workspace for this company with its own settings
You can now switch between companies inside PayTraQer using the company selector at the top of the screen.
What happens after connecting
Once your QuickBooks company is connected:
PayTraQer will read your chart of accounts, tax codes, customers, and products so you can map them in settings
You can connect one or more payment or e-commerce channels to this company

You can download historical transactions and decide how far back you want to sync

You can turn on Auto Sync so new transactions flow into QuickBooks at regular intervals
If you manage multiple QuickBooks companies:
Each company keeps its own connectors, settings, and sync history
Changes you make in one company do not affect the others
Common issues and quick checks
1. I do not see the company I expect in PayTraQer
Confirm you connected the correct company when the QuickBooks authorization screen appeared
Log out of QuickBooks in your browser, log back in, and repeat the connection, being careful to select the right company file
2. I get a permission error when connecting
Make sure you are logged in to QuickBooks as Company Admin, Master Admin, or Accountant user with full access
Ask the owner to grant you the correct role if needed
3. I want to start over with a fresh connection
Disconnect PayTraQer from that QuickBooks company inside QuickBooks or PayTraQer
Reconnect and choose the correct company and start date for syncing
Check your books with your accountant before deleting any existing transactions
Need help?
If you have any trouble connecting or adding a new company:
Contact us at support@saasant.com with your QuickBooks company name and connector details
Or schedule a free demo or onboarding call from the PayTraQer website for a guided setup