How to Install and Set Up SaasAnt Transactions Desktop for QuickBooks Desktop
September 1, 2026
SaasAnt Transactions Desktop helps you import, export, edit, and delete supported QuickBooks Desktop transactions and lists in bulk.
Before you can start working with your QuickBooks data, you need to install SaasAnt Transactions Desktop and connect it to the correct QuickBooks Desktop company file.
This guide walks you through the complete setup process, including installation, QuickBooks authorization, license activation, connection troubleshooting, and what to do after setup.
Video tutorial for How to connect SaasAnt Transactions Desktop with QuickBooks Desktop:
What Do You Need Before Installing SaasAnt Transactions Desktop?
Before you begin, make sure:
QuickBooks Desktop is installed on your computer.
You can open the QuickBooks company file you want to use.
You have QuickBooks administrator access for the initial connection.
You can install applications on your computer.
You have an internet connection to download SaasAnt and activate a purchased license.
How to Install SaasAnt Transactions Desktop
Step 1: Download SaasAnt Transactions Desktop
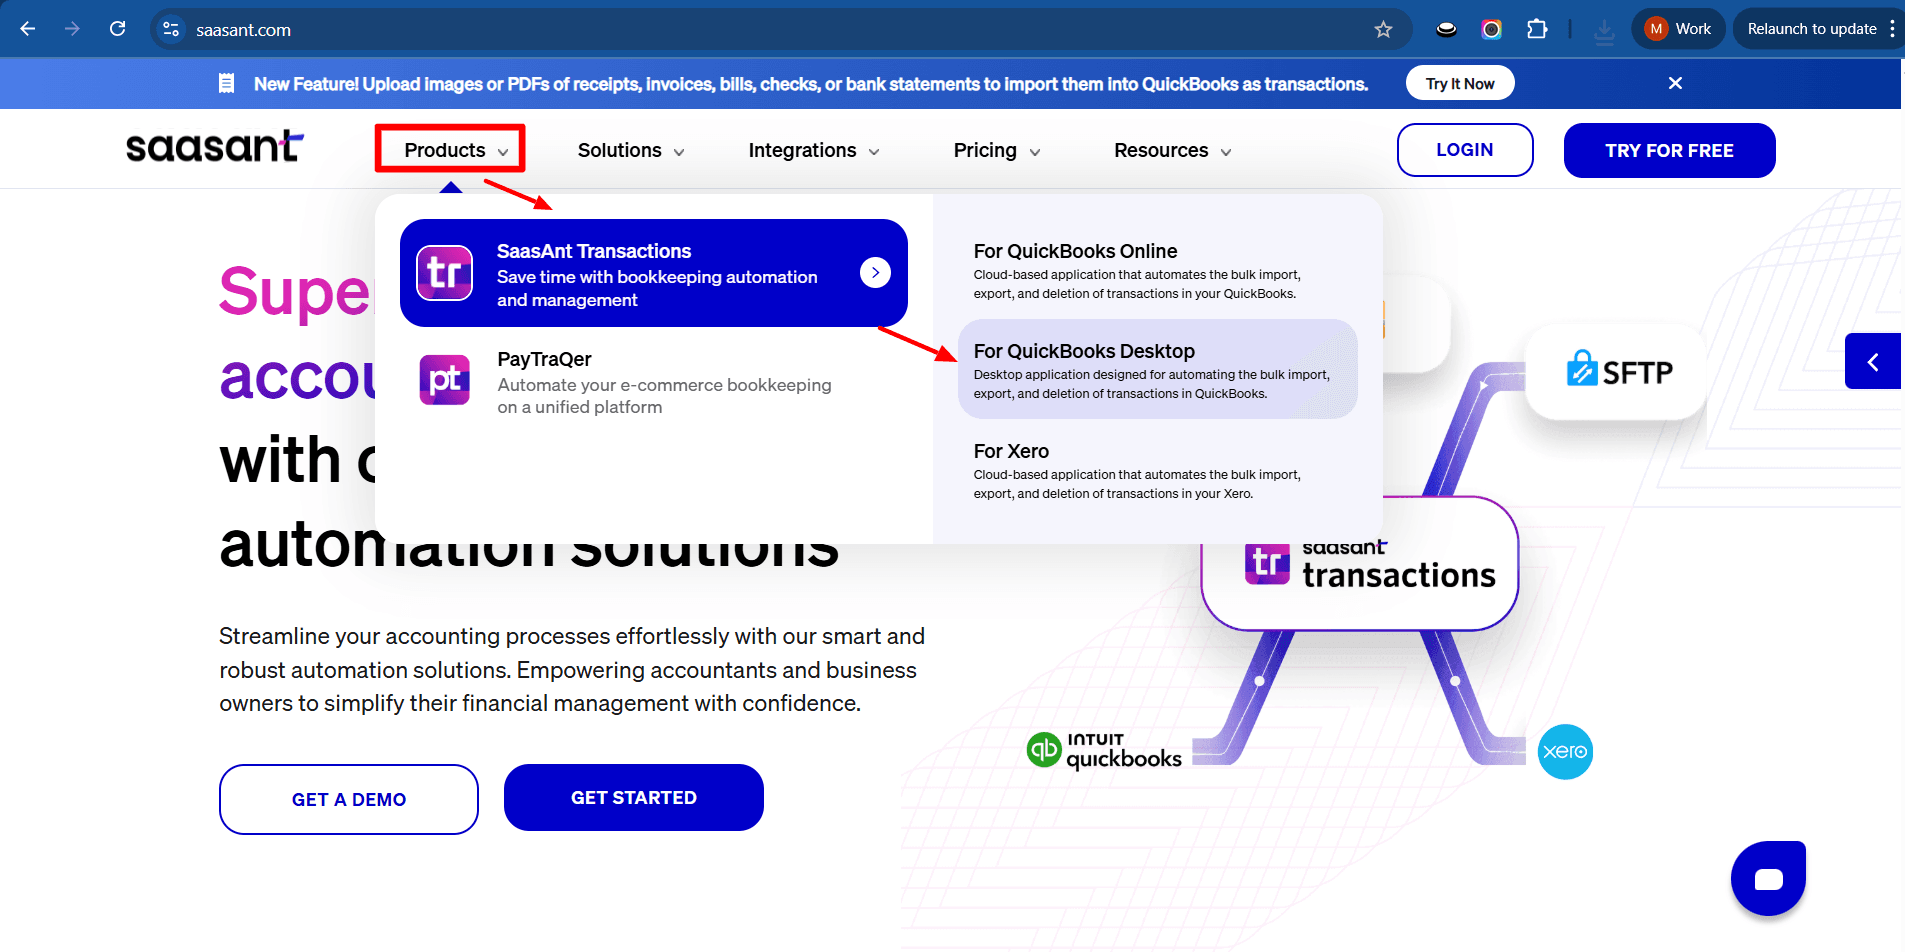
Go to the SaasAnt Transactions desktop product page on the SaasAnt homepage.
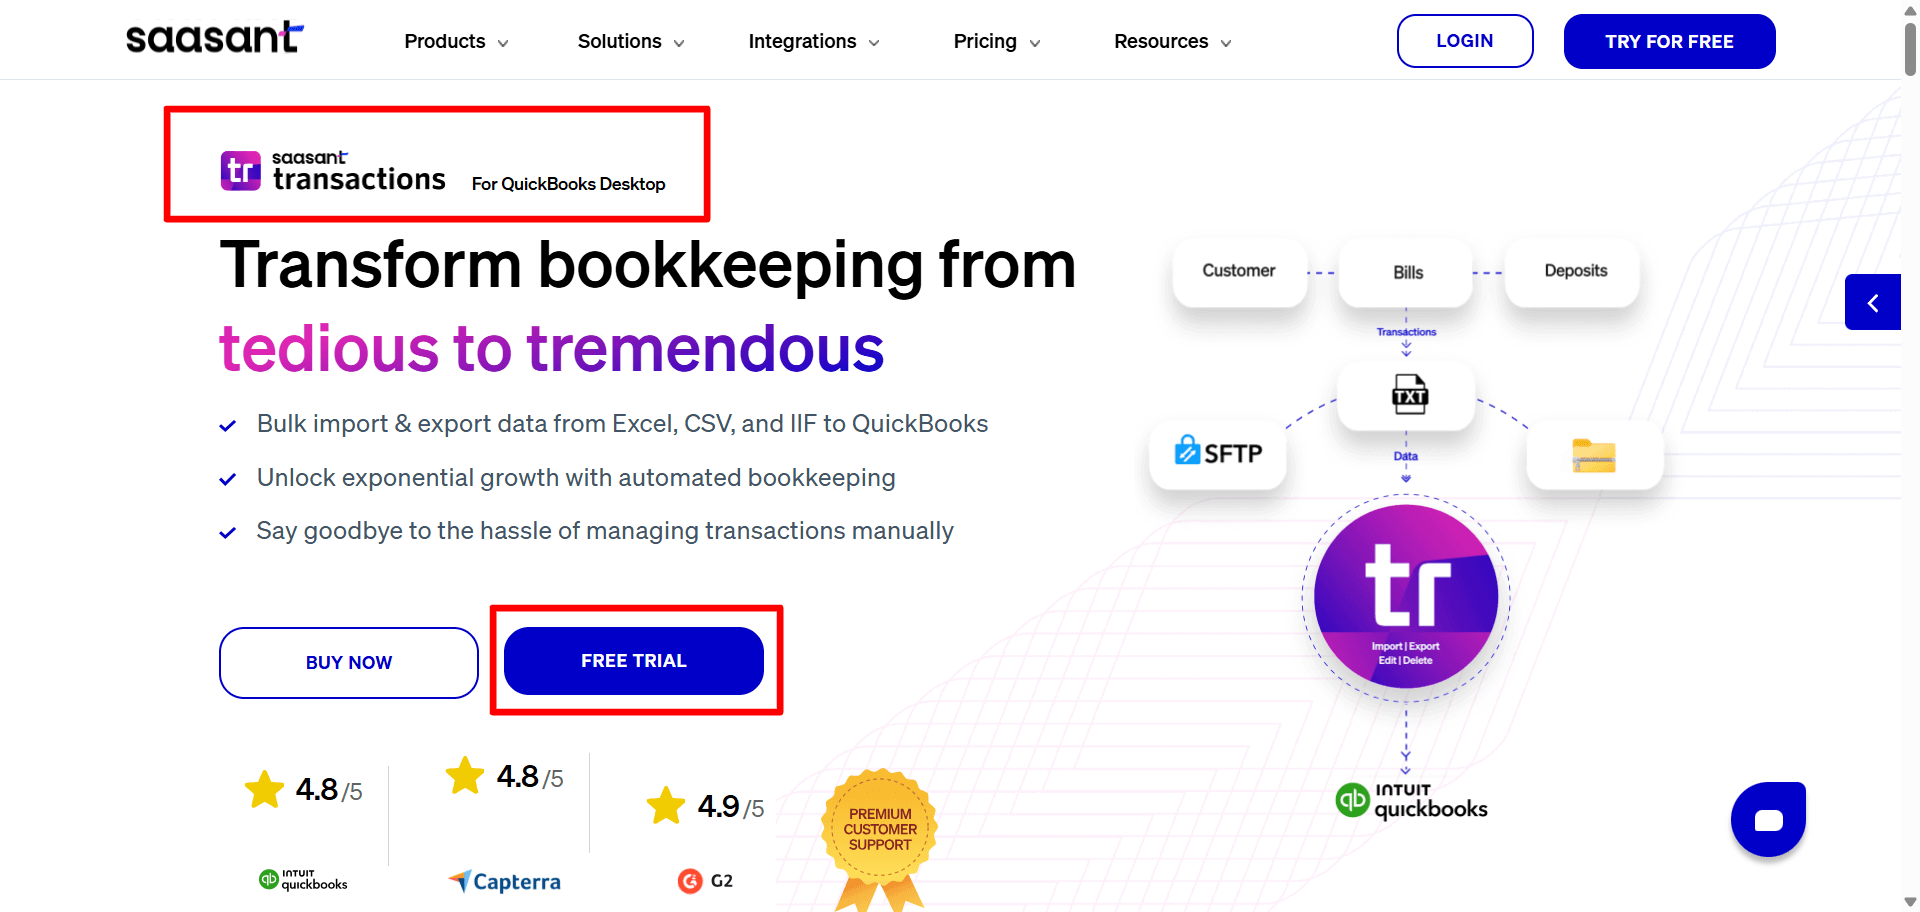
Step 2: Click Free Trial to start the download.
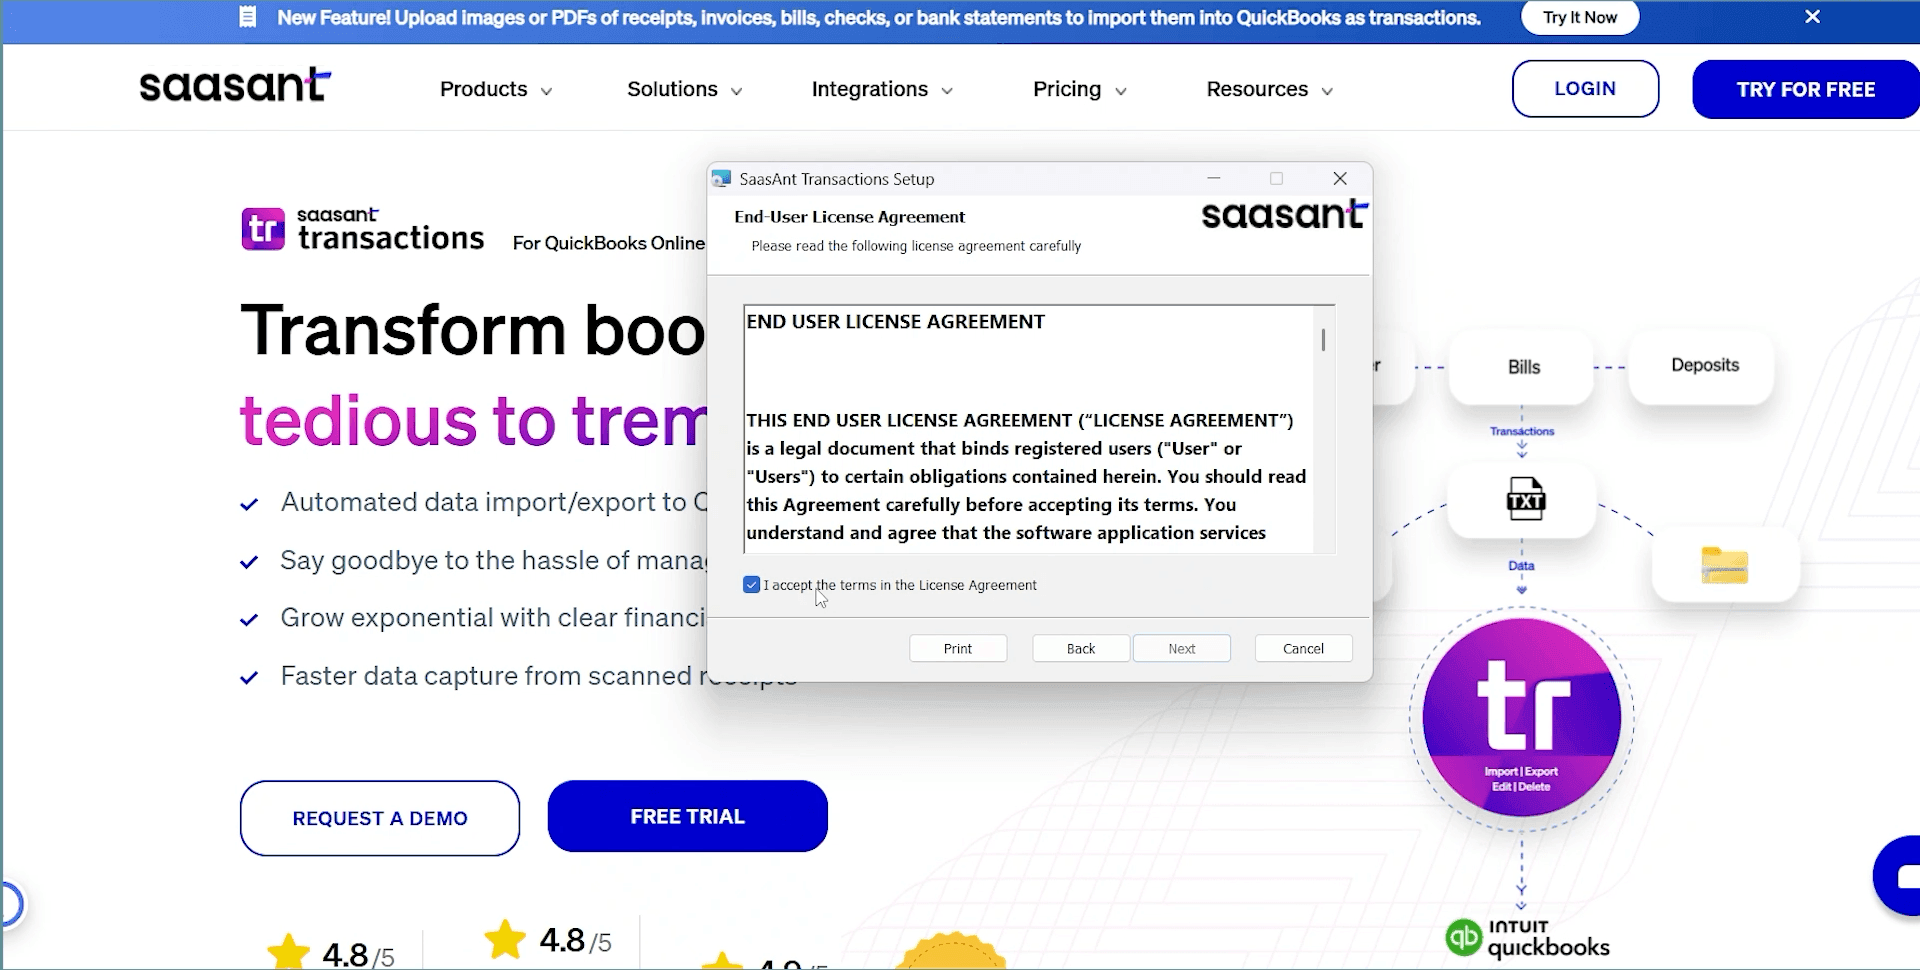
Step 3: Once the download is complete, open the installer file.
Step 4: Click Next, and accept the license agreement by ticking the checkbox.
Step 5: Click Install.
Steps to Connect SaasAnt Transactions Desktop with QuickBooks Desktop
Step 1: After installation, click Launch Transactions.
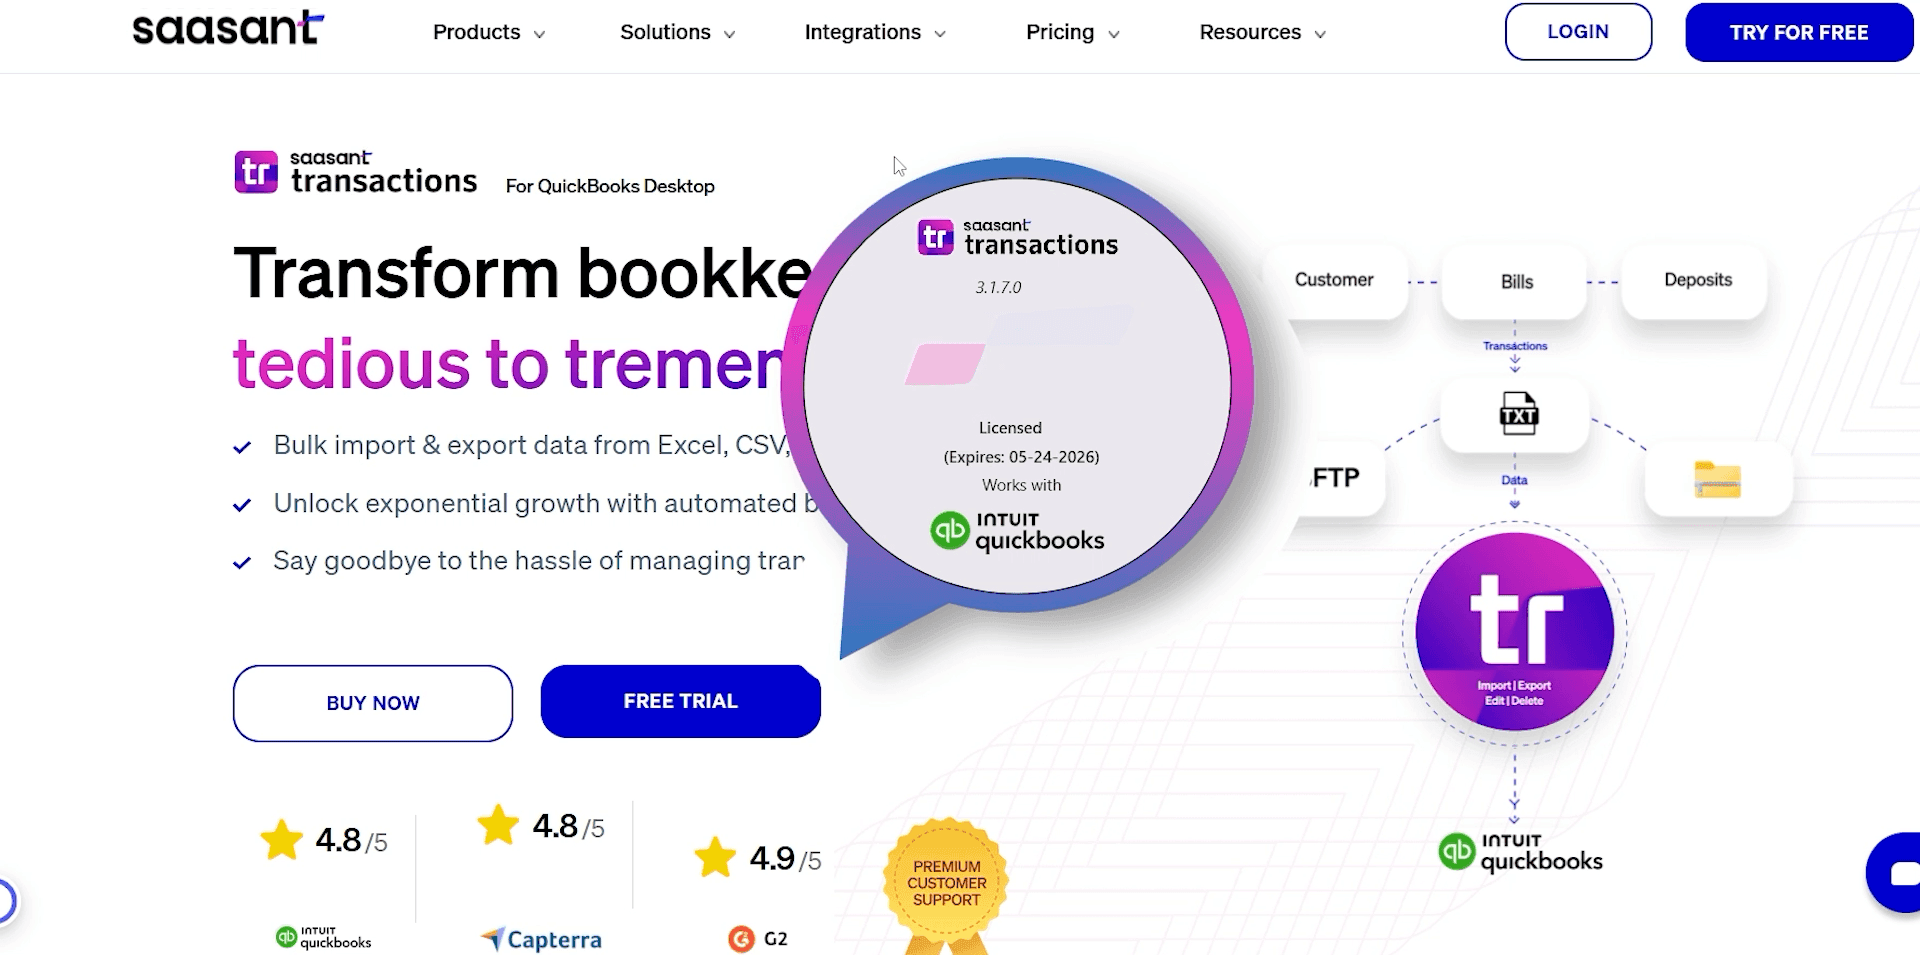
Step 2: Open your QuickBooks Desktop application and the specific company file you want to connect to.
Step 3: Log in to your QuickBooks company file as the admin user. This is required for the initial connection.
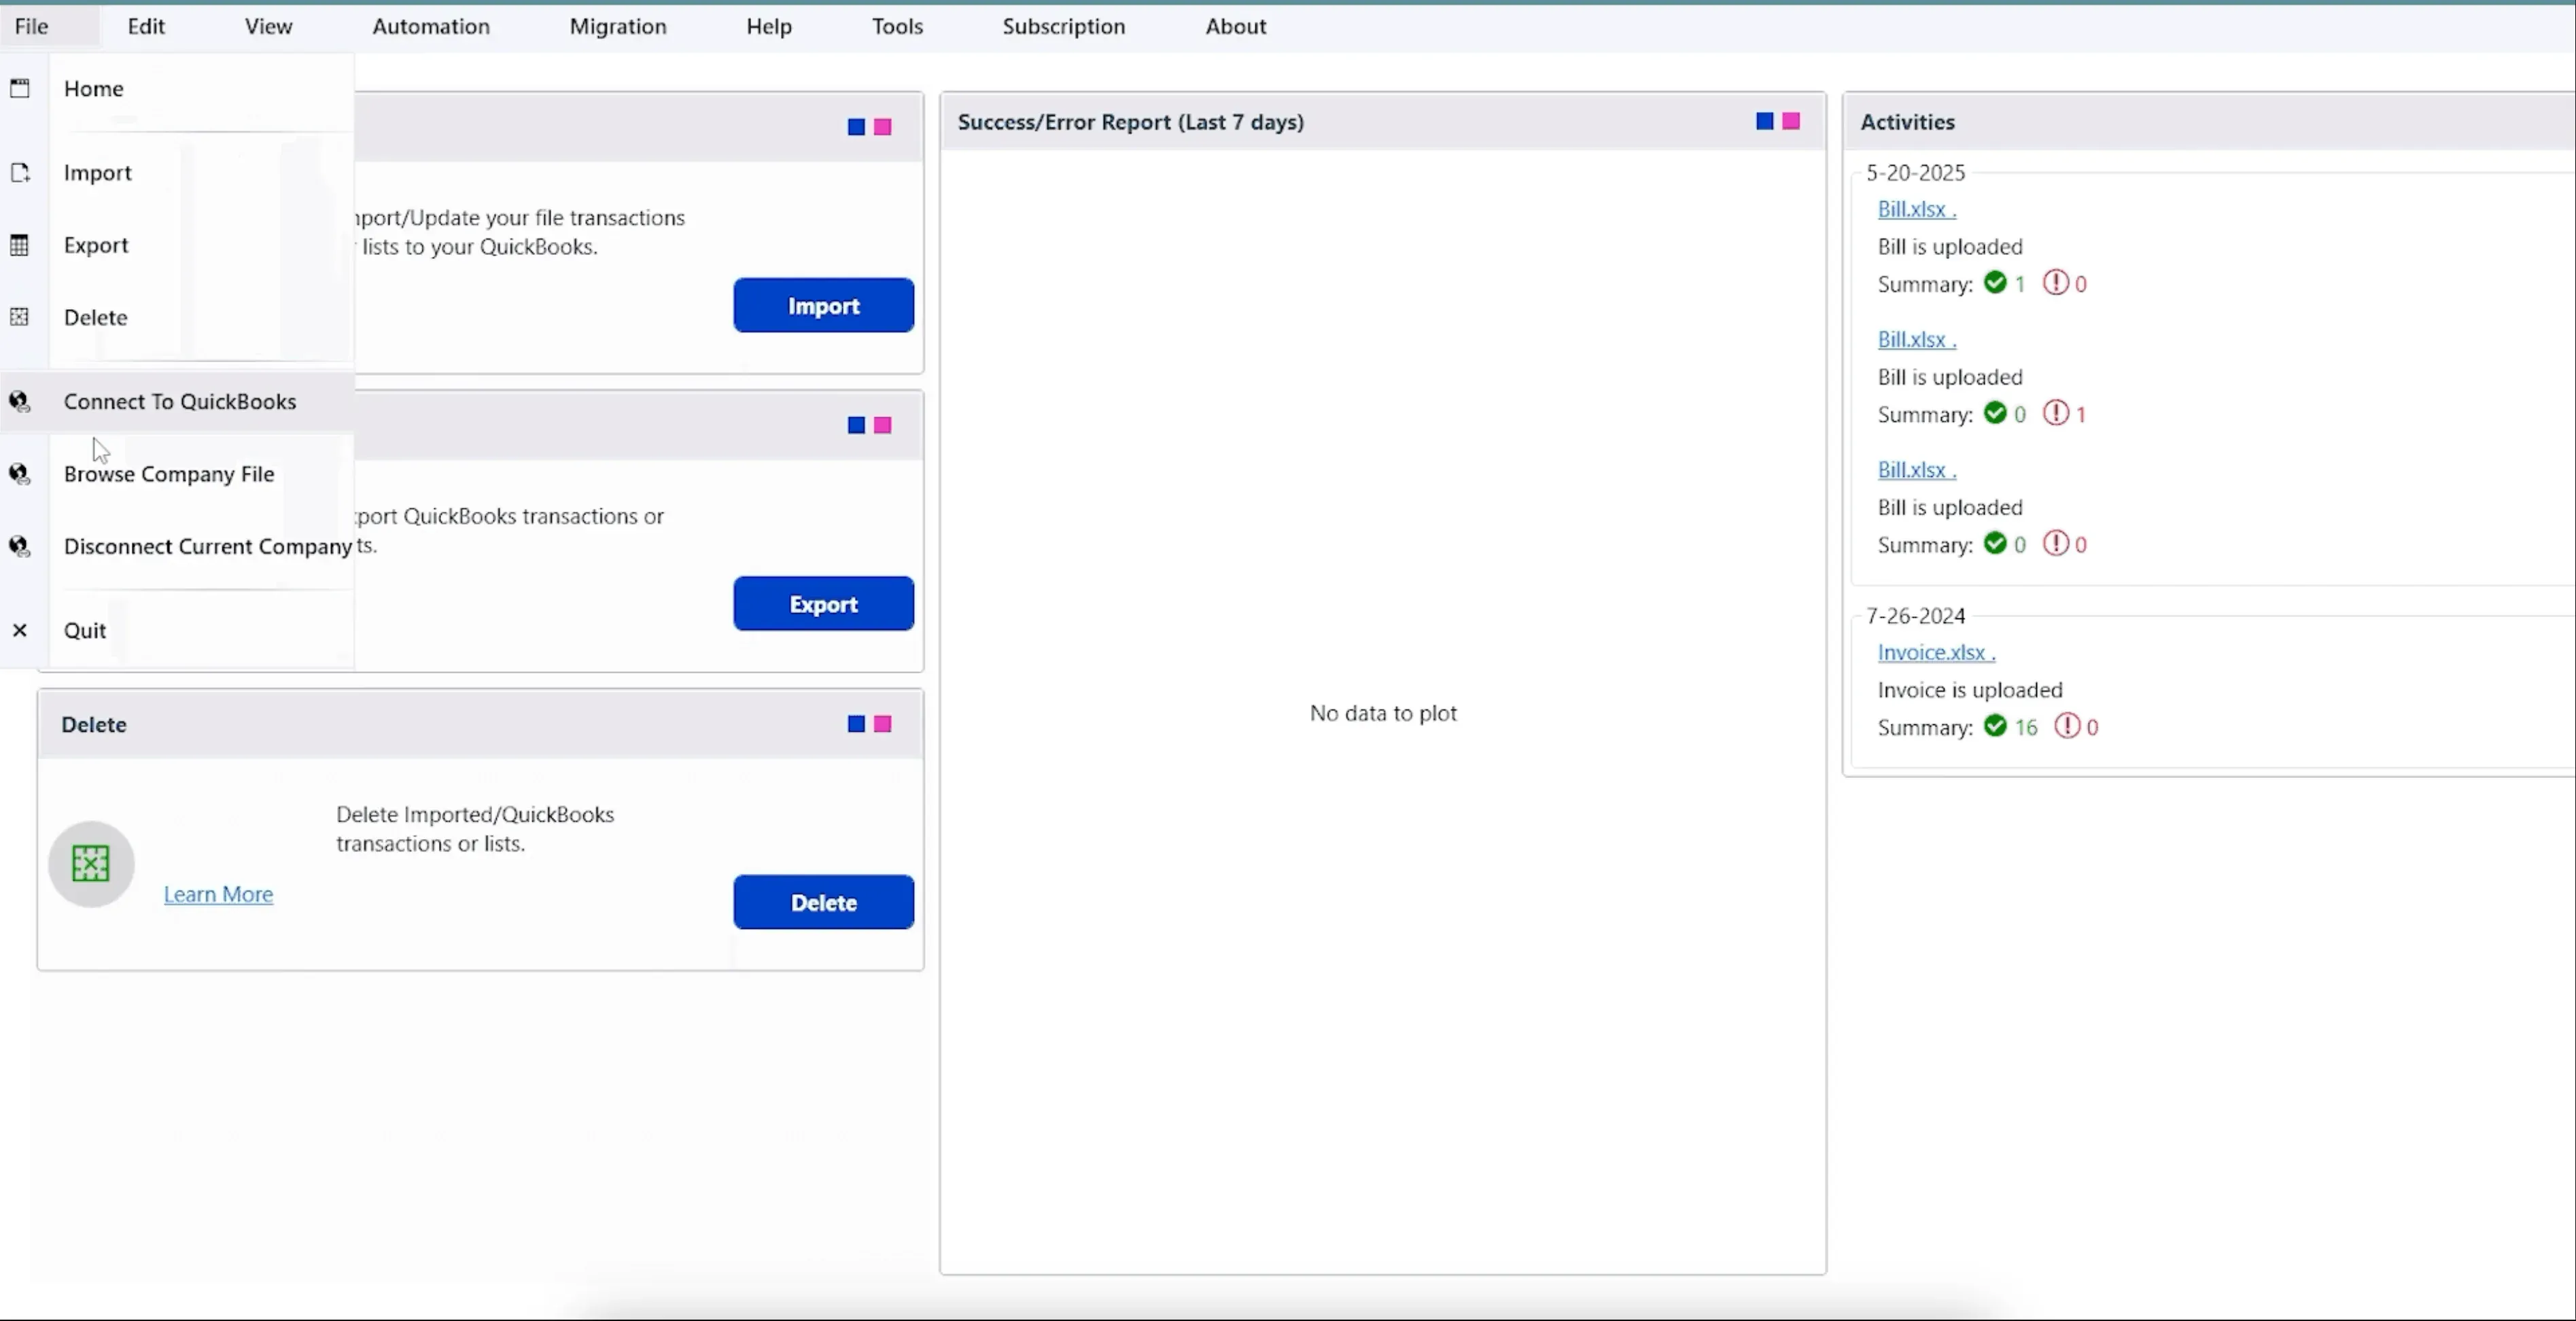
Step 4: In the SaasAnt dashboard, navigate to the File menu and click "Connect to QuickBooks."
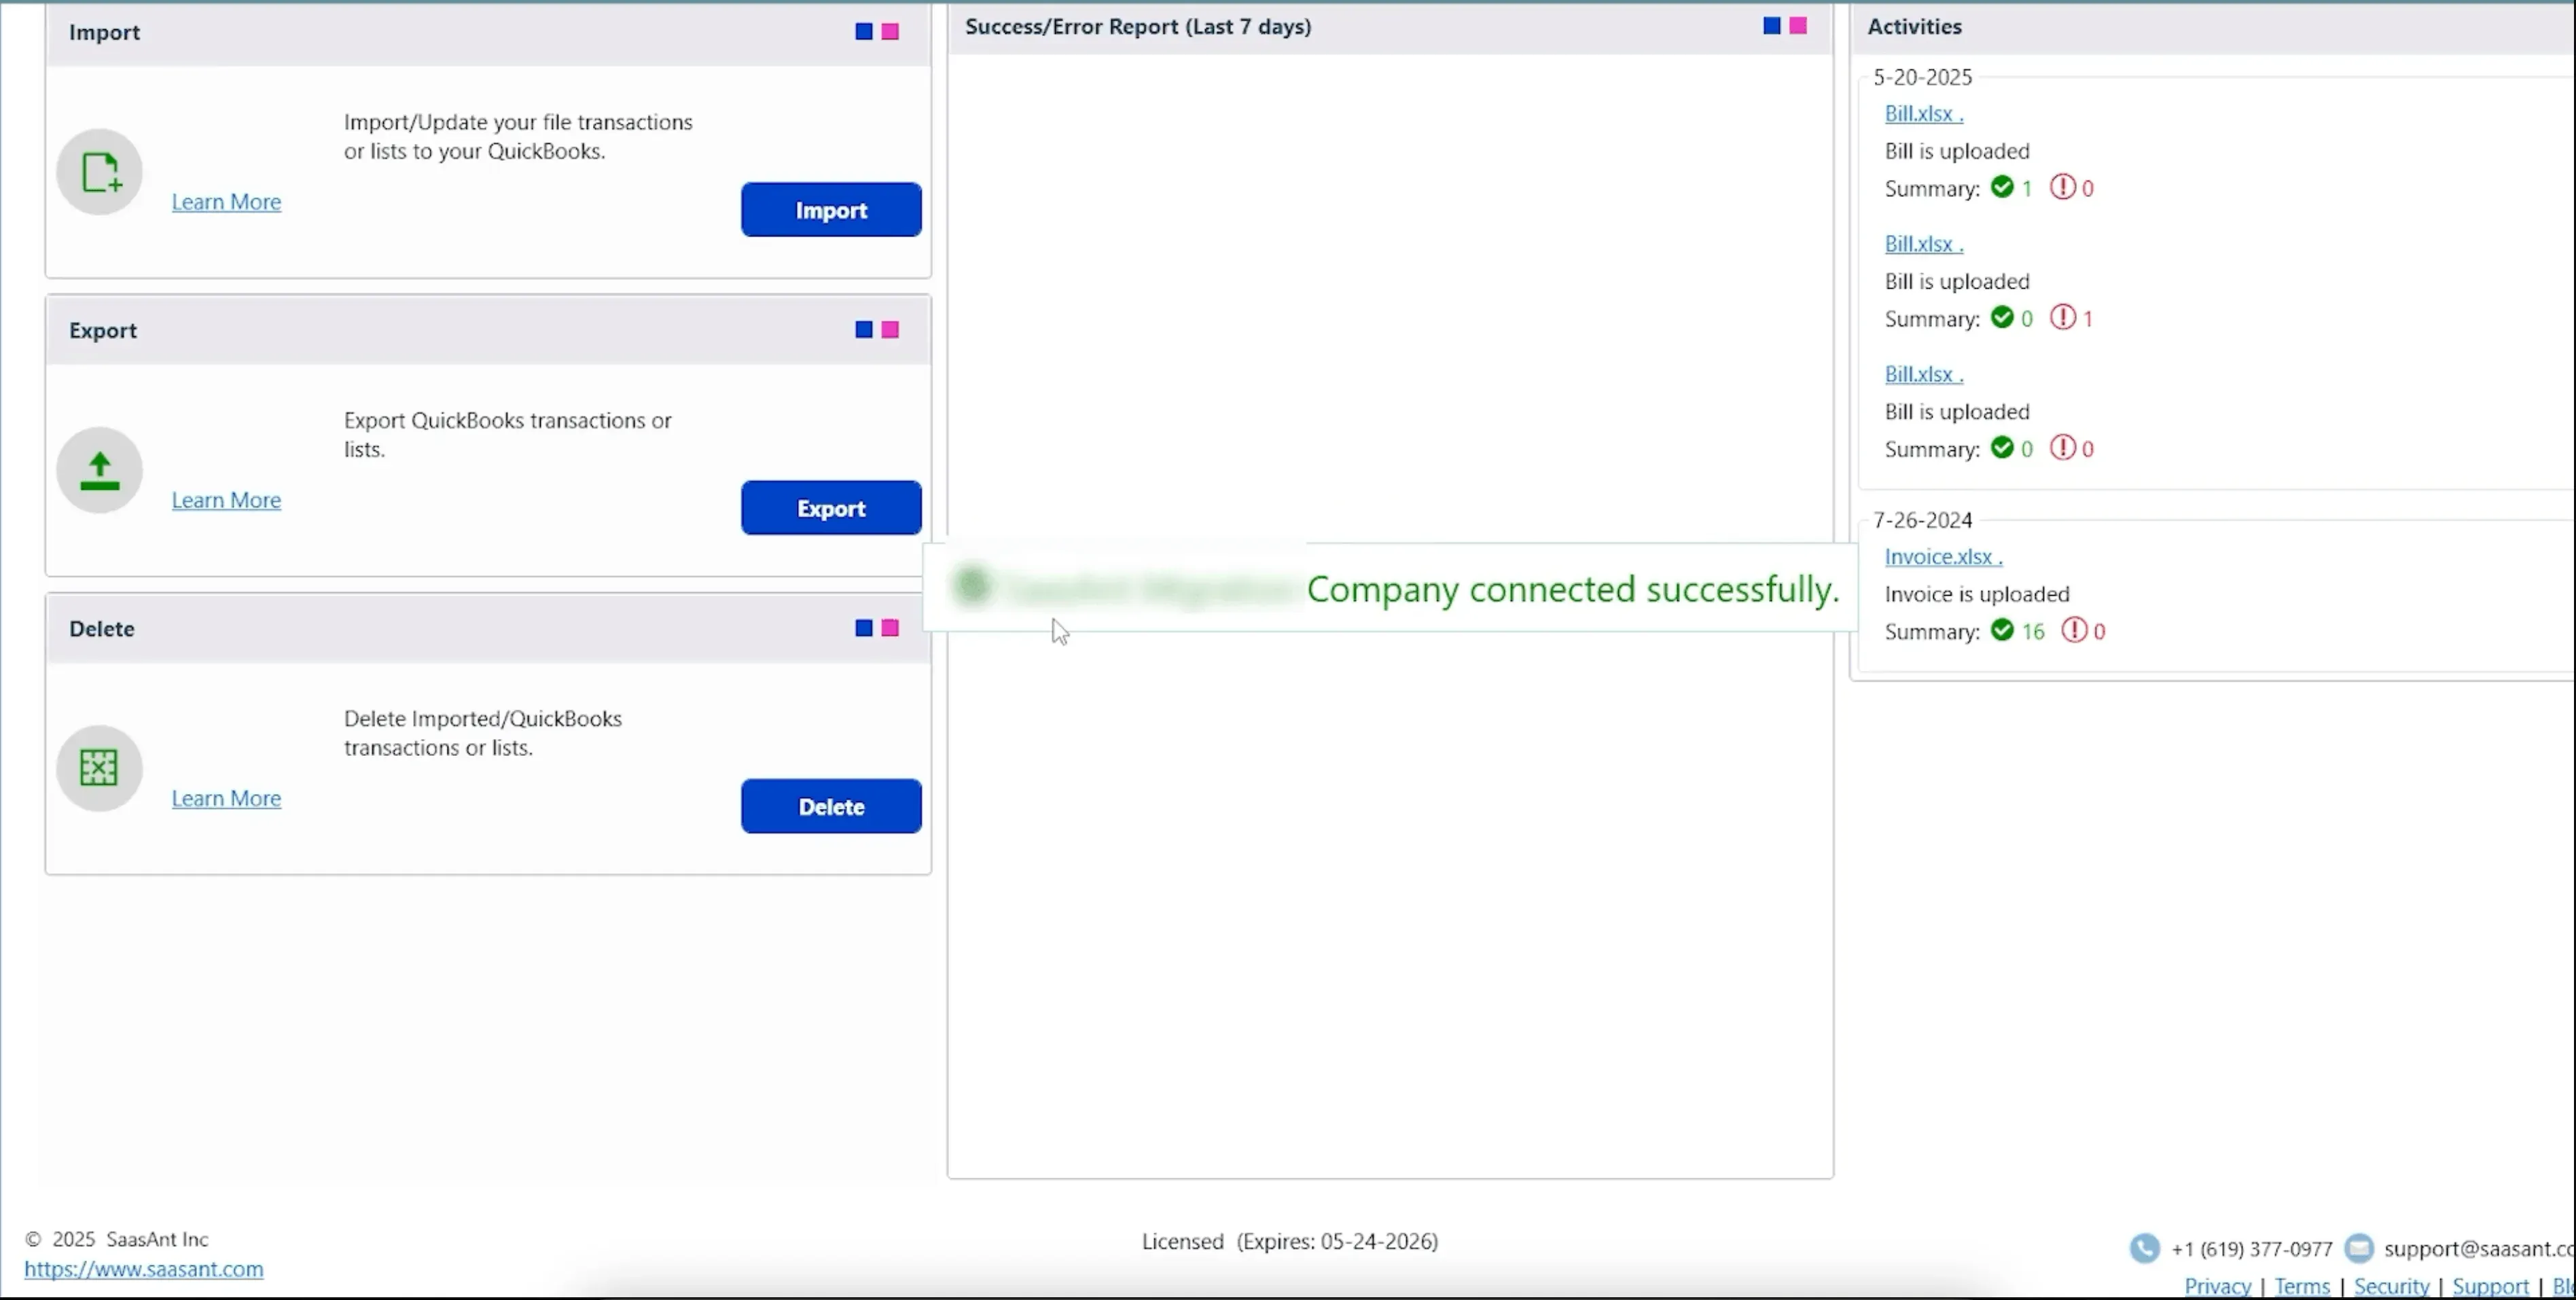
Step 5: You will receive a pop-up confirming a successful connection to QuickBooks.
Step 6: QuickBooks will display an application certificate authorization screen. We recommend selecting the third option: Yes, whenever this QuickBooks company file is open.
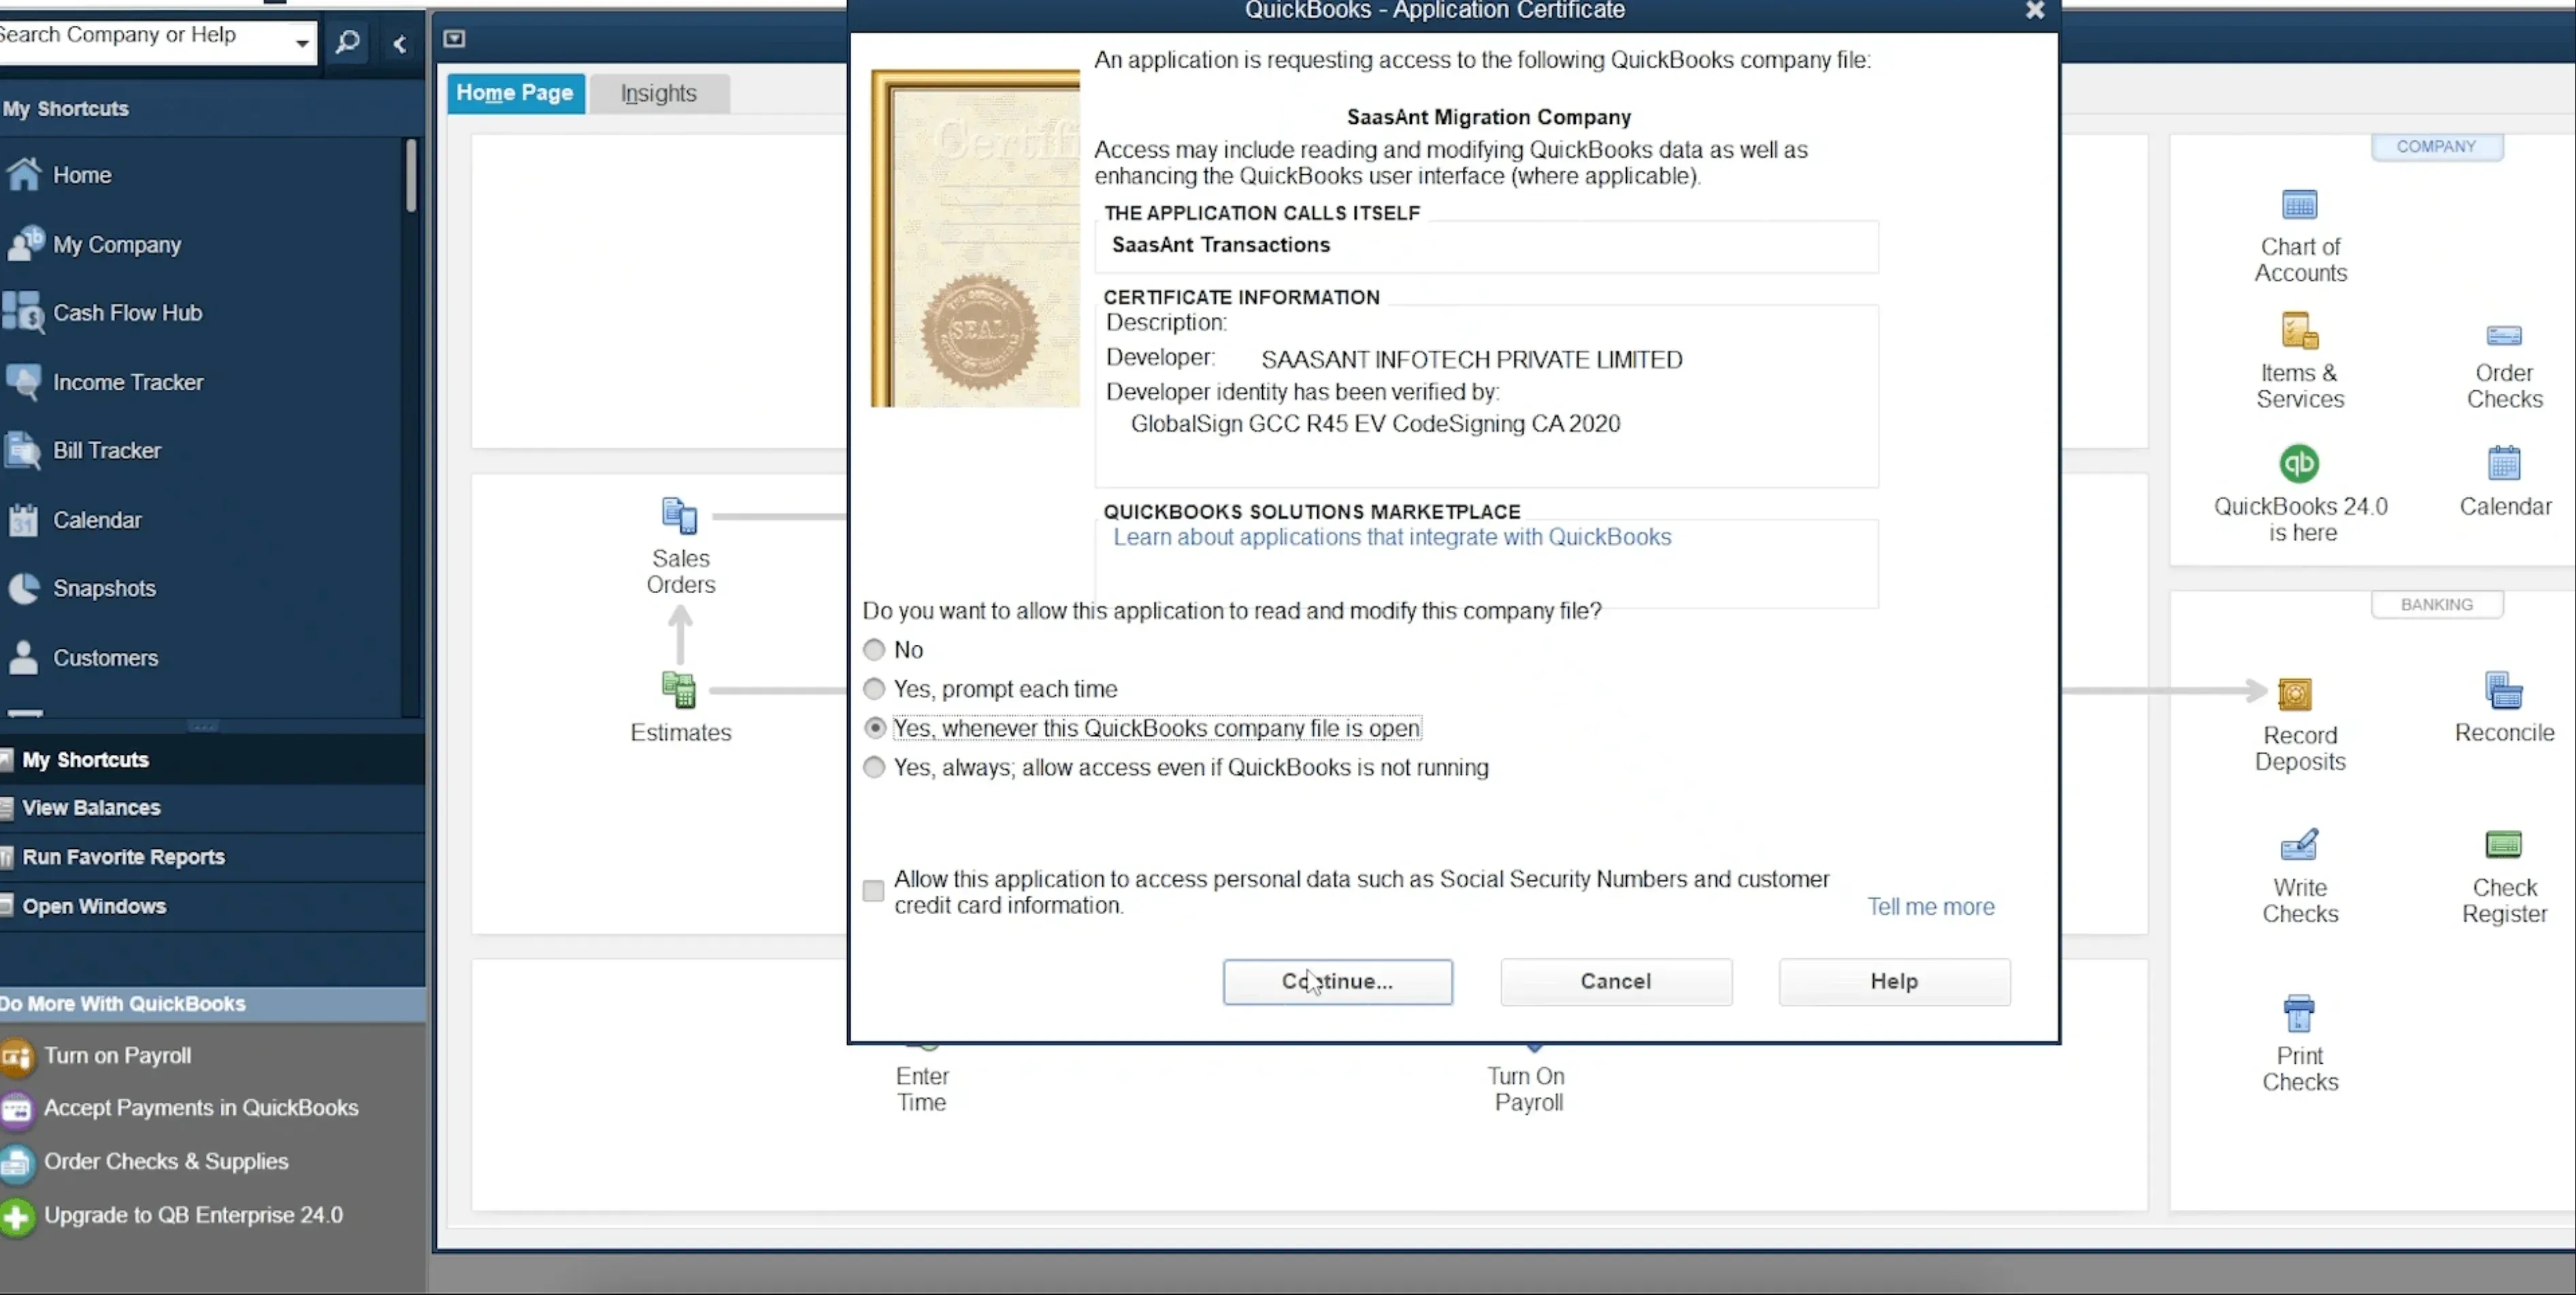
Step 7: Click Continue.
Step 8: On the final access confirmation screen, click Done.
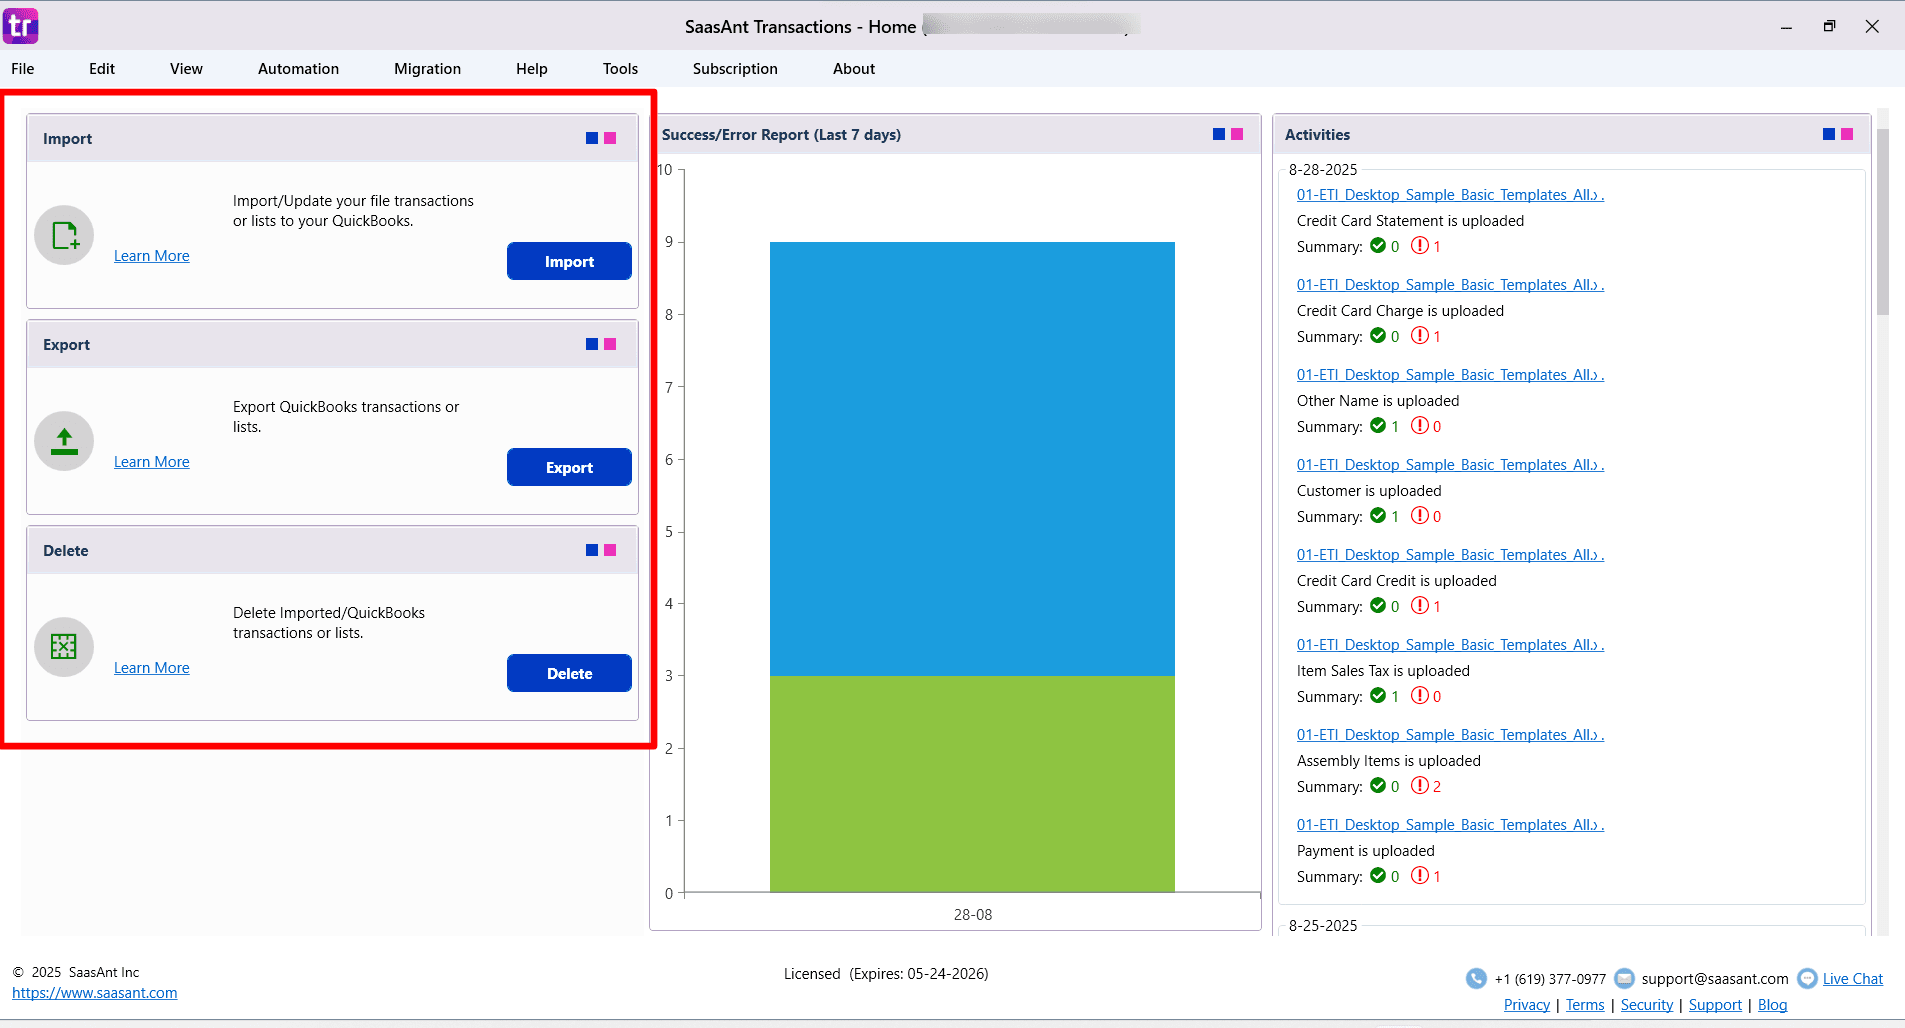
Step 9: You are now configured SaasAnt Transactions Desktop and reached the homepage.
How to Activate SaasAnt Transactions Desktop
If you are using the free trial, you can continue using the trial according to the available trial limits.
If you have purchased a SaasAnt Transactions Desktop license, activate the installed application using your license key.
Open SaasAnt Transactions Desktop.
Select Subscription.
Click Register.
Copy the license key you received by email after your purchase.
Paste the key into the License Key field.
Click Register.
Wait for SaasAnt to verify and activate your license.
An active internet connection is required during license registration.
For detailed activation instructions, see:
How to Activate or Register SaasAnt Transactions Desktop
What Can You Do After Setting Up SaasAnt Transactions Desktop?
Once SaasAnt is connected to QuickBooks Desktop, you can start working with supported transactions and lists.
Depending on the operation and transaction type, you can use SaasAnt to:
Import transactions and lists from supported files.
Export QuickBooks data for reporting, review, or other workflows.
Edit supported QuickBooks records.
Delete selected transactions in bulk.
Reuse mappings for repeated import workflows.
Review import results and correct failed records.
See the complete list of available transaction and list types here:
Transactions and Lists Supported by SaasAnt Transactions Desktop
Video Tutorials for
How to Import Bulk Data into QuickBooks Desktop using SaasAnt Transactions Desktop:
Before preparing a large import, review the file-format guidelines:
File Format Guidelines for SaasAnt Transactions Desktop
How to Export Bulk Data from QuickBooks Desktop using SaasAnt Transactions Desktop:
How to Edit Data in QuickBooks Desktop using SaasAnt Transactions Desktop:
How to Delete Data in QuickBooks Desktop using SaasAnt Transactions Desktop:
FAQ
What file types does SaasAnt Transactions Desktop support for importing into QuickBooks Desktop?
SaasAnt Transactions Desktop supports XLS, XLSX, XLSM, CSV, TXT, and IIF.
Still, confused and have any further query, feel free to drop a mail at support@sassant.com