How to Import Employee List into QuickBooks Online (U.S)?
August 20, 2025
At a glance
Create Employee records in bulk from CSV or Excel using SaasAnt Transactions Online.
Applies to
Product: SaasAnt Transactions Online
Entity: Employees
Before you begin
Connect your QuickBooks Online company to SaasAnt Transactions Online from the QuickBooks App Store. A free trial is available.
Supported files: XLS, XLSX, XLSM, CSV, TXT, Google Sheets, and IIF. Additionally, PDF, PNG, and JPEG are supported only for Receipts, Invoices, Bank Statements, Checks, and Expenses.
Use a consistent date format such as YYYY-MM-DD.
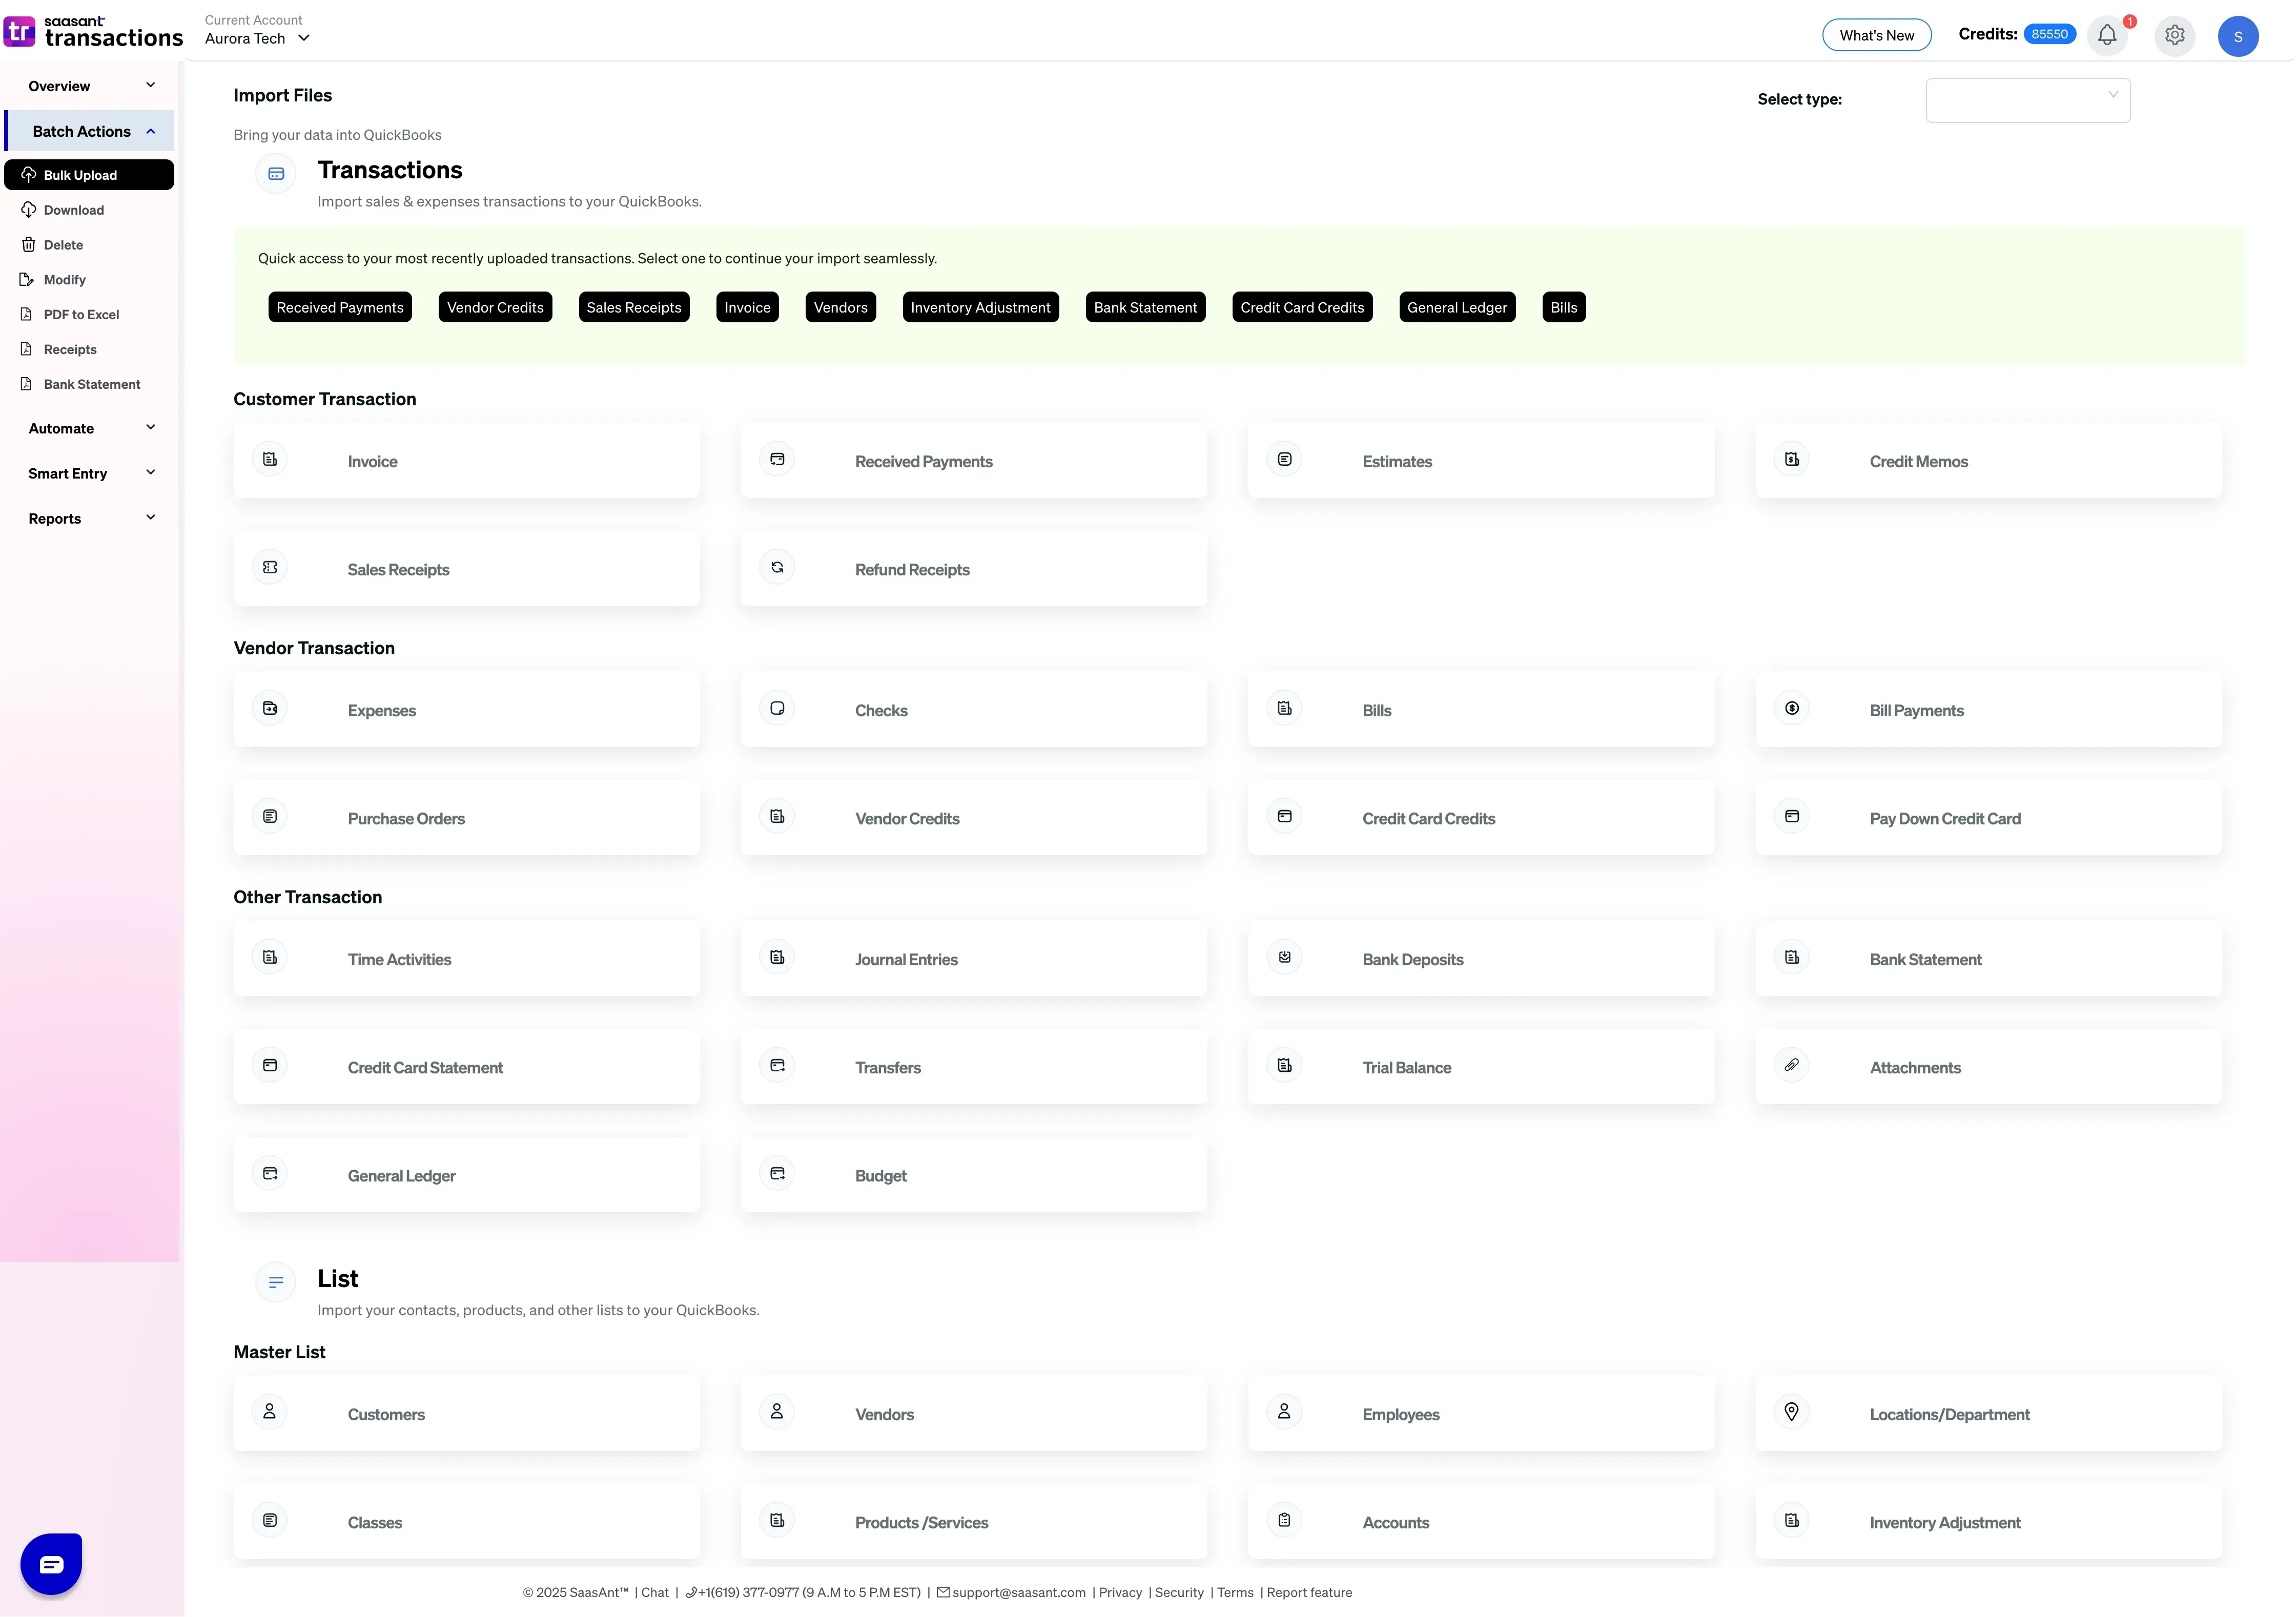
Steps to Import Employees into QuickBooks Online with SaasAnt Transactions
Sign in to SaasAnt Transactions Online.
Open Bulk Upload.
On the single Choose Entity screen, select Employees.
Select your file. Drag and drop or choose from your computer.
Map your columns to SaasAnt fields. Use Preview Mapping to see how columns align with the QuickBooks Employee form.
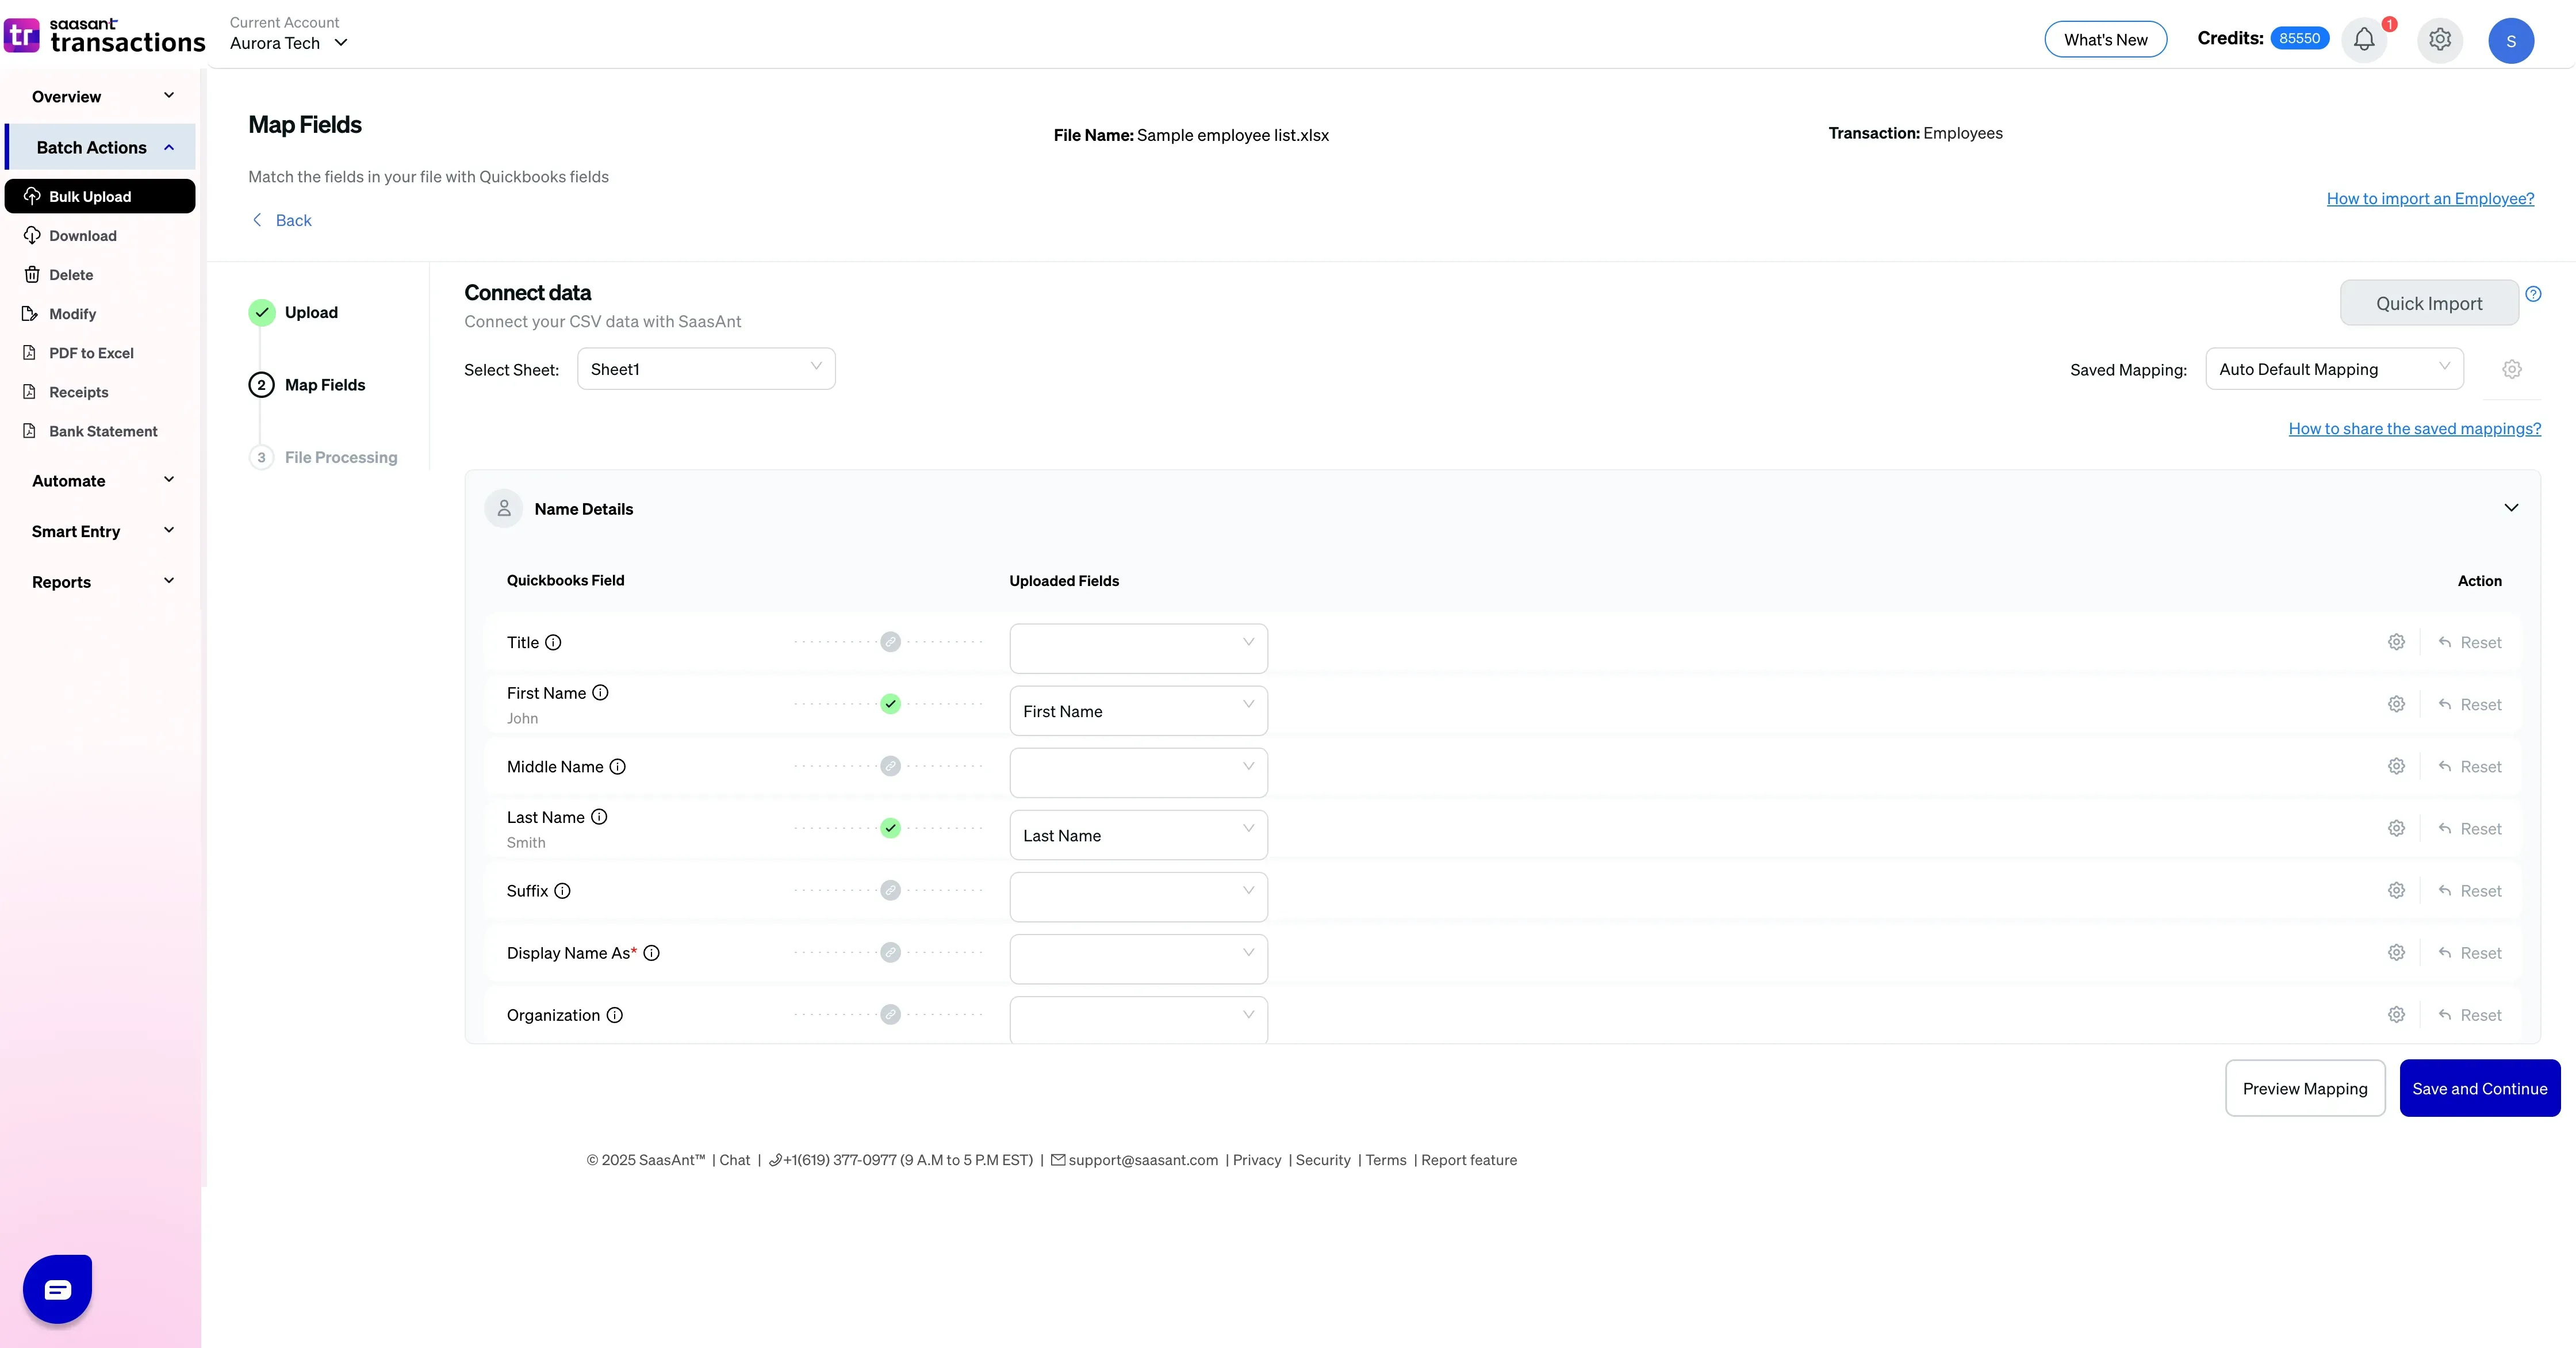
Click Save and Continue to view the mapped data grid.
Click Review to run validations and fix any flagged rows.
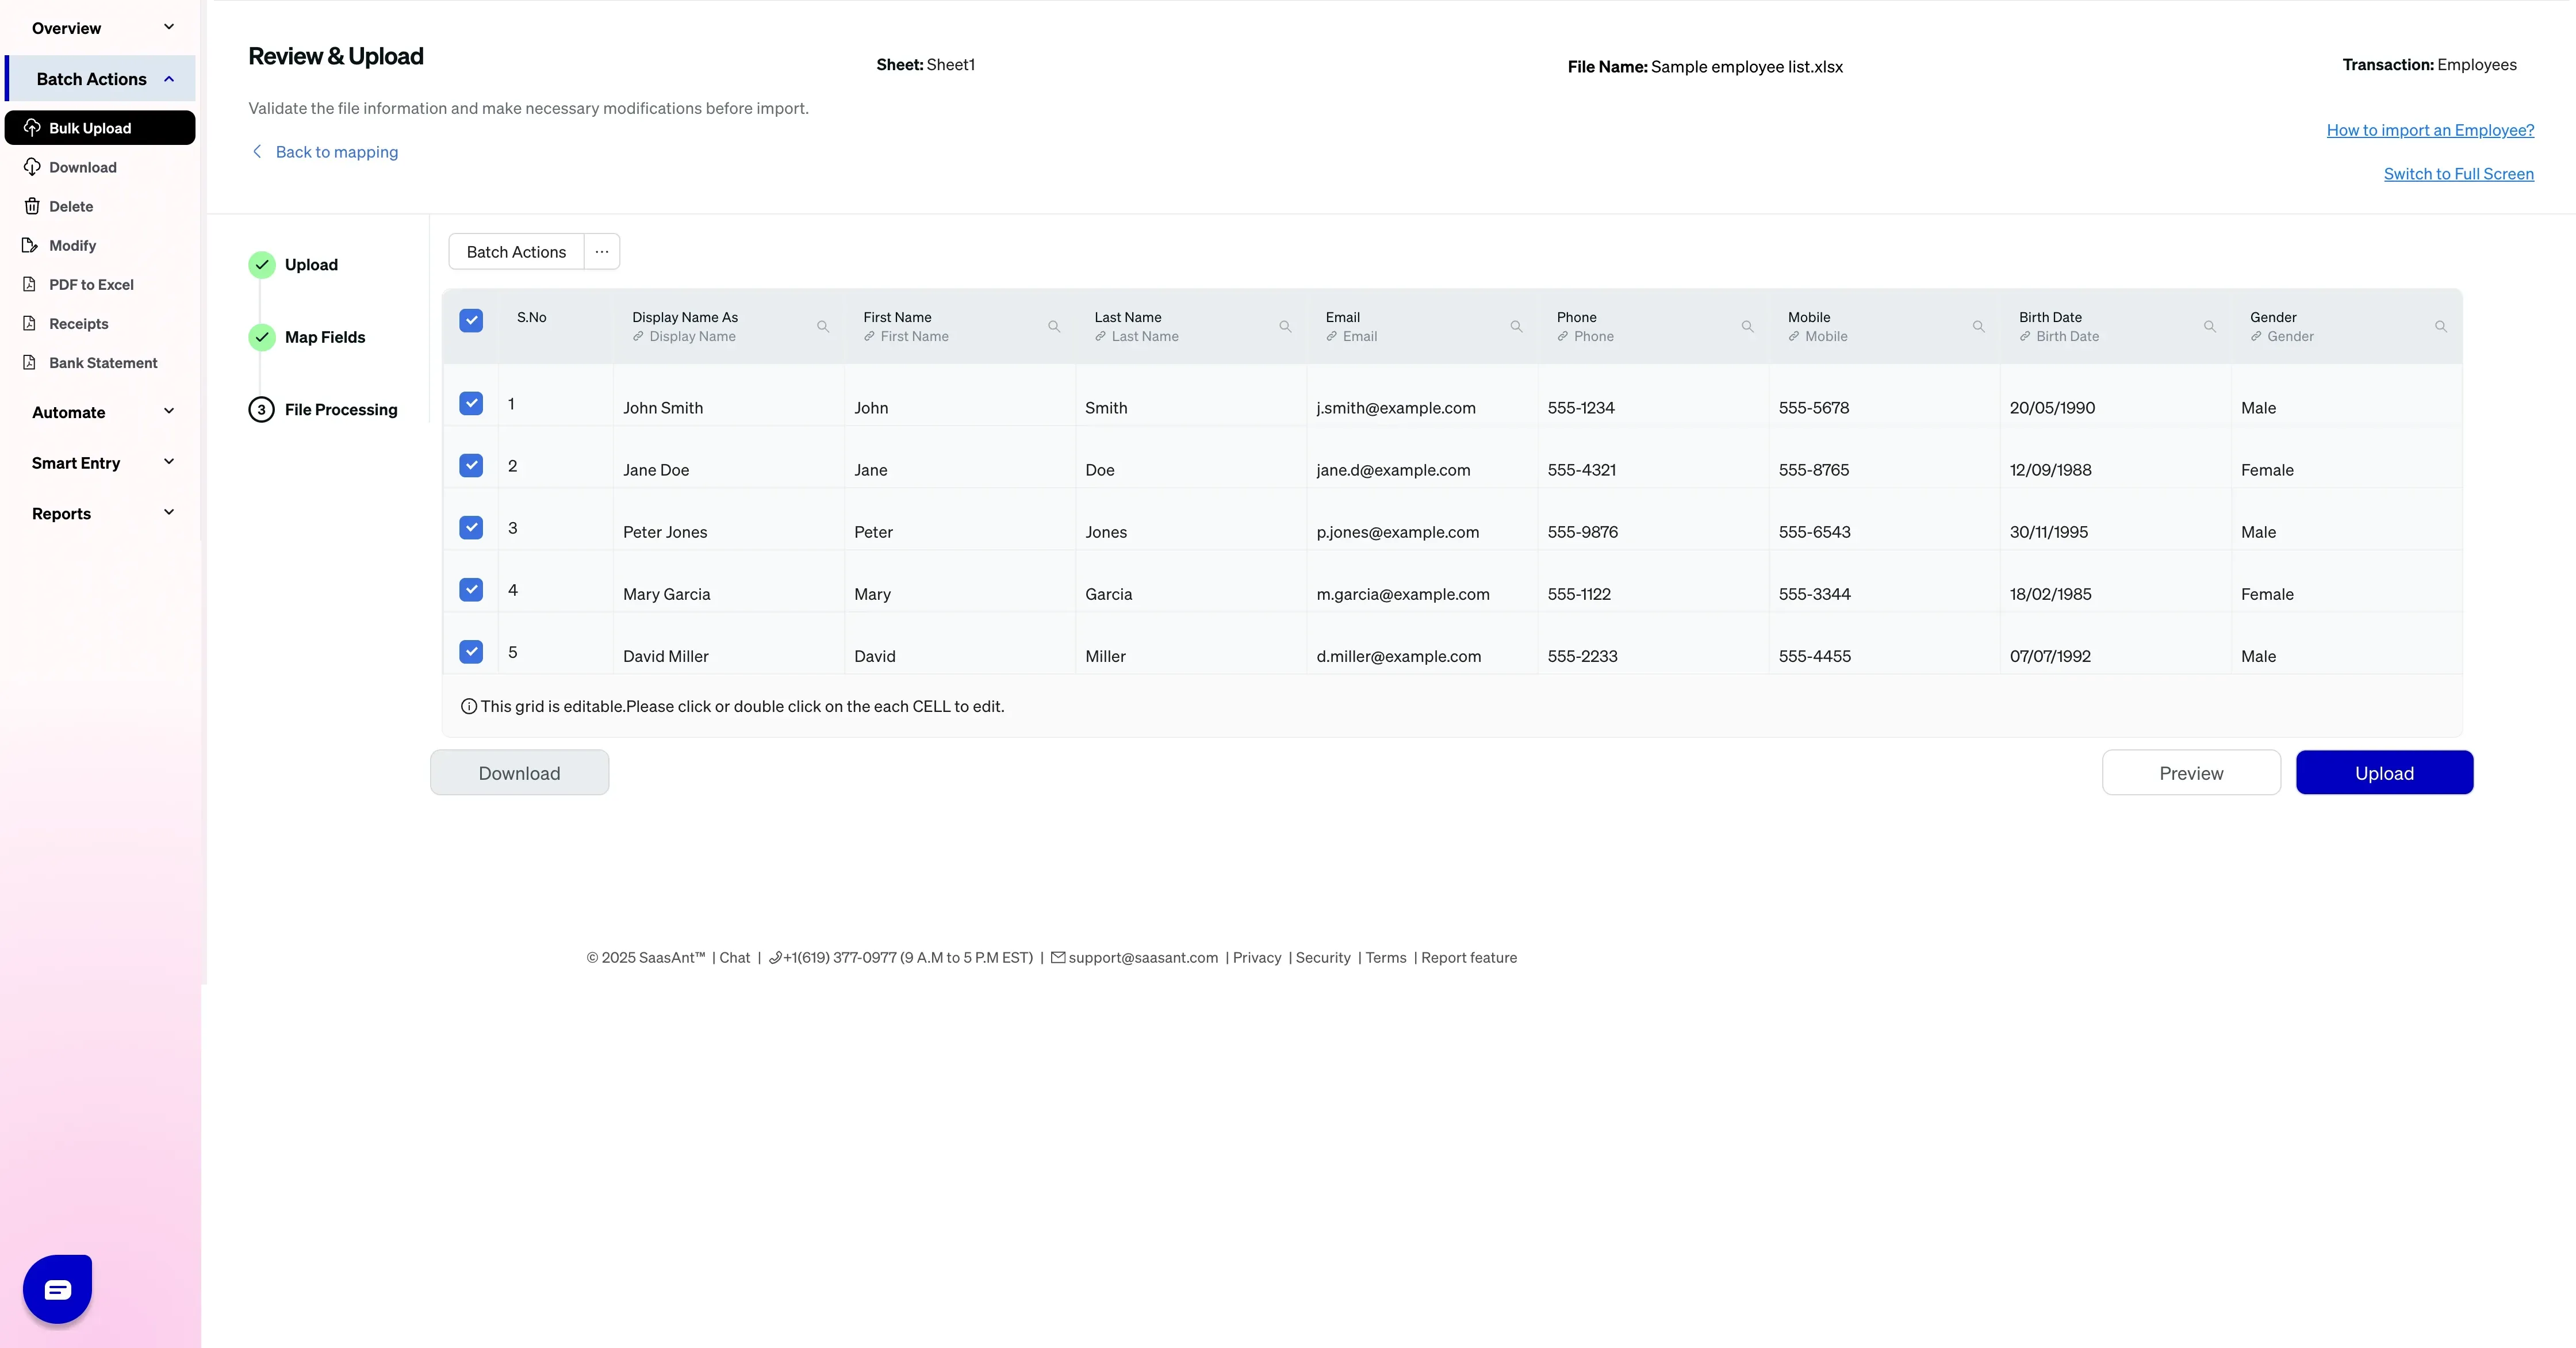
Click Upload to import.
Check the result summary. Download the error file if any rows failed, correct only those rows, and reimport.
Let’s have a look at the SaasAnt Transactions Online Fields.
SaasAnt Transactions (Online) Fields
Field Name | Format | Description |
|---|---|---|
Title | Characters | Title of the Vendor. |
First Name | 25 Characters | Given name or first name of the Vendor. |
Middle Name | 25 Characters | Middle name of the Vendor. |
Last Name | 25 Characters | Family name or the last name of the Vendor. |
Suffix | 10 Characters | Suffix of the name. |
Display Name As | 100 Characters | The name of the vendor or organization is displayed in QuickBooks Online. This must be unique across all other customers, employees, vendors, and other names. |
Print On Check As | 100 Characters | Name of the Vendor or organization as printed on a check. If it is not provided, this is populated from Display Name. |
Address Line 1 | 500 Characters | The first line of the Billing Address. |
Address Line 2 | 500 Characters | The second line of the Billing Address. |
Address Line 3 | 500 Characters | The third line of the Billing Address. |
Address City | 255 Characters | City Name. |
Address Postal Code | 31 Characters | Postal code (Zip code for USA and Canada). |
Address Country | 255 Characters | Name of the country. |
Address State | 255 Characters | Region within a country. E.g., State Name for the USA, Province name for Canada. |
Phone | 21 Characters | The telephone number is in free form. |
Mobile | 21 Characters | The Mobile number is in free form. |
Fax | 21 Characters | The fax machine number is in free form. |
Other | 21 Characters | Other contact information. |
100 Characters | An email address. | |
Employee Number | 99 Characters | ID number of the employee in the Organization. |
SSN | Characters | Social security number (SSN) of the employee. If SSN is set, it is masked in the response with XXX-XX-XXXX. If XXX-XX-XXXX is sent in the create or update request, XXX-XX-XXXX is ignored and the old value is preserved. This attribute cannot be passed in a request when QuickBooks Payroll is enabled. |
Billable Time | Boolean | This Employee is currently enabled for use by QuickBooks. |
Billable Rate | Decimal | The Open balance amount or the amount unpaid by the Vendor. |
Gender | Characters | Gender of the employee. |
Notes | 2000 Characters | Free form text describing the Employee. |
Hired Date | Date | Hire date of the employee. |
Released Date | Date | Release date of the employee. |
Birth Date | Date | Birth date of the employee. |
Possible Failures & Troubleshooting Tips
Employee object does not contain a city, state, or zip code!
Please provide valid Postal Code & State details.
Another employee, vendor, or customer is already using this name. Please enter a different name.
This Employee is already available in QuickBooks with given "Display Name". If you want to continue with the same employee, please change the "Display Name."
Invalid social security number!
Please provide a valid SSN.
This is a duplicate Social Security Number belonging to another employee.
Please provide a valid SSN or clear SSN Field.
Phone number must be formatted like xxx-xxx-xxxx.
Change the given phone number to the required format xxx-xxx-xxxx
Invalid value : **** Allowed values are [ MALE, FEMALE ].
Allowed values are Male & Female.