How to Import Deposits into QuickBooks Online (U.S)?
August 28, 2025
You can import deposits from text files or Excel spreadsheets directly into QuickBooks Online using SaasAnt Transactions (Online) software.
Pre Requisites:
Connect your QuickBooks Online account to SaasAnt Transactions (Online) App from QuickBooks AppStore by clicking the "Get App Now" button and get the 30-day free trial [No credit card required].
How to Import Deposits into QuickBooks Online Using SaasAnt Transactions Online
1) Login into SaasAnt Transaction Online
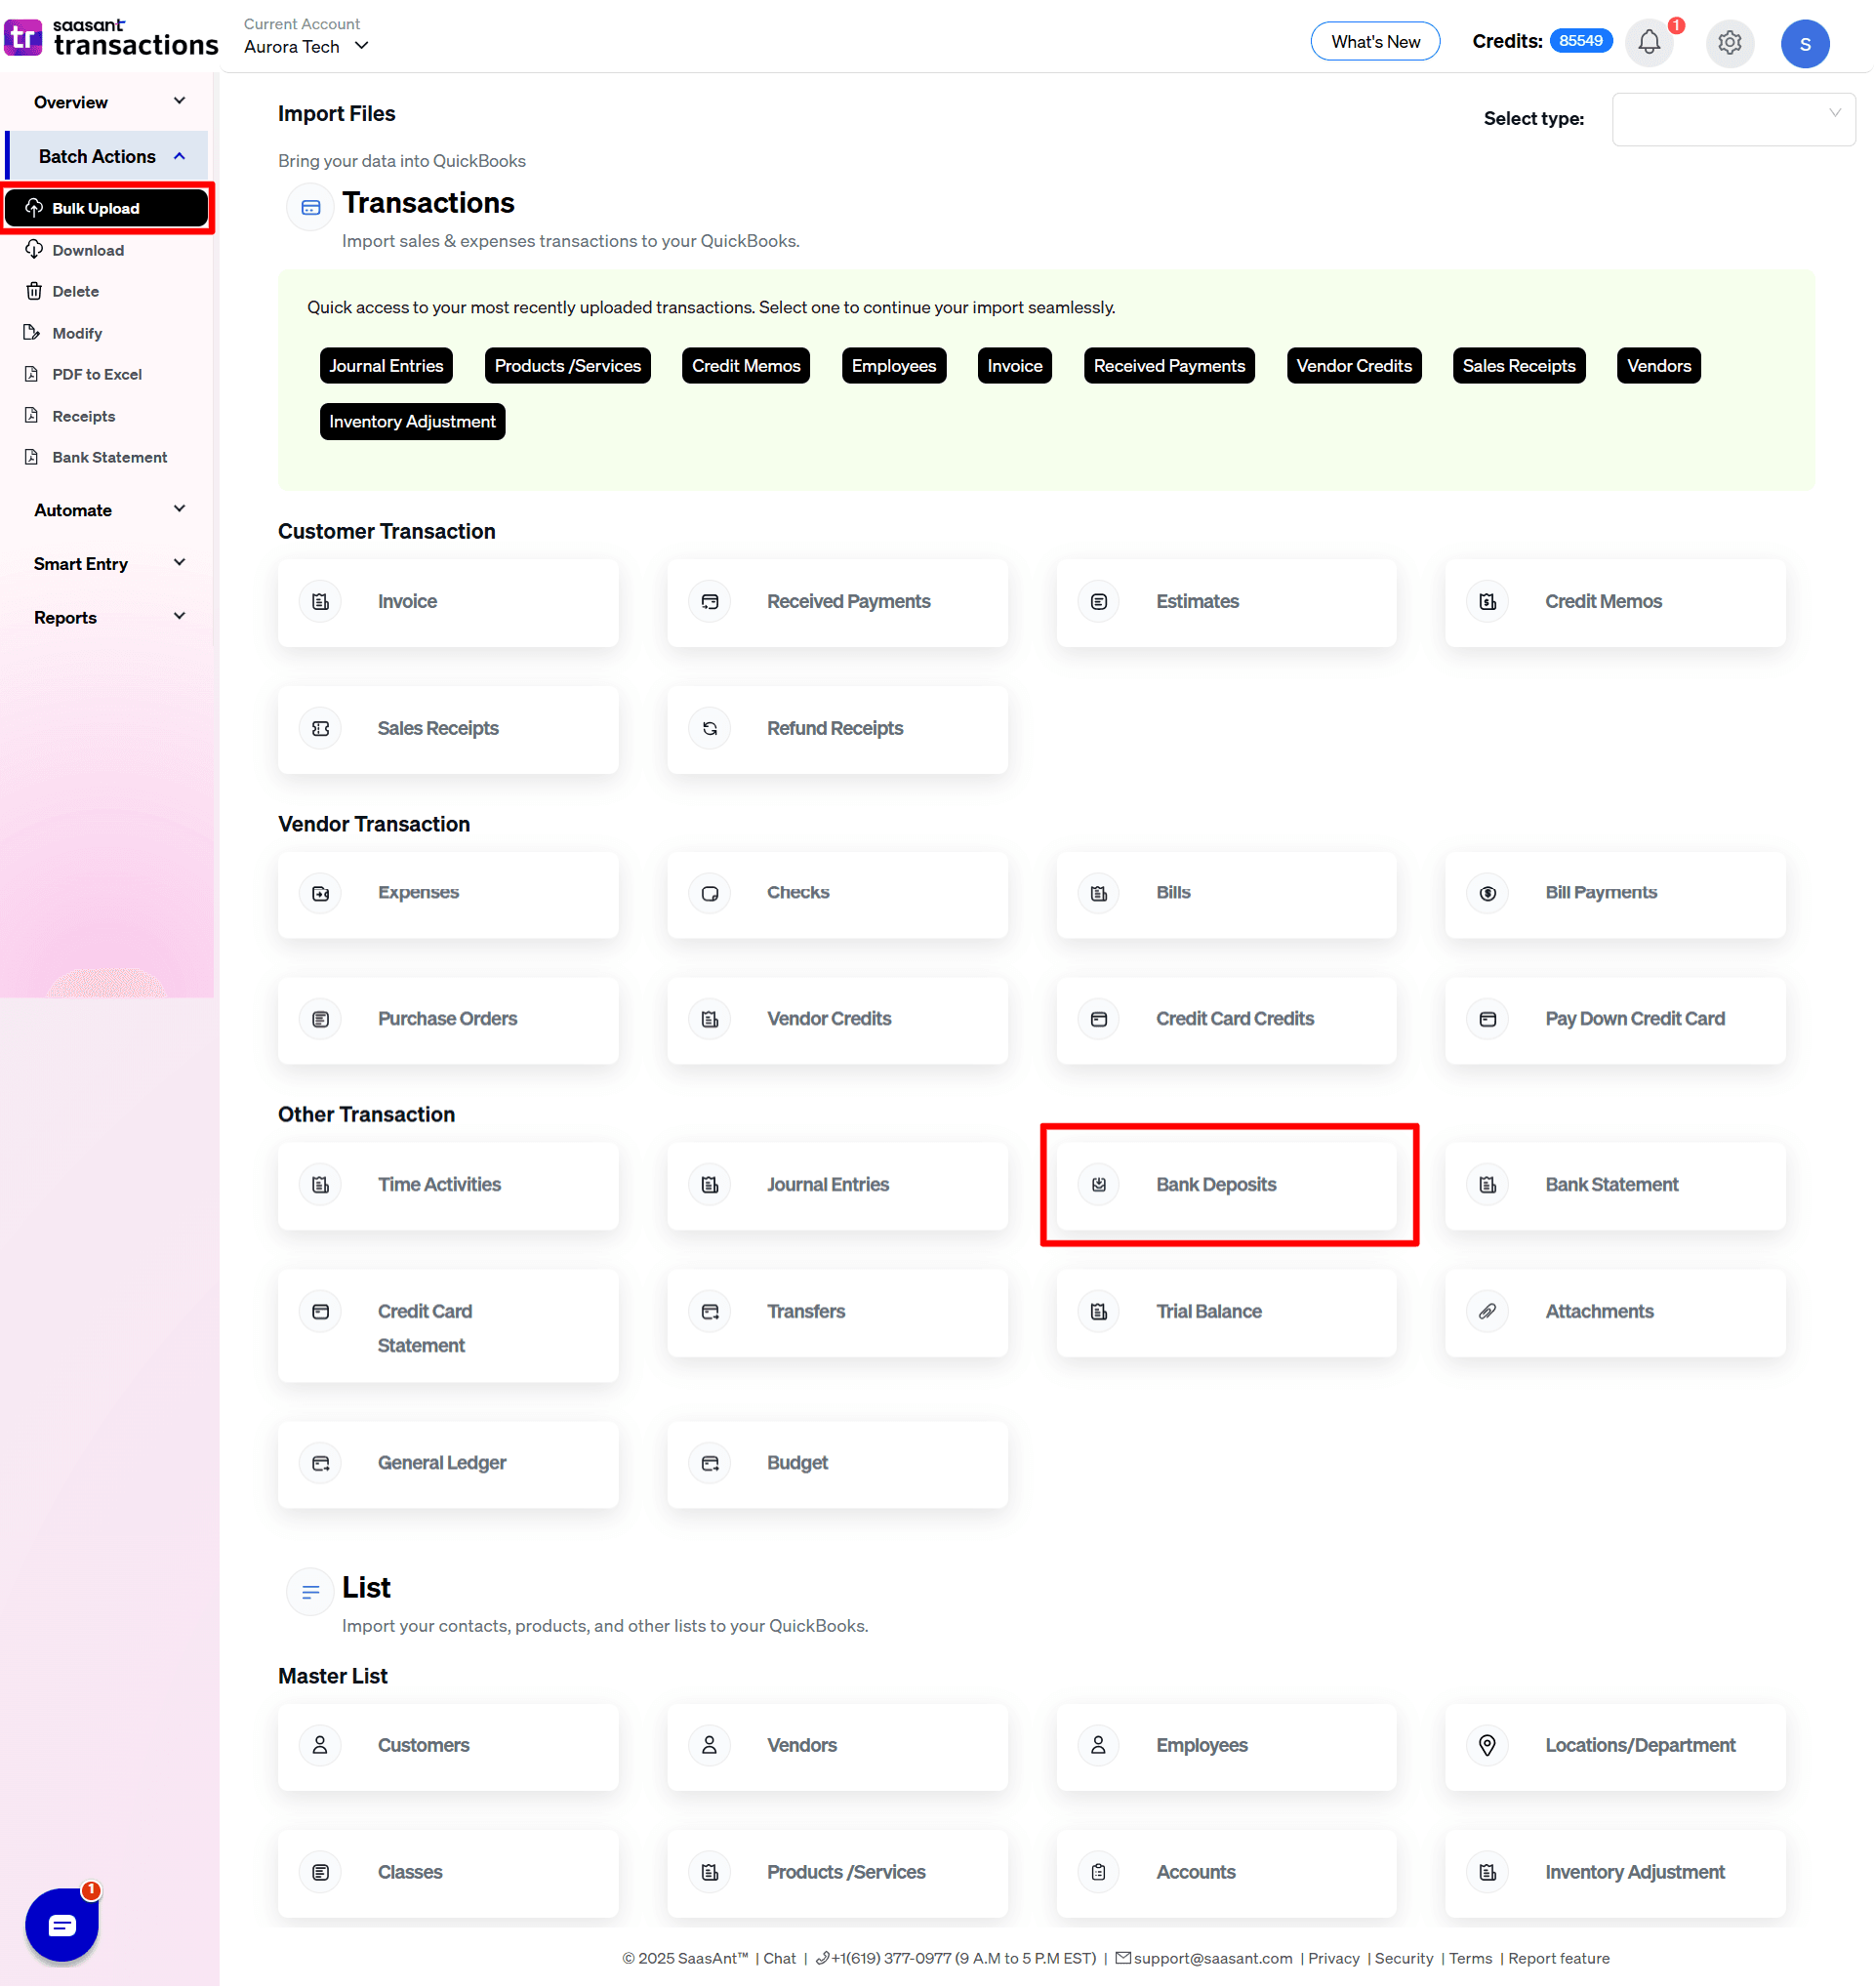
2) Select the Bulk Upload Tab.
3) Select the QuickBooks entity as "Bank Deposits".
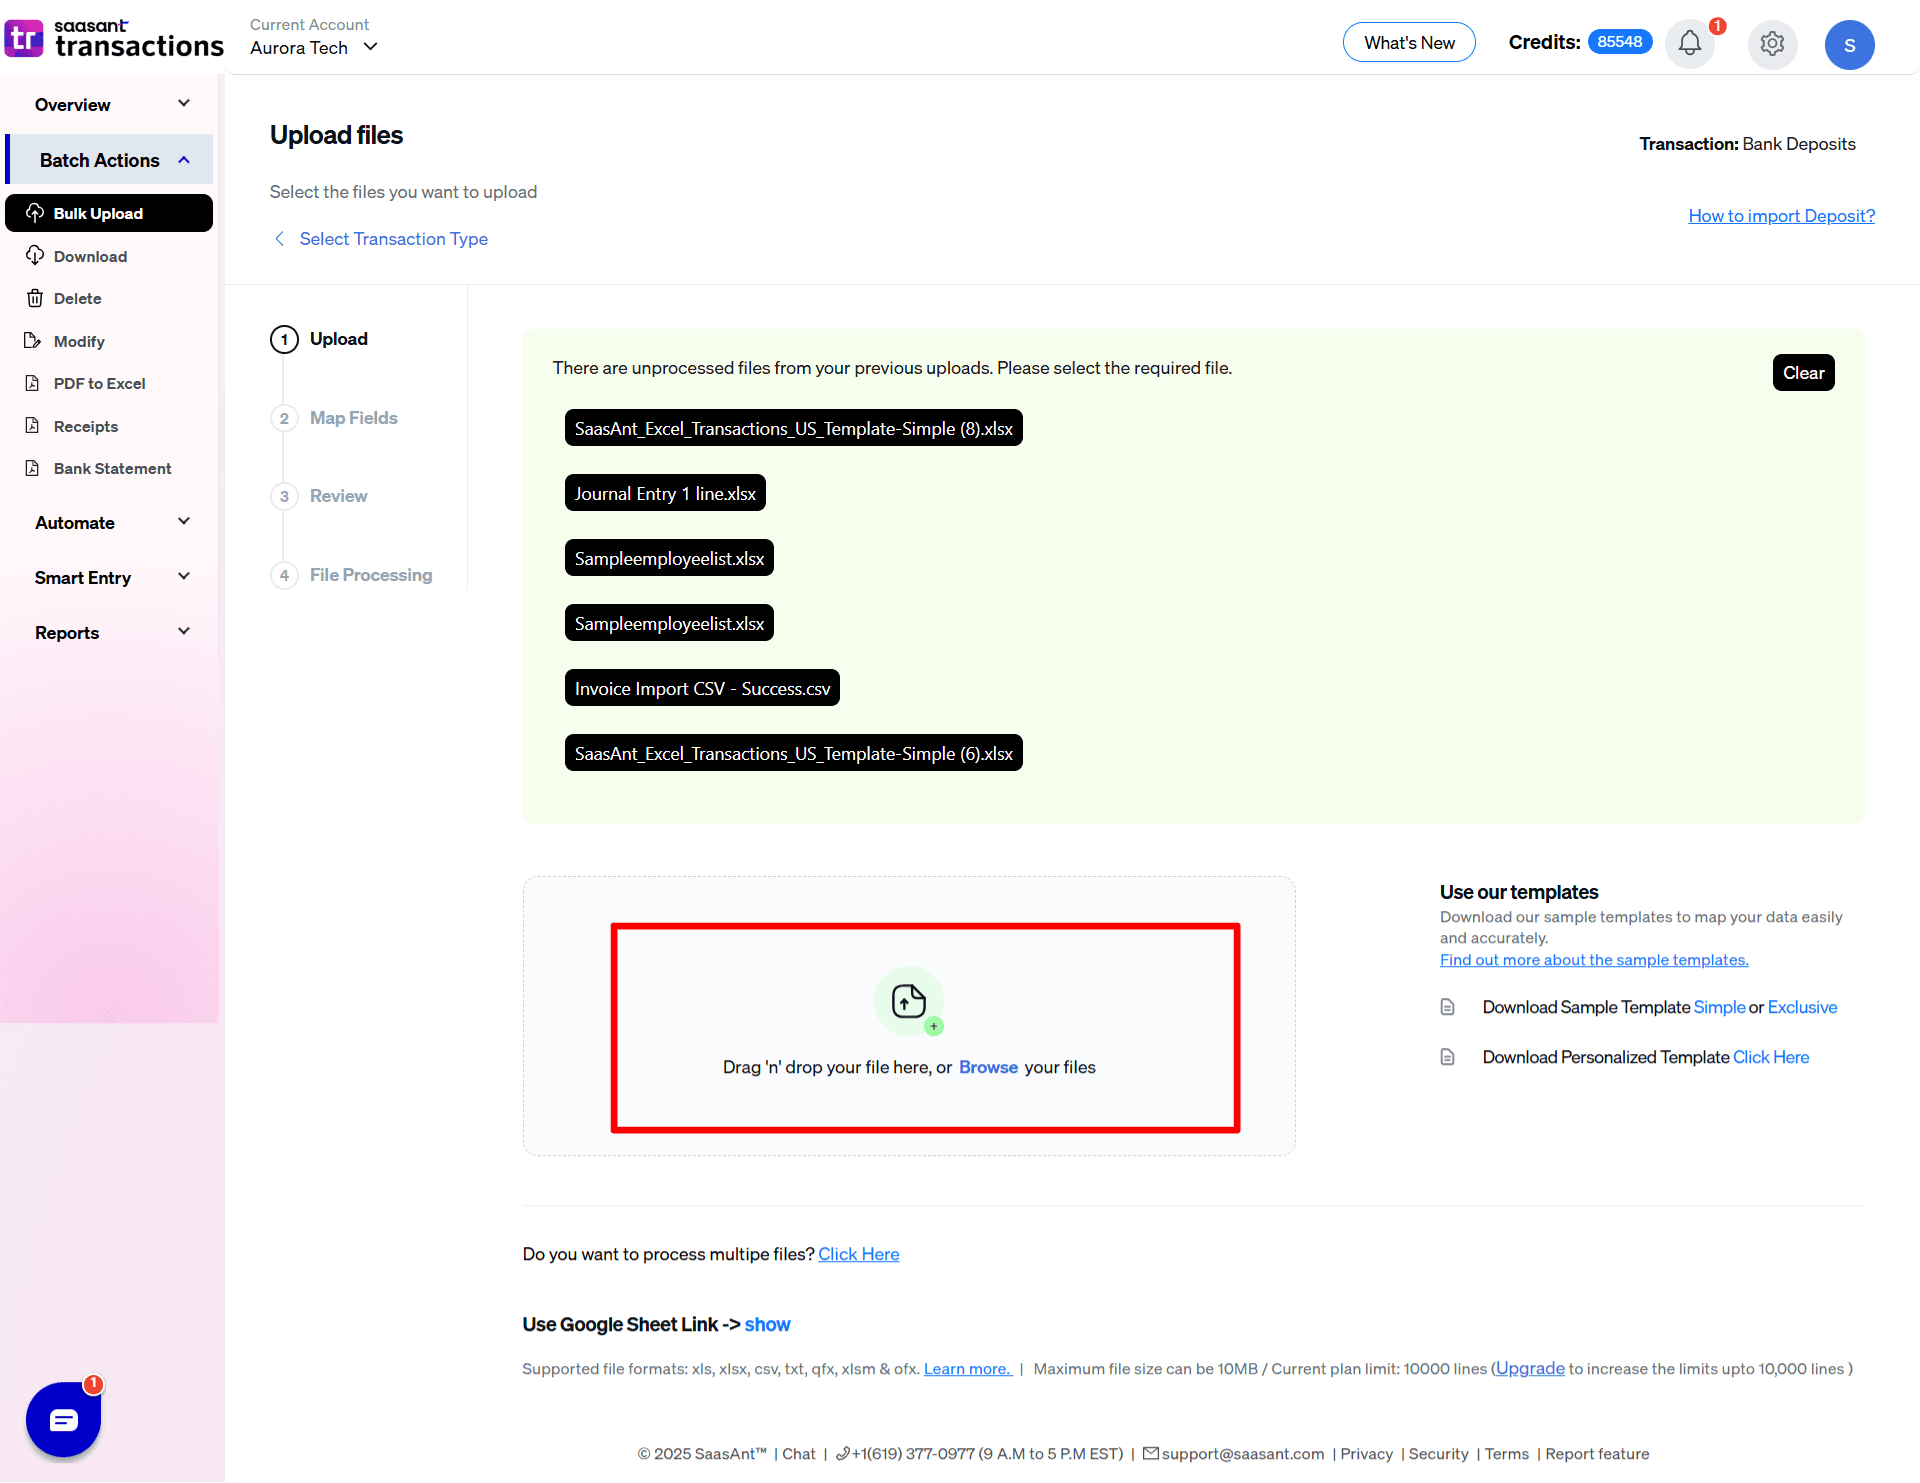
4) Select the files you want to upload.
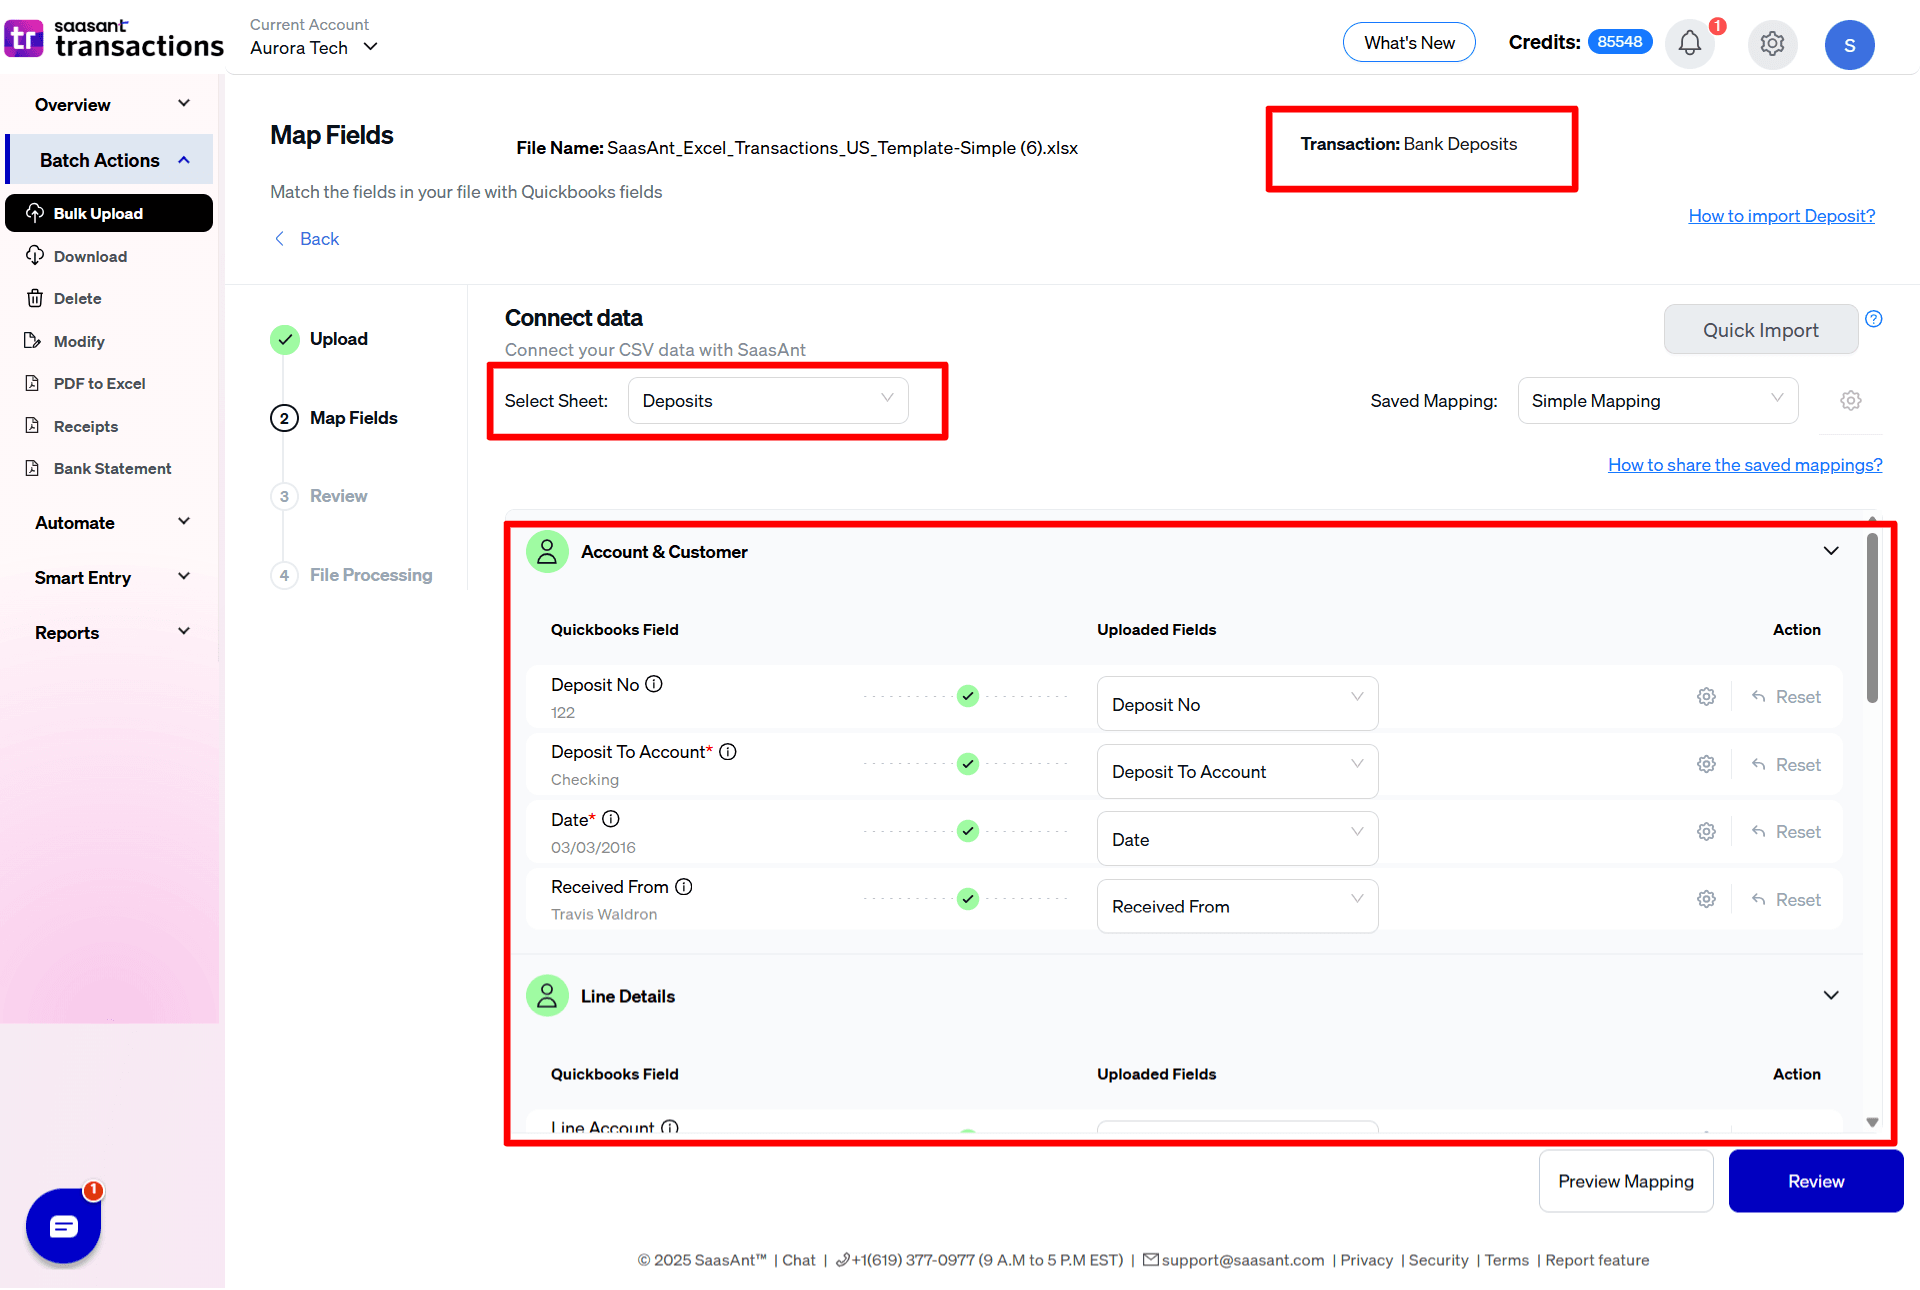
5) Set up the Mapping of the columns in your Bank Deposits.
7) Select the Upload tab.
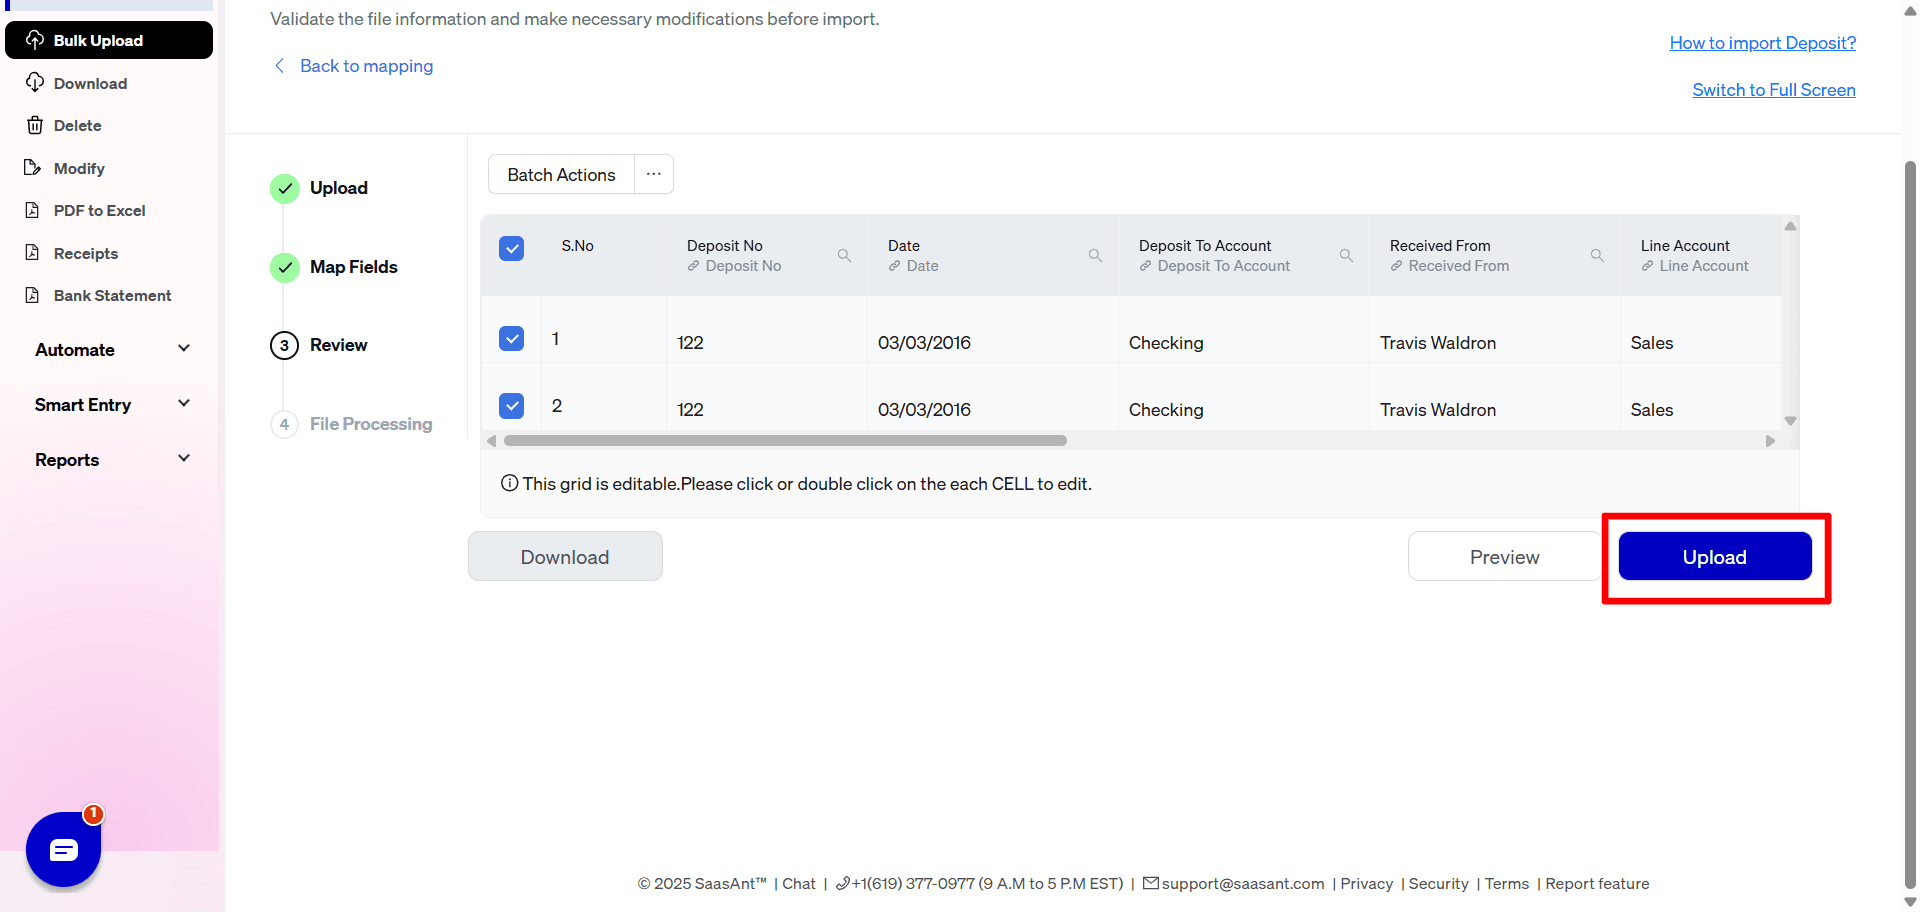
8) The data was imported successfully into QuickBooks.
Let’s have a look at the SaasAnt Transactions Online Fields.
SaasAnt Transactions (Online) Fields
Field Name | Format | Description |
|---|---|---|
Deposit No | 21 Characters | Reference number for the transaction. |
Deposit To Account | Characters | Account to which the amount comes in. |
Date | Date | The date entered by the user when this transaction occurred. |
Memo | 4000 Characters | The Note about the Bill Transaction. |
Line Account | Characters | Reference to the Account Name associated with the Deposit. |
Received From | Characters | Customer or Vendor or Employee |
Line Description | 4000 Characters | |
Line Payment Method | Characters | Method in which deposits was received. |
Line Ref No | Characters | Reference Number |
Line Amount | Decimal | The amount of the line item. |
Line Class | Characters | Reference to the Class. |
Cash Back Goes To | Characters | Cash back account. |
Cash Back Memo | 4000 Characters | |
Cash Back Amount | Decimal | Cash back Amount. |
Currency Code | Characters | The Currency Code for this transaction. |
Exchange Rate | Decimal | The exchange rate of the given currency against the home currency. |
Linked Transaction type | Characters | The Quickbooks Transaction type (Ex: Invoice, RefundReceipt, SalesReceipt, Payment, JournalEntry) |
Linked Transaction Number | Characters | The reference number of the transaction (Ex: If transaction type is Invoice, this field must have the invoice number) |
FAQs
What file types does SaasAnt Transactions Online support for QuickBooks Online imports?
For almost all entities in QuickBooks Online, SaasAnt Transactions Online supports XLS, XLSX, XLSM, CSV, TXT, Google Sheets, and IIF. Additionally, PDF, PNG, and JPEG are supported only for Receipts, Invoices, Bank Statements, Checks, and Expenses.